You finished the living room windows, stepped back into the afternoon sun, and saw it. Thin lines down the middle, a hazy band near the frame, spots that weren't there while the glass was wet. That's the usual frustration for homeowners searching for window cleaning near me in Colorado Springs, CO. Learning how to use a squeegee properly fixes part of it. The rest comes down to water quality, blade condition, and knowing when a ladder makes the job unsafe. Good professional window cleaning controls all three, not just the stroke.
Choose and Care for Your Squeegee Blade
| Tool or blade | Best for | Typical window type | Main limit |
|---|---|---|---|
| 8-inch squeegee | Small panes and shower glass | Interior sliders, sidelights | Slow on large panes |
| 10-inch silicone squeegee | Medium panes with a snug edge | Standard single-pane windows | Needs a controlled angle to keep the edge in contact |
| 12-inch squeegee | Standard residential windows | Double-hung and casement windows | Takes more passes on tall panes |
| Water-fed pole | High exterior glass reached from the ground | Upper-story windows | Requires purified water and reach control |
Measure your widest pane, then choose the longest blade you can control without leaning, twisting, or raising a shoulder. An 8-inch blade fits sidelights, French panes, and shower glass, where a longer channel can bump the frame. A 12-inch blade suits many double-hung and casement windows. An 18-inch blade can cover picture windows and storefront glass in fewer passes, but it takes more control to keep pressure even across the channel.
Match the Blade to the Job in Front of You
A shorter blade may need another pass, but it is easier to keep fully in contact with the glass. If the rubber edge lifts or gaps at either end, water slips beneath it and leaves a wet track. Many silicone squeegees are held at about a 45-degree angle so the inner edge seats against the glass. The blade should stay flat against the pane rather than rocking on its edge.
Decision rule: Choose the longest blade you can control without leaning, and measure the widest pane before you buy.
Silicone and rubber both work when the edge is clean, straight, and undamaged. Check that replacement blades fit the channel before buying. A nick from a frame screw or gritty sill can leave a matching line on the glass. For everyday residential windows, a 12-inch channel is a practical starting size; use an 8-inch blade for divided panes and tight interior glass. A larger blade makes sense when picture windows are common, provided you can guide it evenly.
Three Habits That Keep the Edge Honest
Blade care starts before the next pass.
- Rinse after use: Wash off grit, pollen, and dried solution with clean water. Debris caught on the edge can drag across the glass.
- Check the rubber: Look for nicks, flat spots, or a wavy edge. Replace damaged rubber, since defects can leave lines even when your stroke is steady.
- Store it without pressure on the edge: Keep the blade flat or hang the tool by its handle. Leaving rubber pressed against a bucket can deform the edge and stop it sealing evenly.
Before wetting the glass, tighten a loose handle and check that the channel clips hold the rubber straight. If you are using a pole, confirm its locks and extension collars are secure. A slipping pole can break your control of the blade and make high glass unsafe to reach.
Grip, Angle and Stroke Pattern That Stay Even
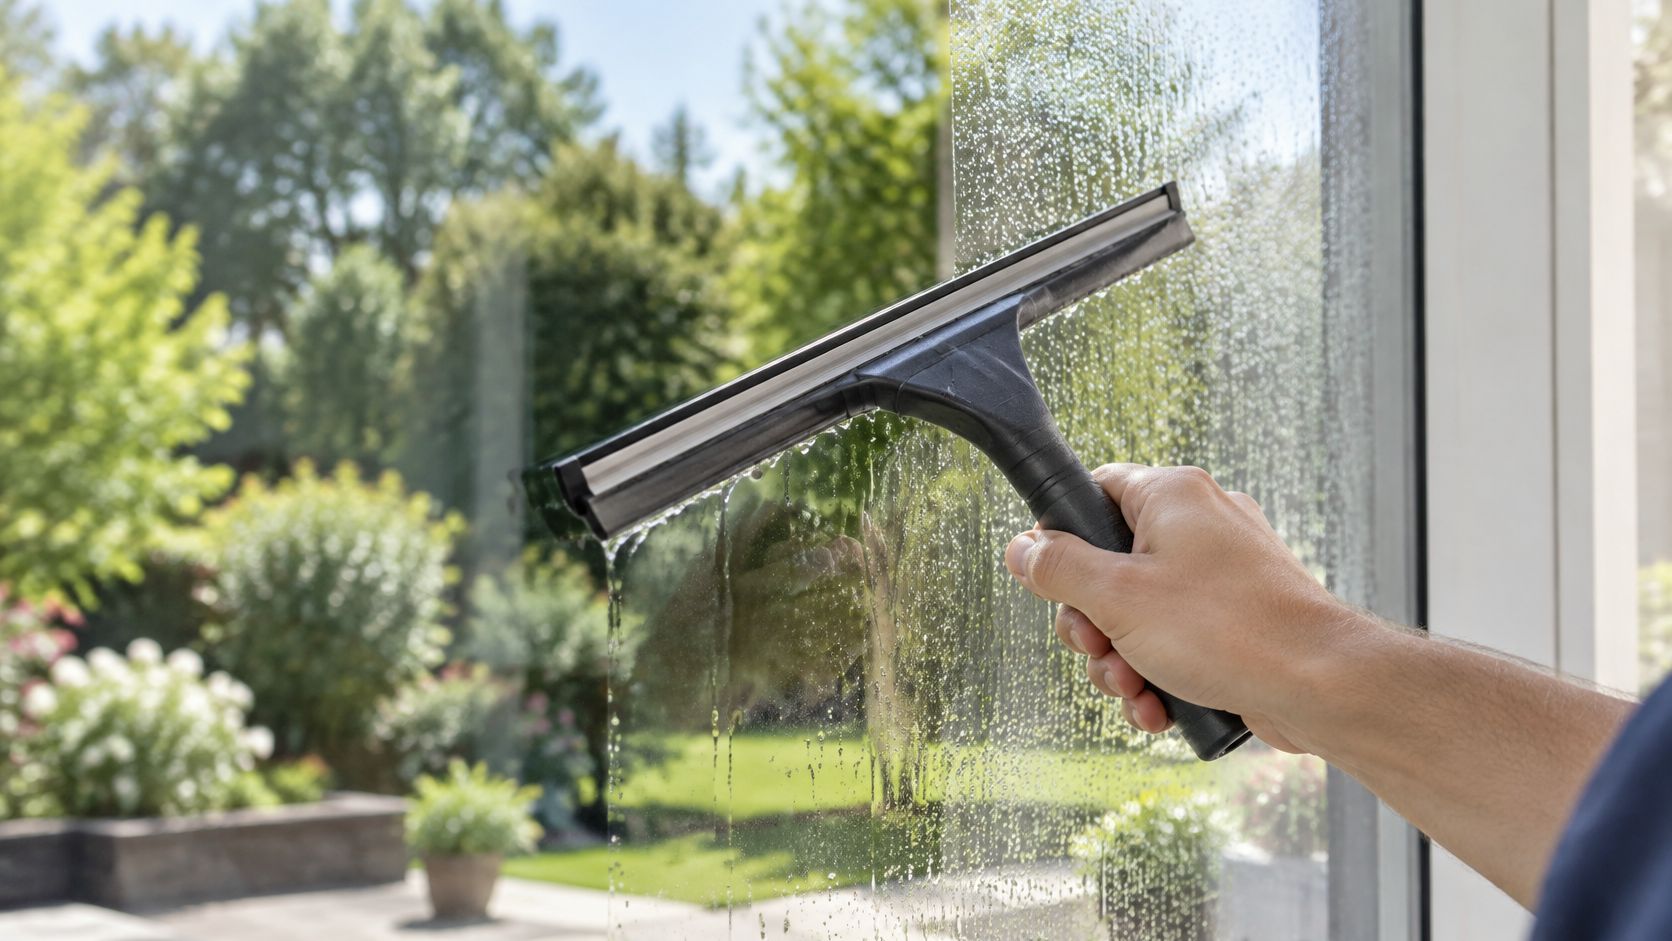
Start with your hands, not the glass. The photo below shows the basic travel direction you'll repeat on every pane.

Hold the handle close enough that the blade answers small wrist movements. The IPC professional training guide specifies holding the handle approximately 3 inches from the glass and overlapping adjacent strokes by at least 1 inch (25 mm) on large panes. Keep the tool at chest level and push away from your body, so your arm and torso stay steady instead of reaching overhead or crouching. When you're stretched out, pressure fades at the far end of the blade first.
Angle the Water Where You Want It to Go
Tilt the handle slightly in the direction of travel. That small lead angle sends water toward the already-wet portion of the pane instead of pushing it into dry glass, where it stops and dries as a run line. Keep pressure steady rather than heavy. You're sealing rubber against glass, not scraping paint. On large or film-covered panes, use two hands when you need more even pressure across a wide channel.
Watch this short clip and notice the continuous motion, because lifting the blade mid-pane restarts the water line every time.
Use skipping as your control test. If the blade chatters or skips, you're moving too fast or the pane is drying under you. Slow down, re-wet, and pull again. In Colorado Springs, work in shade or early morning when you can, since direct sun and warm glass evaporate solution before the pass is done. Practice the grip and angle on one shaded section first. If that test strip dries clear, your hands are set for the full window.
Streak-Free Squeegee Method, Step by Step
This sequence works for interior window cleaning and exterior window cleaning alike. The order matters more than speed.
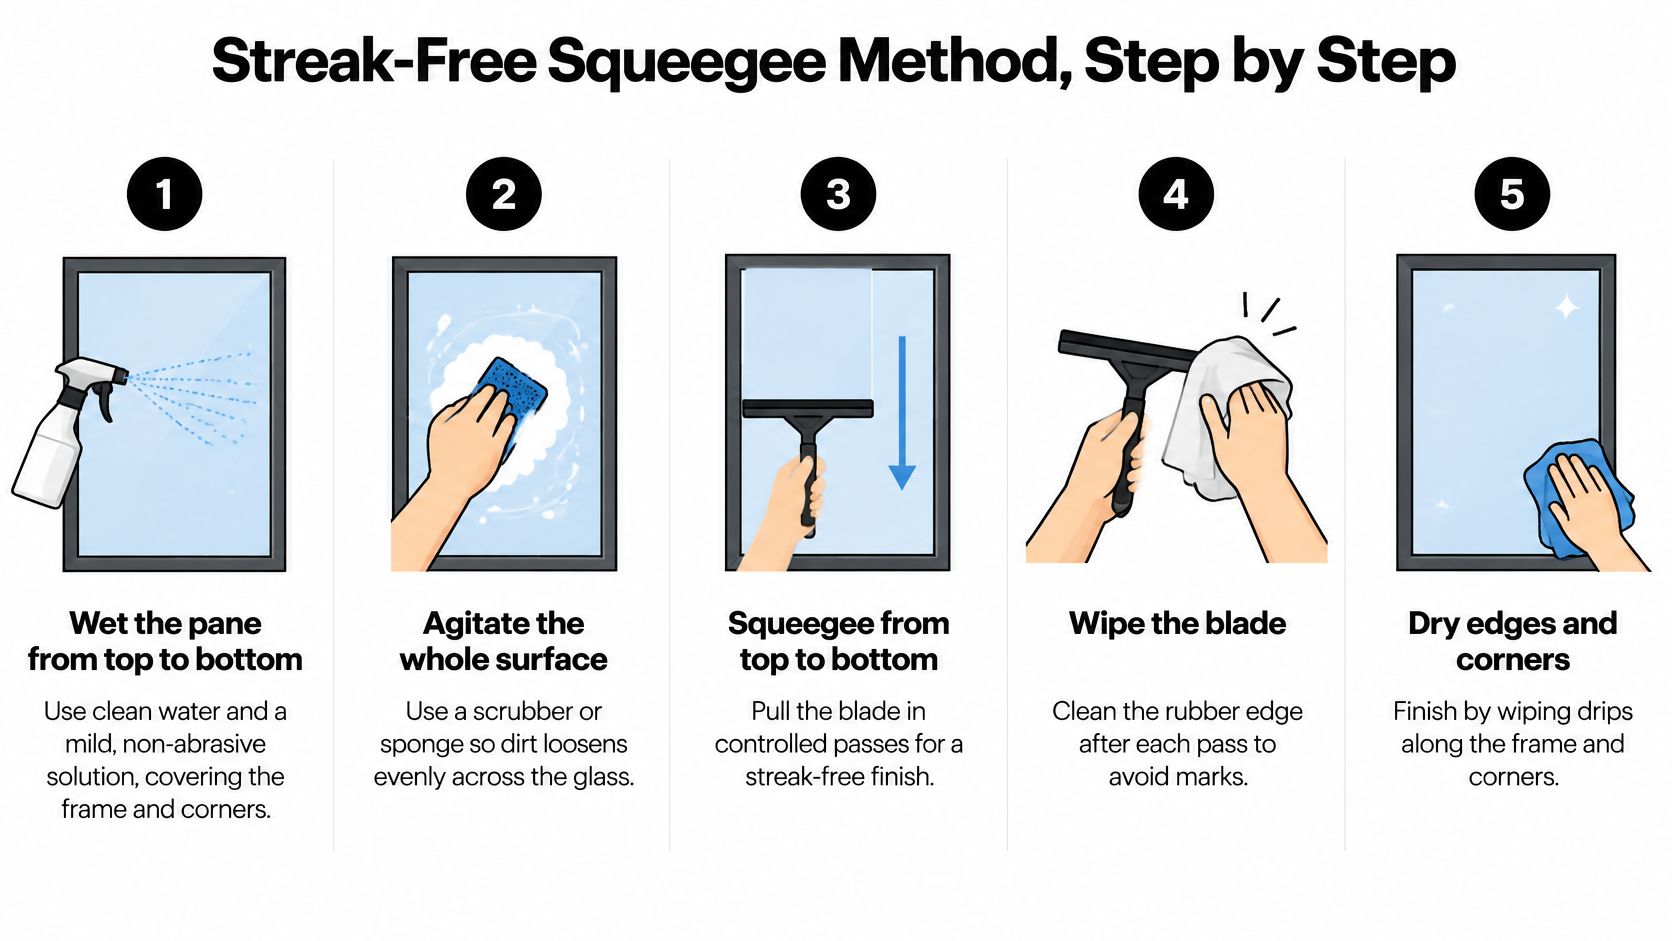
- Wet the whole pane: Soak the glass from top to bottom with clean water and a mild, non-abrasive solution, including the frame edges and corners. Dry corners hold grit that the blade will drag later.
- Agitate every inch: Scrub the full surface with a strip washer or sponge so dirt lifts into the liquid. The squeegee removes dirty water. It doesn't scrub.
- Cut in at the top: Start at one upper corner, run the blade along the side edge, then pull across the top. This creates a dry starting line so water doesn't flood down from the frame.
- Fan downward with overlap: Work down in overlapping fan-shaped passes, keeping the blade mostly on wet glass. Each pass should cover the edge of the last one.
- Wipe the blade every pass: Tap or wipe the rubber on a clean cloth between passes. A dirty blade redeposits the soil you just removed.
- Clear the bottom frame: Finish with a horizontal pass along the bottom frame to collect the water that pooled there.
- Detail the perimeter: Wipe edges and corners with a clean, lint-free cloth. Don't buff the center of the pane with that cloth, or you'll trade water lines for lint and smears.
Where This Method Usually Breaks Down
Three slips cause most rework. First, letting the pane dry before extraction. Once solution dries, the suspended dirt settles back on the glass, and a dry pull just smears it. Second, skipping corners during the wash, which leaves a dirty outline no detailing cloth can fully hide. Third, using too little solution, so the blade drags instead of gliding.
The Vitro Glazings guide to proper glass cleaning describes this same controlled wet-to-dry sequence and warns against routine razor or metal-scraper use because trapped grit or metal contact can scratch architectural glass. Keep the rubber straight, sharp, flat, and free of nicks, because damaged rubber breaks contact and leaves lines. If a mark survives a correct pass, re-wet it and pull again rather than dry-rubbing. Dry rubbing is also what makes cleaning windshield haze and fingerprints so frustrating on auto glass, and the fix is the same. Wet it, lift it, remove it.
A finished pane looks clear from several angles in daylight, with no bands tracing the path of your last pass.
Check your work by moving, not by staring straight on. Stand to each side and let daylight reflect across the surface. Bands hide head-on and show up at an angle. That's the honest test for streak-free window cleaning, at home or on a storefront.
Why Streaks Form and How to Fix Them
| Symptom | Likely cause | Fix |
|---|---|---|
| Thin lines along the blade path | Nicked or dirty rubber edge, or contact broke mid-pass | Trim or replace the blade, wipe it between passes |
| Water band that dries into a line | Pane dried before the blade reached it | Re-wet that section and pull again, working in shade |
| Hazy film after the glass dries | Dissolved minerals in tap water or solution | Switch to clean or purified water and mix fresh solution |
| Chalky spots that return on the same glass | Hard-water scale or sprinkler overspray | Weak acid for scale, then adjust sprinkler heads |
| Streaks in corners and along frames | Skipped perimeter detailing | Finish edges and bottom frame with a clean, lint-free cloth |
The cause most homeowners miss is in the bucket, not in their hands. Tap water carries dissolved minerals, and when a thin film evaporates before you detail the edges, those minerals stay behind as haze. You can pull a perfect pass and still watch spots bloom as the glass dries. Our deeper look at how water quality affects a streak-free finish walks through that chemistry. The short version is simple. Mix fresh solution when the bucket looks gray, and don't clean hot glass in direct sun.
Thin, sharp lines tell a different story. Those usually trace back to the rubber itself or to contact breaking halfway through a pass. Same logic applies off the glass, too. The stainless steel advice from Sweet Home Cleaning makes a similar point about residue and wipe direction deciding the finish on appliances. On windows, inspect the edge before you blame your stroke.
When the Spots Are Hard-Water Scale
Established deposits need treatment, not pressure. The University of Nebraska-Lincoln guidance on mineral deposits recommends beginning with a soft abrasive cleaner, then a weak acid solution such as vinegar or acetic acid, and only then an acid-containing tub or tile cleaner such as one based on phosphoric acid, with safety precautions. It also stresses adjusting lawn sprinklers so they don't spray hard water onto the glass. That prevention step decides whether hard water stain removal lasts a season or a week.
More pressure won't dissolve scale, and dry wiping grinds it around. If a streak returns on the exact same spot, check the blade and the water before you change your technique.
When to Stop Squeegeeing and Call a Pro
A second-story window can turn a simple squeegee job into a fall risk. If you have to lean sideways, stretch beyond your balance, or climb onto the ladder's top rungs to reach the glass, stop and choose a safer method.
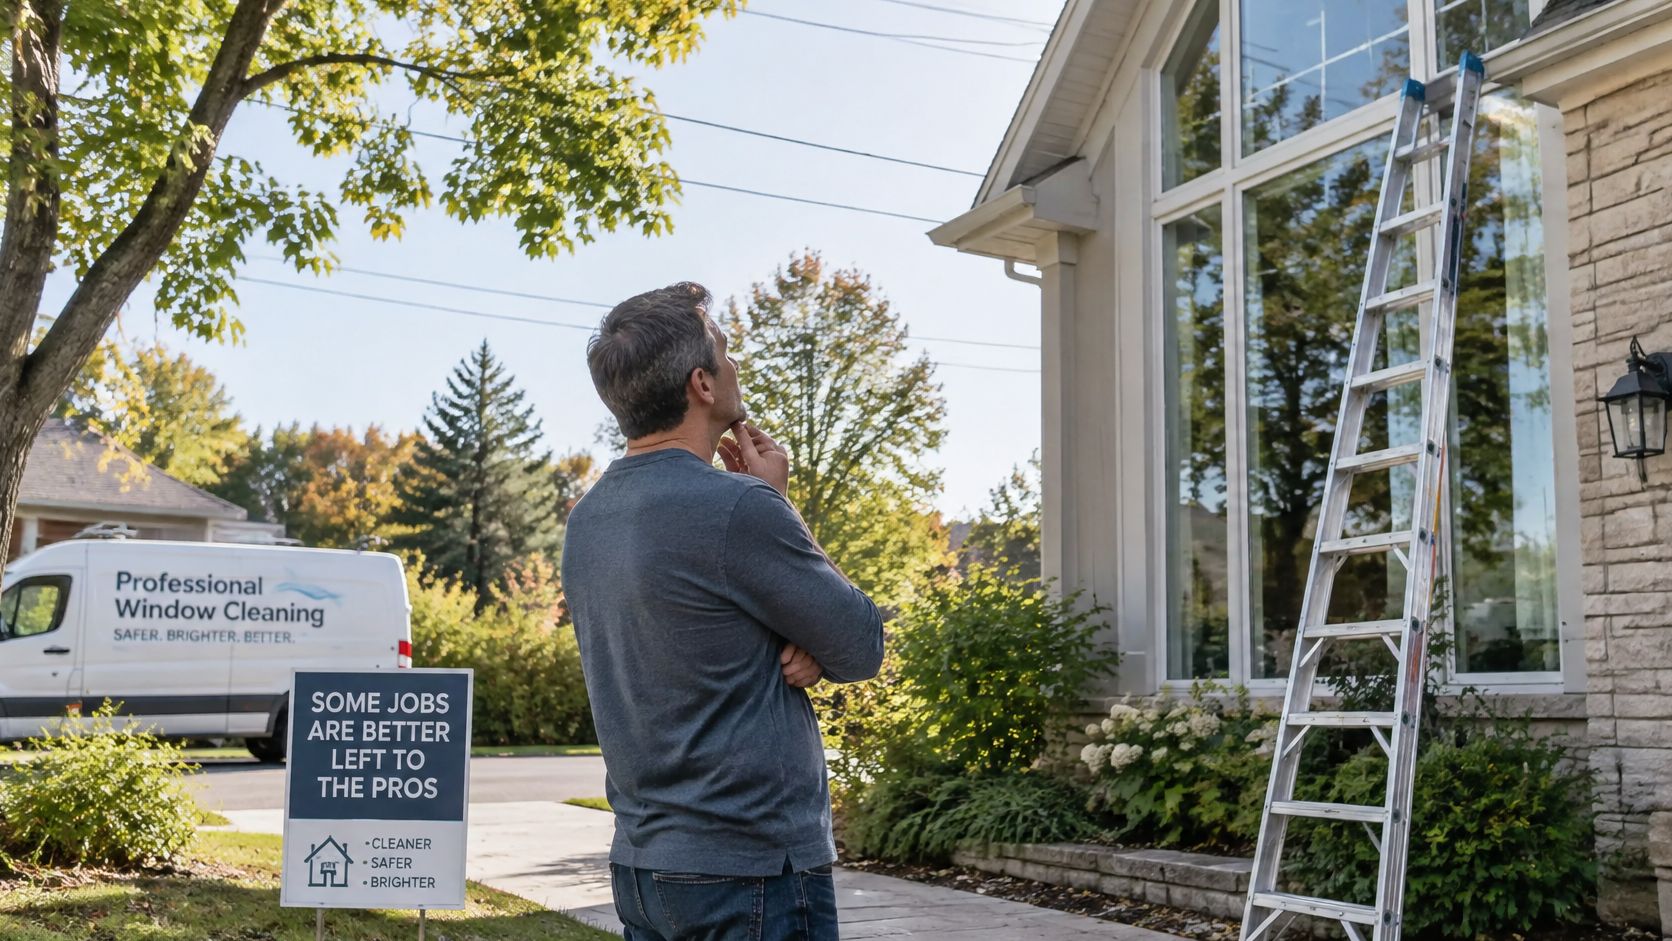
Check the setup before taking a bucket or squeegee outside:
- Height and reach: Can you clean the full pane while keeping your body centered on the ladder?
- Ground and weather: Is the ladder on stable, level ground, with calm conditions?
- Overhead hazards: Are power lines or branches near the ladder or your reach?
- Another access method: Can you clean the glass from indoors or use a water-fed pole from the ground?
The UK Health and Safety Executive's window-cleaning guidance recommends avoiding work at height where reasonably practicable, including cleaning from inside or using telescopic water-fed poles. If you are considering a ladder, review professional window cleaning safety compared with DIY and follow appropriate ladder-safety guidance. If the ladder feels unstable or the pane requires you to reach outside its rails, don't continue. Call a professional rather than trying to make a risky position work.
For larger exterior projects, homeowners may also compare exterior siding repair costs. Keep the window-cleaning decision focused on access: if you can't reach the glass with secure footing and a balanced stance, stop squeegeeing and arrange professional window cleaning.
Book a Streak-Free Window Cleaning in Colorado Springs
Book a pro when the glass sits on a second to fourth story, when picture windows are too wide to pull without leaning, or when tinted and historic frames need a gentler hand. Repeated hard-water spotting is another clear signal, as is storefront glass that needs a regular schedule. Cultivate House Detailing serves Colorado Springs, CO and nearby areas including Black Forest, Monument, Manitou Springs, and Woodland Park.
Our technicians inspect glass for scratches, cracks, or broken seals before any water touches the pane, and we check finished work from different angles in direct sunlight with the sun glare test. One honest limit applies indoors. Excessively heavy, large, or breakable items must be moved by a professional, or the associated window may not be cleaned. To request a quote, count your windows, note the stories, and flag any hard-to-reach glass. Then schedule the visit and let a crew handle the height, the water, and the detailing.
If your windows are high, spotted with hard-water scale, or too numerous to finish before the sun dries each pane, Cultivate House Detailing can handle the squeegee work, purified-water exterior cleaning, and the final sun glare inspection for you. Tell us how many windows you have, how many stories we're climbing, and which glass is hardest to reach. Visit Cultivate House Detailing to request your quote and schedule a streak-free cleaning in Colorado Springs.