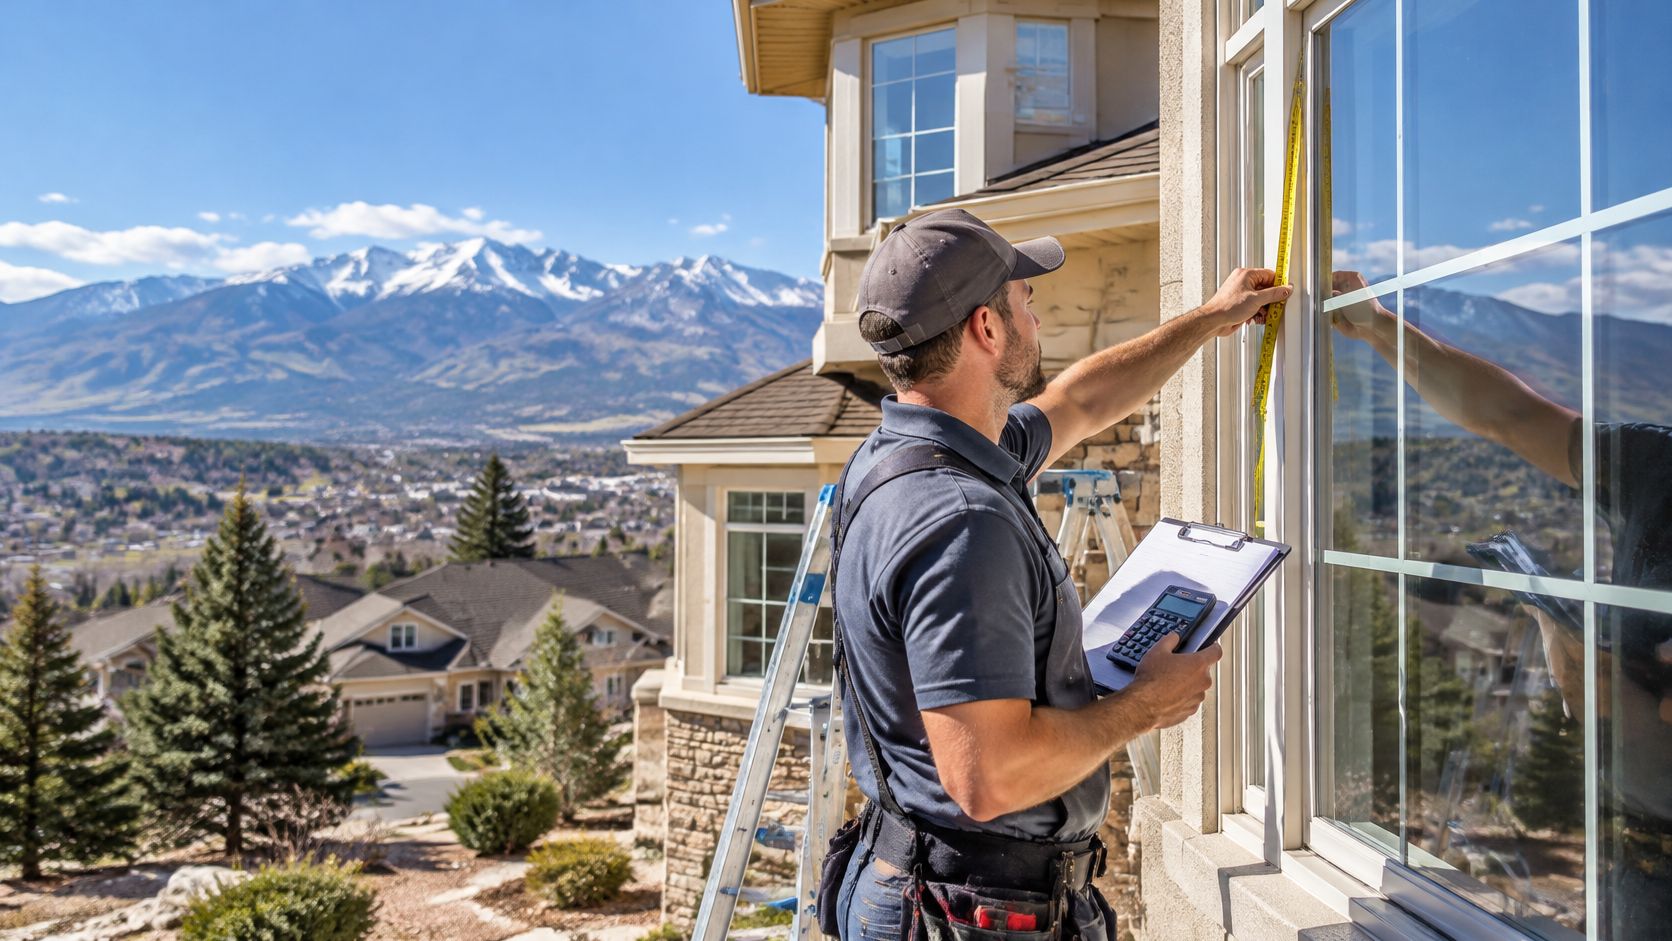
A torn screen by the kitchen window can turn a pleasant spring afternoon into a choice between fresh air and unwanted insects. You may also be dealing with a sagging center, loose corners, brittle spline, or a frame that no longer sits squarely in the opening. Making a screen for a window can be manageable, but the finished result depends less on cutting mesh and more on choosing the right repair before you start.
For homeowners in Colorado Springs, CO, screens also collect dust, pollen, and seasonal debris that make glass look dull even after a basic window washing. A sound screen can be repaired at home, while a bent frame, difficult height, or specialty opening may call for professional window cleaning and screen repair. The sections below focus on the practical decision first, then the preparation, construction, installation, and maintenance that help prevent repeated rework.
Planning a Window Screen Project
A quick inspection often tells you more than the torn mesh itself. Walk around the home and note whether each screen has a small puncture, loose spline, separated corner, bent side, or a frame that rocks when placed on a flat surface. A screen with sound corners and straight rails may only need fresh mesh, while a warped frame will continue to fit poorly no matter how carefully you install the replacement fabric.
Window design matters, too. A screen from a single-hung or double-hung window may lift into a track, while a casement or slider can use clips, plungers, or a different retaining arrangement. Remove the original screen gently and take a photograph of its orientation and hardware before disassembly. That simple record can prevent confusion when you reinstall the finished panel.
Practical rule: Decide whether the frame is worth saving before buying mesh. New fabric can't correct a twisted rail or separated corner.
Measure the existing frame consistently, record the overall width and height, and inspect the spline groove for debris or corrosion. If several screens need work, label each frame so parts and measurements don't get mixed. Standard residential screens commonly use 18×16 mesh, meaning 18 strands per inch in one direction and 16 in the other, a balance that allows airflow while blocking many ordinary insects. This overview of standard window-screen repair provides useful context for that common weave.
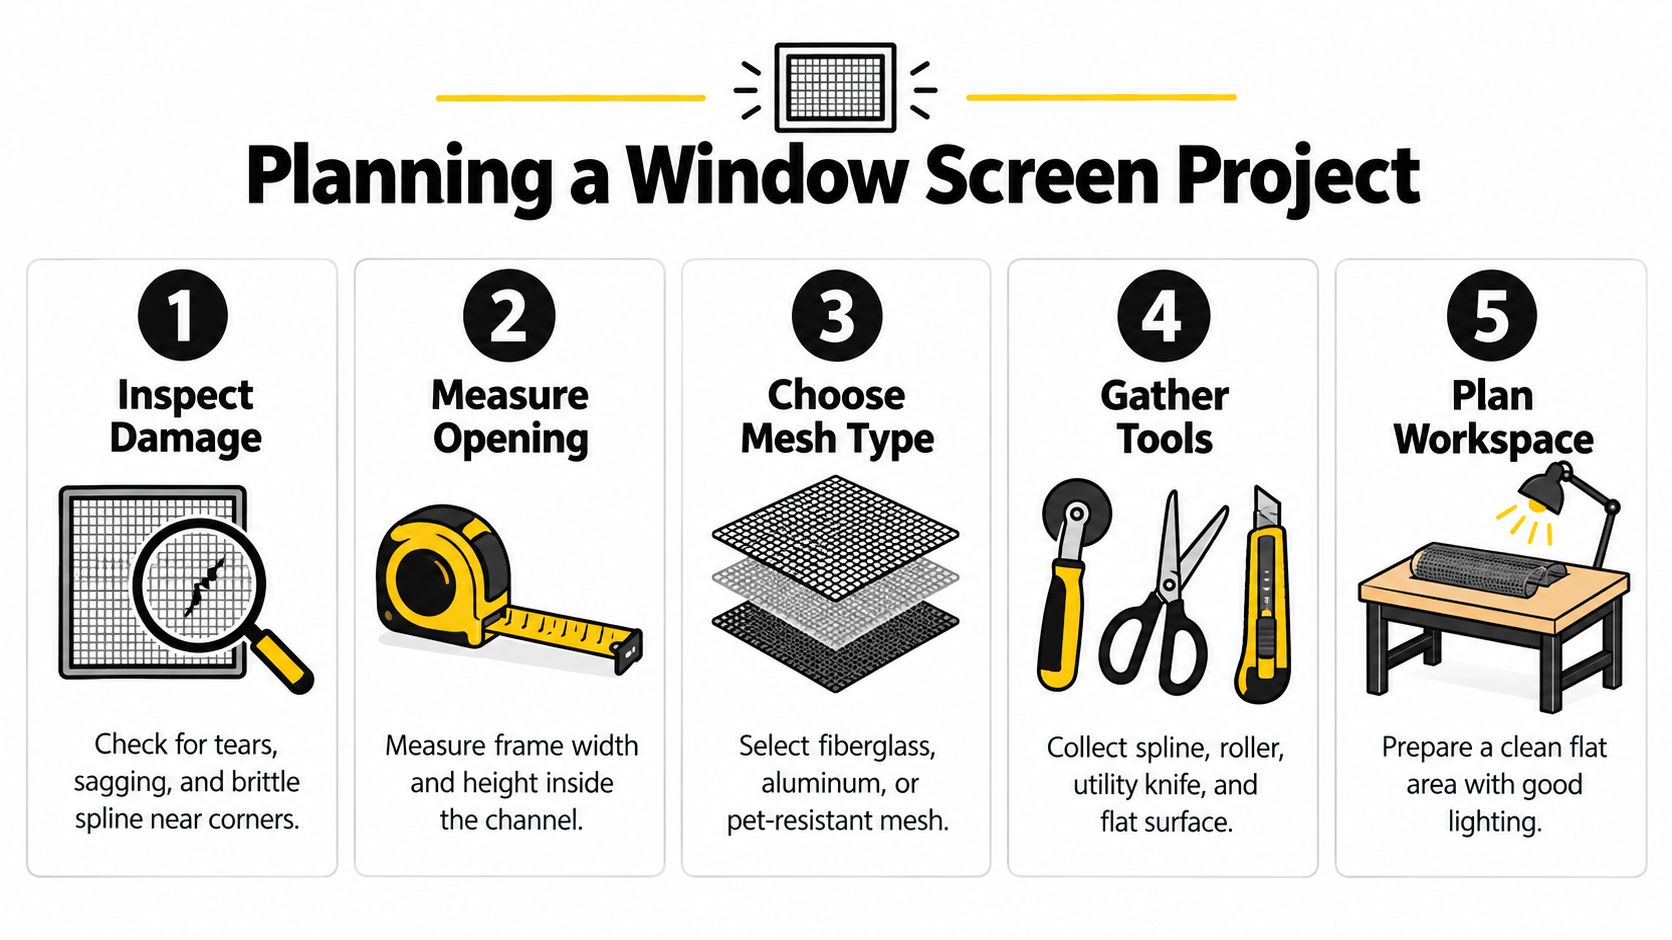
Choose the result you need. Fiberglass works well for ordinary residential windows, aluminum offers greater strength and shape stability, and tighter mesh can help with smaller insects or pollen concerns while reducing airflow and visibility. If glare is part of the problem, a resource on tinted screens can help you compare options that may reduce screen glare.
The basic idea has a long history. Documented U.S. roots reach back to the 1820s, commercial success followed in 1861, and standardized retail distribution was visible by 1874, according to the historical record summarized by Window screen history. Modern materials have changed, but accurate measuring and careful fitting still determine whether a screen performs properly.
Repair or Replace the Screen
A small tear in a straight, tight frame is usually a repair job. Widespread brittleness, repeated tears, or a sagging panel make rescreening more practical. If the frame is bent, corroded, separating at the corners, or no longer sits flush in the track, replace the frame instead of forcing new mesh onto a damaged structure.
A practical comparison
| Option | Best When | Cost | Effort | Durability |
|---|---|---|---|---|
| Repair or rescreen | The frame is square and only mesh or spline has failed | About $25 to $75 per screen for rescreening an existing frame, Colfax Glass cost guide | Moderate DIY work | Good when the frame remains sound |
| Replace the frame | Rails, corners, or channels are damaged | About $75 to $300 for a full replacement with new frame and mesh | Higher, especially for custom sizing | Better for chronic fit problems |
| Hire out | The screen is tall, large, retractable, custom-shaped, or unsafe to handle | Depends on the opening and service scope | Low homeowner effort | Professional fit and safer handling |
Before cutting mesh, make one short materials checkpoint. Confirm that the replacement mesh suits the opening, then match the spline diameter to the existing channel rather than assuming all spline fits every frame. The wrong combination can leave loose corners, uneven tension, and wasted material. A screen kit repair guide from South Mountain explains the tools and basic process, while this window screen repair DIY guide can help you judge whether the work matches your tools and comfort level.
A frame can look acceptable on a workbench and still fail during installation if its corners have spread. Test it against the window opening before cutting. Fresh spline will not pull a distorted rectangle back into shape, and trying usually wastes mesh while leaving uneven gaps.
Hire a professional for a second-story opening, a large picture screen, a retractable system, or a custom shape. Handling a screen near a high window is not a sensible place to trade safety for a small material saving. Choose based on the frame's condition and the opening's difficulty, not the lowest advertised price.
Prepare the Frame and Materials
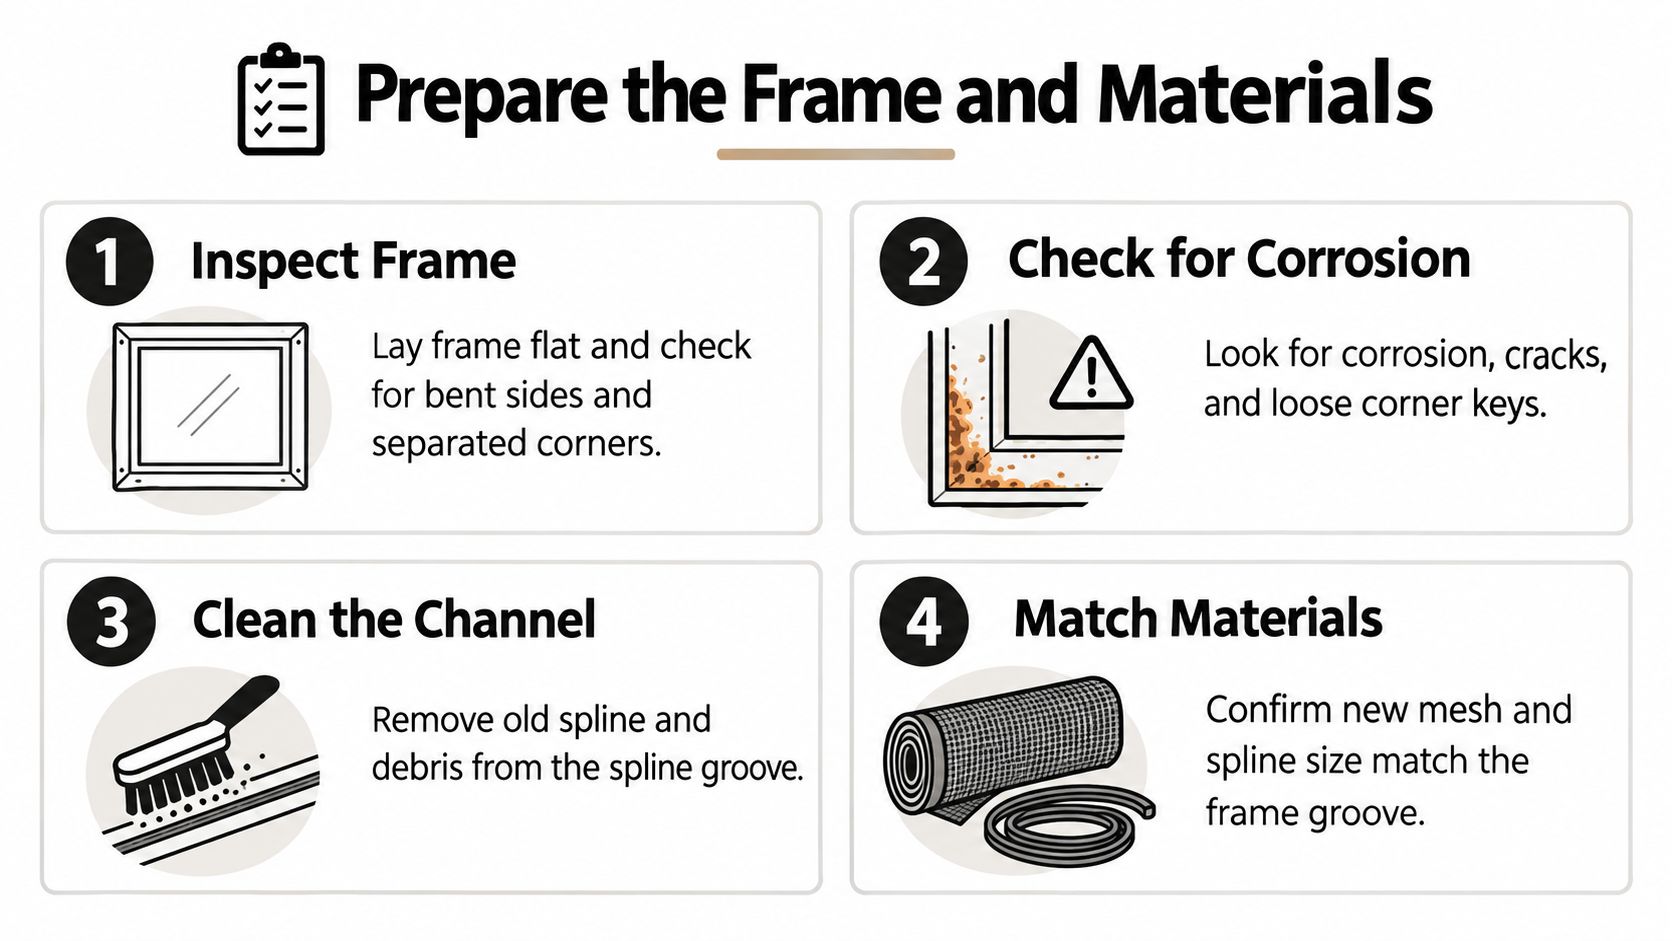
Preparation prevents most sagging and loose-corner problems. Put the frame on a clean, flat surface and check whether it rocks, bows, or shows daylight at the miter joints. Examine the spline channel for corrosion, cracks, packed dirt, and fragments of old rubber. A frame that won't lie flat can't hold even tension reliably.
Remove the old spline with a screwdriver, pick, or pull tab, then lift away the damaged mesh. Clean the groove thoroughly before measuring the replacement materials. Dirt beneath the spline can keep it from seating fully, and a partially seated spline may allow the fabric to pop out when the screen is moved.
Match the mesh to the job
Fiberglass is the dominant residential material because it combines affordability, easy installation, visibility, and useful everyday durability. Aluminum mesh is stronger and more shape-stable, but it can dent more easily and may reduce visual clarity slightly. This material guide from RiteScreen offers a helpful comparison.
Use the opening and household conditions to guide the selection:
- General insect control: Standard fiberglass is a practical choice for many Colorado Springs homes.
- Pets or higher abuse: Aluminum may tolerate more force, although a pet-resistant product may be more appropriate when claws are the main concern.
- Small insects or pollen: A tighter 20×20 weave is commonly used as a no-see-um option, but Thompson Creek's screen guide notes the trade-off, tighter mesh can reduce airflow and visibility.
Confirm the spline
Spline must match both the mesh thickness and the groove width. Common residential guidance identifies 0.140 inch for standard fiberglass or aluminum insect mesh, while many aluminum systems use 0.160 inch and some fiberglass systems recommend 0.175 inch. ScreenTight's resource guidance explains why the wrong diameter can cause poor seating or a screen that pops out.
Another installation reference describes 0.140-inch round spline as the most common size for modern residential screens and explains that correct sizing helps prevent loose or sagging mesh. You can compare that advice with the window screen repair and replacement guide from Best Screens. Don't buy spline by appearance alone. If possible, compare the old spline, mesh, and groove together, or ask a screen supplier to confirm compatibility.
Lay out the frame, mesh, spline, spline roller, scissors, utility knife, and cleaning tools before cutting. For a detailed material-focused reference, see this guide to replacement screening material. A protected workbench, good lighting, and a fresh knife blade make the next stage more controlled.
Build the Replacement Screen
Lay the cleaned frame on a flat, protected surface. Drape the new mesh over it with the weave running straight and roughly 1/2 inch of overlap on every side, following the Phifer DIY installation method. That extra fabric must reach into the spline groove, but excessive overhang makes trimming harder and can hide alignment problems.
Tape the frame edges down without covering the groove. Start with the shortest side and use the spline roller to press the mesh and spline into the channel. Keep the fabric firm, not stretched like a drum. Fiberglass can distort when pulled too aggressively, and that distortion may become permanent.
Seat the spline gradually
Work across the first side in a controlled pass, then apply light tension while securing the opposite side. The mesh should remain taut with a small amount of reserve tension, rather than being forced completely flat before the last sides are installed. Secure the remaining edges while checking that the weave stays square to the frame.
If wrinkles travel diagonally across the panel, stop. Lift the spline from the affected area and restart instead of trying to flatten the wrinkle by pulling harder. Overstretching one corner usually shifts the problem to another side and leaves the completed screen with a visible bow.
Feed the spline into the groove continuously when practical, keeping it flat and free of folds. Slow down at the corners. The roller should follow the channel without cutting the mesh, and the spline should finish below the frame's top surface so it won't interfere with the window track or retaining hardware.
Watch the corners: A corner that looks tight on the bench can loosen later if the spline is riding above the channel or the mesh was pulled diagonally.
Trim the excess screen only after all four sides are seated. Hold a sharp utility knife against the outside edge of the spline groove and cut toward the frame's outside edge. This direction protects the new mesh and keeps the blade away from the fabric that remains under the spline. Make shallow, controlled passes around the perimeter rather than trying to remove all waste in one motion.
Inspect both sides of the finished panel. The mesh should look smooth, the spline should sit evenly, and no loose areas, puckers, sharp cuts, or exposed strips should remain beyond the frame. If the frame has corners that separate while you work, stop and reassess the frame rather than compensating with extra tension.
The visual process is easier to follow when you can see the roller angle and corner technique. Use the following demonstration as a supplement to the written instructions.
Install the Screen in the Window
Clean the window channel before installing the completed panel. Remove dust, paint ridges, old spline fragments, and debris that could hold one side of the frame higher than the other. This is also a useful time for screen cleaning and track cleaning, particularly after Colorado Springs pollen or windblown grit has collected around the opening.
Test-fit the screen in its original orientation. It should rest squarely against the window, with a narrow and even daylight gap around the perimeter where the design requires one. Don't force a frame that catches. A tight spot may indicate a bent rail, a misplaced clip, or an installation angle that needs correcting.
Use the existing clips, screws, turn buttons, plungers, or track hardware. Install opposite fasteners gradually so pressure stays balanced, and stop if the frame begins to bow. Screens that use upper and lower tracks generally lift into the upper channel first, press against the window, and then lower into the bottom track.
Check that the screen can't be pushed out from the exterior and that the window closes without binding. On a double-hung window, move the sash carefully and test latches or turn buttons without forcing them. For sliding-door situations and more involved track arrangements, Superior Home Improvement's screen installation guidance can provide additional context.
Never sand, plane, or heat the frame to make it fit. If the panel still binds after careful repositioning, remove it and correct the underlying measurement or frame problem.
Troubleshoot Common Screen Problems
A new screen that looks wrong usually provides a visible clue. Wrinkles often indicate uneven tension or overstretched fiberglass. If the distortion is mild, remove the spline in that area and rescreen it. Fiberglass that has been pulled too hard may not return to a smooth finish, in which case replacing the mesh is more reliable than repeatedly adjusting it.
A loose screen doesn't automatically mean the mesh was cut too large. Check the spline first, then inspect the groove for dirt and confirm that the frame hasn't spread. A spline that has become rounded, brittle, or flattened should be replaced rather than forced back into service.
Match the symptom to the fix
- Bowed spline: Use shorter roller passes, keep the tool upright, and apply even pressure. If a corner has rolled outward, cut back to a stable starting point and reseat that area.
- Gaps around the frame: Recheck the measurements, corner miters, and frame square. Compare the diagonals and use a framing square before changing the mesh.
- Inward bow after installation: The mesh may have too little reserve tension, or the fasteners may be applying uneven pressure. Remove the panel, relax the tight side, and reseat the opposite side.
- Sharp edge: An uneven trim cut or exposed mesh can catch clothing and hands. Correct the edge treatment or rebuild the panel instead of leaving the hazard in place.
Don't stretch an undersized frame to fill the opening. That can twist the frame and damage the window channel. Bent aluminum corners may respond to suitable corner keys, but cracked corners, corroded metal, or badly distorted channels usually justify a replacement frame.
A custom-shaped opening, historic frame, high floor, or large fixed window changes the risk calculation. Professional fabrication and installation are safer choices when accurate handling is difficult or the screen is important to the property's ventilation and insect control.
Maintain the Screen and Know When to Call a Pro
A simple seasonal routine helps catch small failures early. Brush the mesh gently with a soft brush to remove dust and pollen, wash the frame with mild soapy water, and rinse with a low-pressure hose. Inspect spline seating, corner joints, clips, and tracks after winter storms or heavy pollen periods.
Don't continue with DIY work when the frame is warped, the vinyl track is cracked, the screen is above the second story, or storm panels must be removed. A handyman, glass and screen shop, or qualified exterior-care provider can quote the work by scope. Ask whether the quote includes on-site measurement, the mesh and spline specifications, and a labor warranty.
For Colorado Springs homeowners and property managers, Cultivate House Detailing provides window screen repair and replacement along with interior window cleaning, exterior window cleaning, screen cleaning, and track cleaning. The company serves Colorado Springs and nearby communities, including Black Forest, Monument, Manitou Springs, and Woodland Park, with services for residential and commercial properties.
If your screen is torn, loose, or no longer fits securely, visit Cultivate House Detailing to request a quote for screen repair, replacement, or professional window cleaning in Colorado Springs, CO. Schedule service for hard-to-reach glass, seasonal buildup, screen cleaning, or a complete exterior and interior window cleaning visit.
Want it handled by a local crew? Cultivate House Detailing offers window screen repair and replacement. Get a free quote.