You're on a ladder, one hand on a strand of lights, the other trying to clip into a frosty gutter while the wind starts pushing across the Front Range. That's the exact moment when a simple decorating job turns into a bad decision. In Colorado Springs, lights and ladders work is rarely about the lights alone, it's about slope, height, wind, timing, and whether the ladder you grabbed fits the job.
The hard truth is that most close calls happen before the first clip goes up. People pick the wrong ladder, set it too shallow on a sloped driveway, overreach to save three minutes, then keep going because they're already committed. I've hung a lot of runs around town, and the pattern is always the same, the job feels manageable right up until it doesn't.
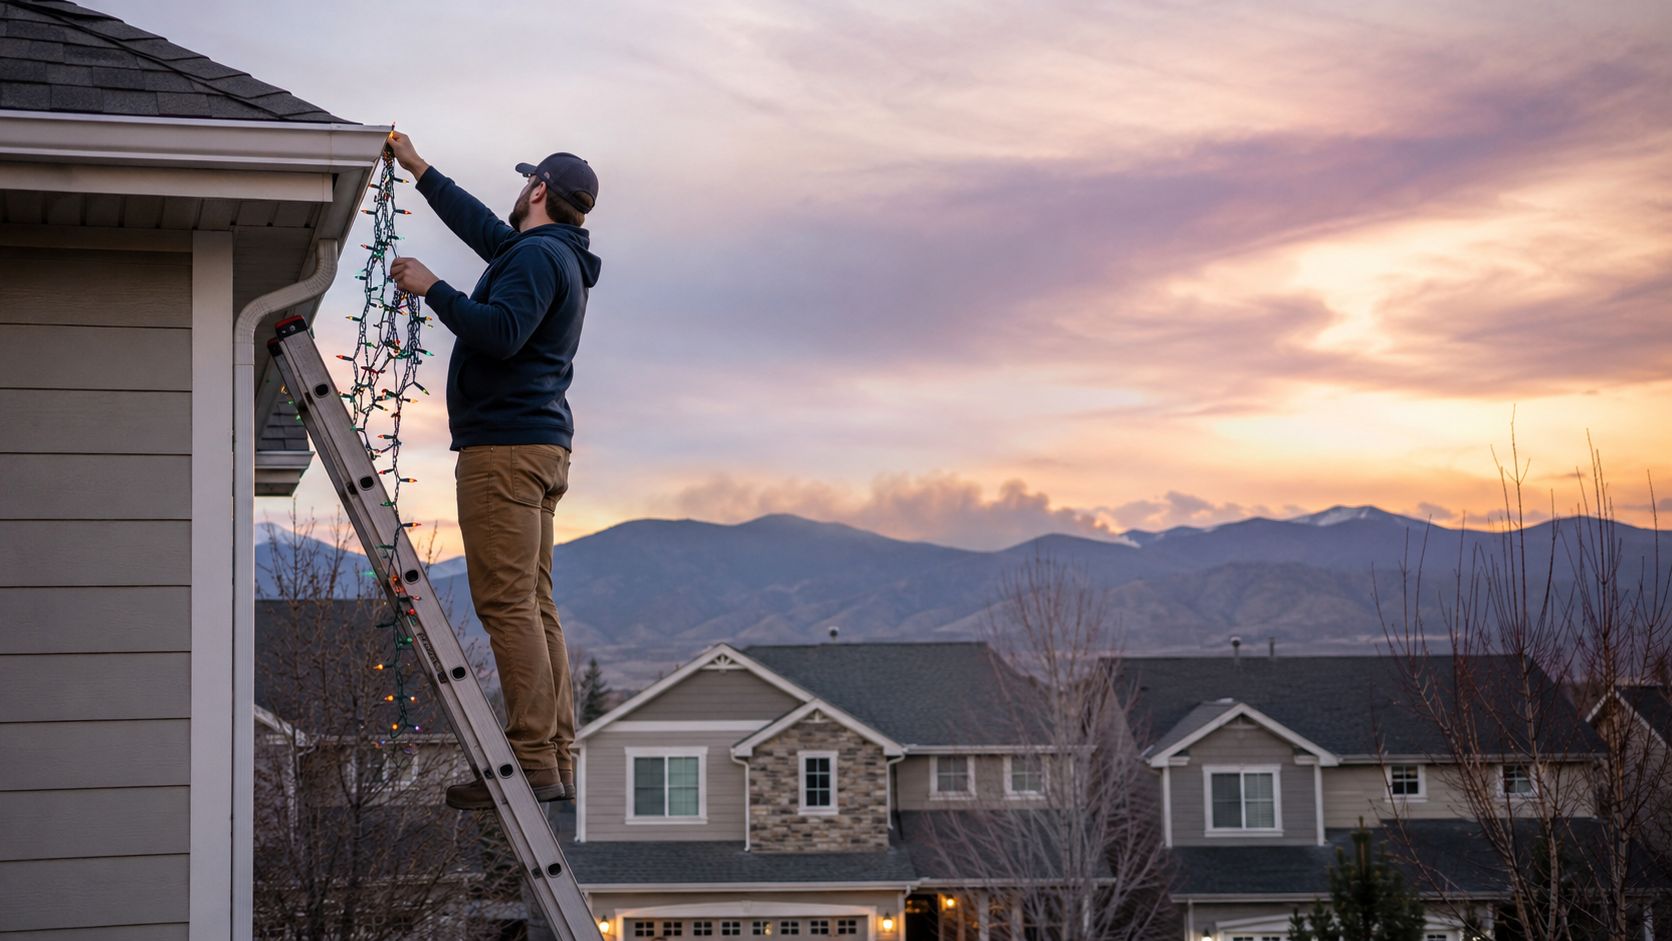
Why Lights and Ladders Trips Up Even Experienced DIYers
Colorado Springs homes make ladder work feel easier than it is. A ranch with a walkout basement, a two-story with a steep roofline, or a house on a sloped lot all change the geometry of the job. Add a little wind and a tangled strand, and people start trusting their hands more than the setup.
The danger isn't the strand, it's the compromise
Most homeowners don't fail because they don't care about safety. They fail because they keep adjusting as they go. They lean a little farther to catch the next clip, plant the feet on a driveway that isn't level, or use trim as a handhold because it's there.
That's why I don't think of lights work as “hanging decorations.” I think of it as a sequence of decisions. The wrong ladder, the wrong angle, the wrong attachment, or the wrong timing each creates its own problem, and those problems stack fast.
Practical rule: if you're changing your body position more than once or twice to reach the next attachment point, the ladder placement is already wrong.
For homeowners who like a deeper look at low-voltage outdoor lighting planning, the urbanmancaves.com lighting guide is a useful reference before you buy fixtures or start routing wire.
Planning Your Lighting Project Before You Touch a Ladder
Start by mapping the actual run, not the fantasy version. Walk the property and decide what deserves lighting, roofline edges, porch lines, entry points, trees, and any side wall that's visible from the street. Then check how you'd reach each point without crossing a flower bed, stepping onto a slick slope, or stretching a cord through standing water.
Match the plan to the property
On some Colorado Springs homes, the straight shot is simple. On others, the safe access point is on the side yard, and the safest attachment point is nowhere near the first place you thought to start. That's the part people miss when they buy lights before they know how the run will be installed.
A good plan also means checking power before you start. If the outlet location forces a stretch cord through a puddle or across a walkway, the layout needs to change. If the clips you've chosen are brittle in cold weather, you'll spend more time replacing broken hardware than finishing the run.
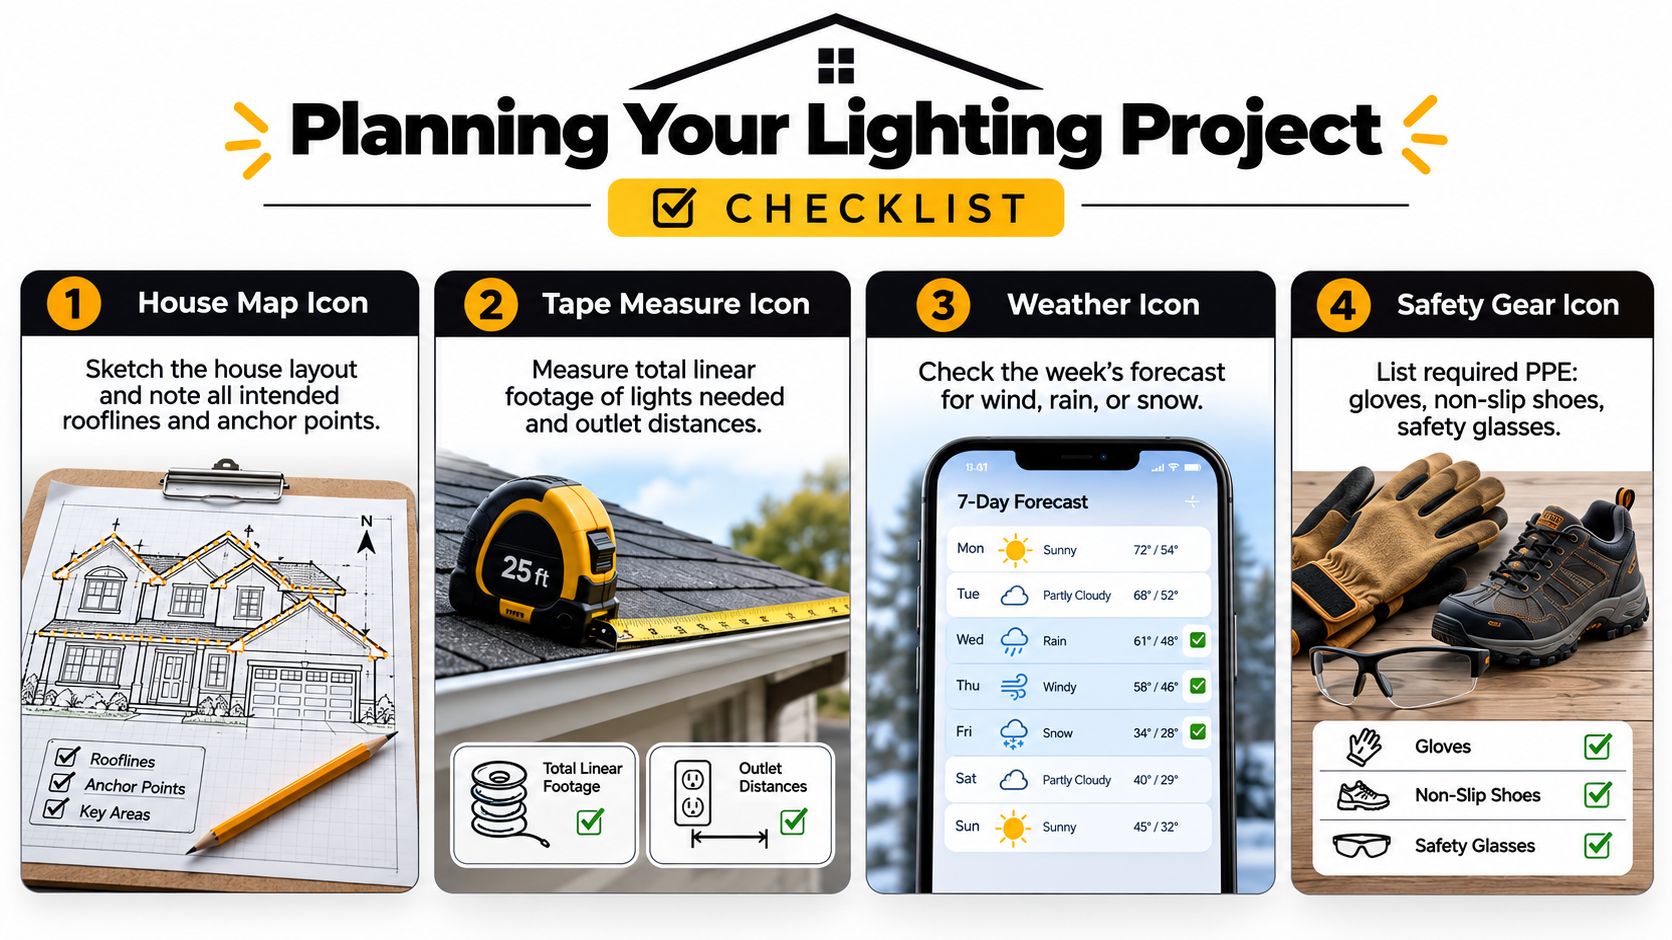
Quick pre-install check
- House Layout: Sketch the rooflines, porch edges, and any tree or fence sections you plan to light.
- Measure Distances: Confirm the run length and the distance to the nearest usable outlet.
- Check the Weather: Watch for wind, rain, snow, or a freeze that makes clips and surfaces harder to manage.
- List Safety Gear: Gloves, non-slip shoes, and safety glasses belong in the truck or garage before the ladder comes out.
HOA rules matter too, especially in neighborhoods where the lighting plan has to stay clean and temporary. If you're unsure whether your layout, access point, or power source is workable, stop there. Unclear answers at this stage usually mean a bigger headache once you're on the ladder.
Choosing the Right Ladder for Lighting Work
The right ladder depends on three things, how high you need to reach, whether both hands have to work at once, and what the ground feels like under the feet. That's why ladder choice for window cleaning near me searches and lighting jobs overlap so much in real life. The same access problems show up on trim, gutters, and roof edges.
Pick for the task, not for the price tag
A tall A-frame stepladder feels convenient because it stands on its own. The problem is reach. On a second-story gutter line, it can push you into leaning and twisting just to place one more clip, and that's exactly when a stable setup becomes a bad one.
An extension ladder makes more sense for roofline runs because it gives you height and a solid upper contact point. It still needs a correct landing spot, a stable base, and enough space to set the angle properly. On a sloped driveway or a stepped foundation, an articulating ladder can earn its keep because it adapts better than a rigid frame.
| Ladder Type | Best Lighting Use | Main Limitation | Ideal Height |
|---|---|---|---|
| Stepladder | Low eaves, porch trim, short front-entry runs | Poor choice when both hands are busy overhead | Low to mid reach |
| Extension ladder | Roofline runs, upper-story light lines, gutter-mounted clips | Needs solid footing and a correct setup angle | Mid to high reach |
| Multi-position ladder | Uneven driveways, side yards, mixed access points | Takes more time to configure correctly | Variable reach |
If you're comparing access options for exterior work, the window cleaning ladder guide from Cultivate HD lines up well with the same reach and setup logic.
What actually matters in the driveway
Don't buy a ladder because it looks tall enough. Buy the ladder that lets you work without leaning sideways or standing on the highest safe step while one hand is full. That's the test. If the ladder solves reach but creates balance problems, it's the wrong tool for the job.
Setting Up the Ladder the Way Pros Do
A ladder that is set right feels boring. That is the goal. On a lights run, you want the ladder planted where it will stay put while you work with both hands, reach sideways for clips, and keep your balance on uneven ground. The 4:1 setup ratio is the starting point. For every 4 feet of vertical height, the base sits 1 foot out from the support, which keeps the ladder from feeling too steep or too shallow. OSHA's ladder standard also says the ladder should be inspected before use and removed from service if it's damaged, because visible defects are a real warning sign, not something to ignore. You can read the standard at OSHA's ladder regulation.
The angle is where setups commonly fail
The recommended pitch is about 75.5° from horizontal, but field studies found the average ladder angle was 67.3°, and one study found a 35.6% probability that users set ladders at less than 70° (study on ladder angle error). That gap matters because a ladder that sits too shallow feels stable until the top shifts or the base slides.
On a sloped Colorado Springs driveway, I do not trust eyeballing it. I place the feet on the firmest level spot I can find, then adjust the base before climbing. Gravel is not a shrug-and-go surface. It needs a better landing spot. If the foundation steps down or the yard falls away, I move the ladder until the rails look honest, not just convenient.
On windy afternoons, I want even less guesswork. A ladder that is a little off on flat pavement becomes a bad setup fast on a driveway crown or a side yard that drops away. Get the feet square, check the angle, and reset it if the ladder wants to wander before you put weight on it.
Three rules that do not bend
- Three points of contact: Keep two feet and one hand, or two hands and one foot, in contact while climbing.
- Three-foot extension: If you're reaching a roof edge or landing, the side rails should extend at least 3 feet above it, a rule reinforced in California ladder regulation and common holiday-lighting guidance (California ladder regulation).
- Helper at the base: One person holding and watching the ladder matters more than many homeowners admit, especially when wind or uneven ground is part of the setup.
Keep the climb boring. If the ladder feels lively before you're halfway up, reset it.
For a visual walkthrough, this embedded clip is worth a look before a roofline install.
Clipping, Hanging, and Routing Lights Without Damaging Your Home
A clean lighting job starts with one rule, do not let the hardware mark the house. On temporary holiday runs, clip-on hardware is the right move because it follows the roofline without drilling fascia or soffit. Permanent systems call for low-profile track or mounted channels, but only if the support surface and power path can handle them.
A sloppy install leaves scars. Stucco can crack under too much pressure or the wrong fastener, and fiber cement or painted trim can show damage fast if a clip bites too hard or someone reaches for staples where they do not belong. Metal trim scratches easily, and asphalt shingle edges are not a free anchor point. Routing the wire matters just as much as the clips, because a clean line only stays clean when it is secure without cutting into layers that need to stay sealed.
The fast fix is usually the wrong fix.
For seasonal strands, use temporary clips and keep the run simple. For a year-round line, use a track system that is meant to stay put. Adhesive or magnetic mounts can work on the right surface, but only when the product matches the material and the temperature outside. If you need a clean path along gutter lines or eaves, a good place to start is this guide to how to clean gutters without a ladder, because the same access problems show up when you are trying to place lights without crushing trim.
Low-voltage wire should stay tight, tucked, and out of pinch points. Leave it loose and it starts looking amateur. Fasten it badly and you invite water where it does not belong. A proper run disappears into the job instead of shouting from the curb.
For homeowners who handle the glass and hire out the roofline, that split makes sense. I see it often with crews like Cultivate House Detailing, where the goal is to get the lighting handled once, not patched later.
When a Stepladder Is the Wrong Tool
A stepladder works for quick, one-handed tasks at low height. It stops making sense the moment both hands have to leave the rails. Hanging light strands, fastening a permanent track, and holding a run in place while you set the next clip all push you past what a stepladder handles well.
The test is simple
If you cannot keep your weight centered and one hand on the ladder frame, stop and switch tools. HSE guidance is clear on this point. Keep three points of contact, avoid overreaching, and leave the top three steps alone unless the ladder design gives you a proper handhold. Side-on use only belongs in limited cases, and only when the ladder is fully locked and tied off (HSE ladder guidance).
A small scaffold platform or an extension ladder usually fits lighting work better. You get a steadier stance, a cleaner reach, and fewer balance problems while you work overhead. That matters more than squeezing a stepladder into a job it was never meant to do. Contractors need to match the tool to the task, and ladder safety for contractors makes that point plainly.
The quick yes-or-no check
- Yes: One hand is enough, the reach stays low, and your feet remain below the top safe step.
- No: You need both hands, you are leaning sideways, or the work sits higher than the ladder naturally supports.
If the answer is no, stop. Use a different setup or bring in help. The same rule applies on other access work too, including cleaning gutters without a ladder, where forcing the wrong tool creates the same bad habits.
Weather, Timing, and Colorado Springs Conditions That Change the Plan
A ranch home in Colorado Springs can feel easy in the morning and sketchy by late afternoon. On a cold, clear day, the wind picks up, the ladder shifts a little on the driveway, and the person on the rails starts rushing clips because daylight is fading. That's the moment to stop, not push harder.
Timing matters more than most people think
Late morning is often better than first light after a cold snap because surfaces have had a chance to warm and dry. Early morning can work if the forecast is calm, but the minute you're dealing with icy shingles, brittle clips, or slick metal rails, you're no longer doing a simple install. Bright midday sun at altitude can also hide clip alignment and make overhead work more annoying than it should be.
A two-story house with a steep pitch is a different animal. If the only access point is on uneven landscaping, or the ladder needs to land in a side yard with a grade, the setup starts looking like a job for a different method. The same goes for third- or fourth-story work, multi-story commercial facades, or any run that asks you to repeat ladder resets across long spans.
If the ladder setup feels awkward on the ground, it won't feel better at the top.
Permanent lighting makes sense for homeowners who are tired of repeating the same ladder dance every season. So does hiring out when the project demands more reach, more setup, or more time than one homeowner wants to spend on a Saturday. A crew that installs seasonal permanent lighting and holiday light installation in Colorado Springs is solving the access problem first, not just hanging bulbs.
Cultivate House Detailing handles seasonal permanent lighting and holiday light installation in Colorado Springs, along with exterior services that keep the rest of the property looking sharp. If your roofline is too high, your yard is too uneven, or you'd rather stay off the ladder entirely, visit Cultivate House Detailing and request a quote.
Prefer to leave it to a professional? Cultivate House Detailing offers gutter cleaning in Colorado Springs. Get a free quote.