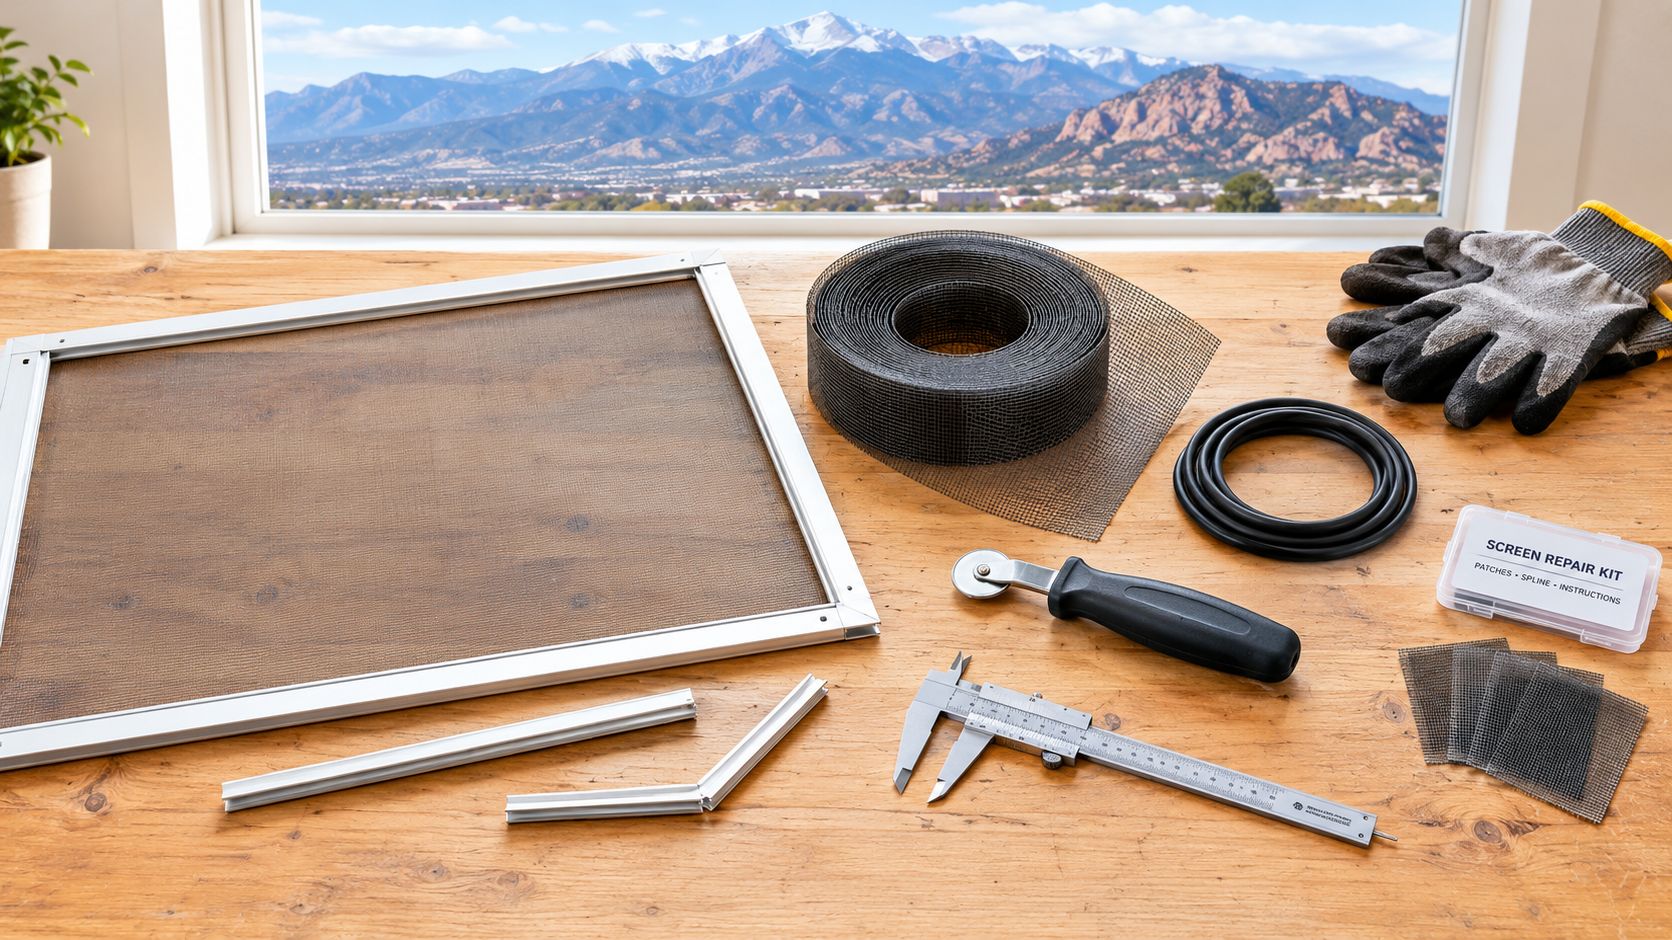
You pull the screens down after winter and find exactly what Colorado Springs weather leaves behind: a torn corner, sagging mesh, pollen packed into the weave, or a screen that crumbles when you touch it. A window screen repair kit can solve some of those problems quickly, but the wrong kit can waste a Saturday and leave you with a warped frame or a patch that fails by the next season.
The right decision starts with the damage, not the product packaging. A small hole in sound fiberglass calls for a different fix than brittle mesh on a south-facing window, and neither should be treated like a bent frame. This guide covers the practical difference between patching and re-screening, the spline detail many instructions skip, and when Colorado Springs homeowners should hand the job to Cultivate House Detailing alongside professional window cleaning.
Why Screens Fail in Colorado Springs
Spring is when many local homeowners discover the problem. Screens come out of storage, sunlight reaches the windows again, and a mesh panel that looked acceptable in fall suddenly shows tears, loose edges, or dry, powdery fibers. Colorado Springs combines intense high-altitude sun with windy weather, airborne grit, and heavy pollen seasons, so screens often take more punishment than their appearance suggests.
South- and west-facing windows usually deserve the closest inspection. Ultraviolet exposure can make older mesh brittle, while spring wind can drive small debris against the screen and work loose fibers into larger tears. Pollen and dust also settle into the openings, reducing airflow and making the material harder to clean without stressing it.
A quick assessment takes less than a minute:
- Pinch the mesh gently: If it feels flexible, a localized repair may be reasonable. If it feels powdery or snaps easily, plan on replacing the mesh.
- Check the damage: A single, clean puncture is a patch candidate. Multiple tears or a spreading rip usually point toward a full re-screen.
- Inspect the frame: Look at the corners and long rails. A bent or twisted frame won't hold new mesh correctly.
- Check the spline: If the rubber cord is loose, cracked, or popping from the channel, the repair may require more than adhesive.
The retail market reflects how many different problems homeowners are trying to solve. Amazon's U.S. marketplace lists 462 results for “window screen repair kit,” 595 results for “window screen kit,” and 322 results for screen patches in its respective searches, showing the breadth of options for full-frame repairs and small localized fixes (Amazon's window screen repair kit marketplace).
For a broader look at how seasonal weather affects local glass and screens, see how Colorado's seasons challenge your windows year-round. The important takeaway is simple: don't buy a kit until you know whether the mesh, the spline, the frame, or all three have failed.
Choosing the Right Repair Kit and Mesh
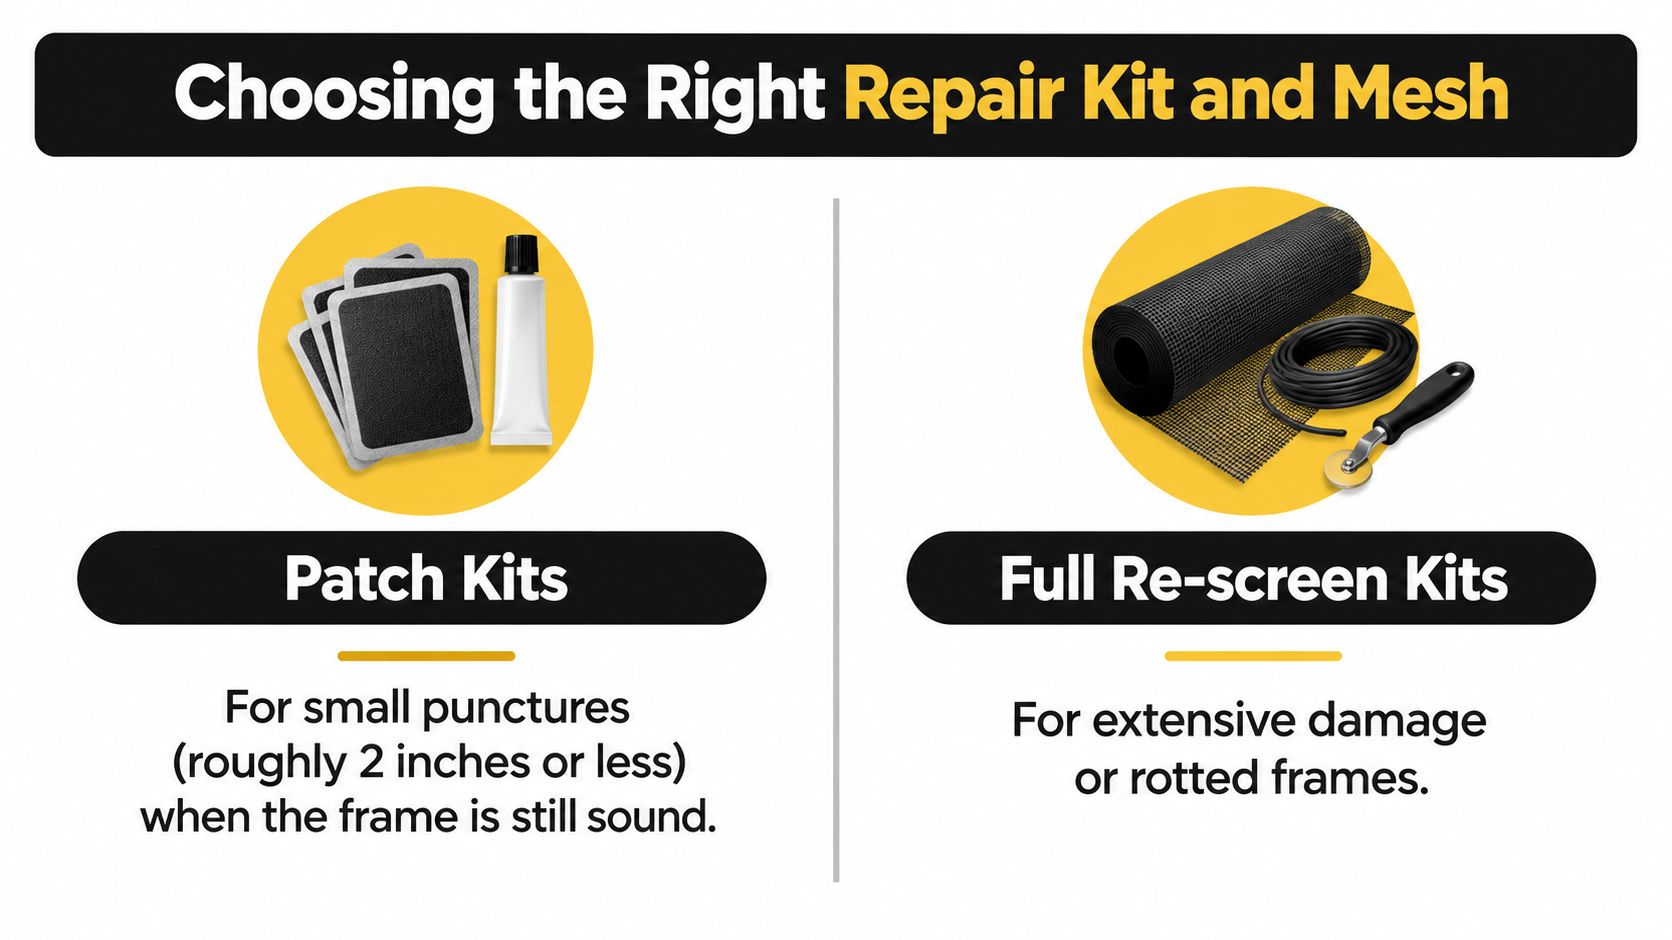
A clean puncture in otherwise strong mesh may need only a $5 patch. A spreading tear, brittle fabric, or loose spline usually makes a full re-screen the better choice. Colorado Springs sun, wind, and airborne pollen can expose weak mesh quickly, so match the kit to both the damage and the window's exposure.
| Damage Situation | Best Kit Type | Recommended Mesh |
|---|---|---|
| Small puncture around 2 inches or less, sound frame | Patch kit | Matching fiberglass or plastic mesh |
| Tear larger than about 3 inches | Full re-screen kit | Fiberglass for flexible installation |
| Brittle, powdery mesh from sun exposure | Full re-screen kit | UV-resistant replacement mesh |
| Pet scratching or repeated pawing | Full re-screen kit | Pet-resistant mesh, often aluminum or another reinforced option |
| Bent, cracked, or badly distorted frame | Frame replacement or professional evaluation | Mesh choice comes after the frame is sound |
Match the mesh to the household
Fiberglass is flexible and forgiving, making it a practical option for standard window repairs and first-time work. Aluminum handles pets, repeated contact, and frequent handling better, but it can crease or deform if pulled too aggressively.
Choose pet-resistant mesh where a dog pushes against the screen or claws at it. UV-resistant material suits windows that receive strong, direct sun. For screens exposed to Colorado Springs wind and pollen, a sound, tightly seated installation matters as much as the mesh type. The lowest-priced material is not always the least expensive repair if it fails again.
Measure the spline before ordering
Spline is the rubber cord that locks mesh into the frame groove, and its diameter often decides whether the repair holds. Common sizes range from about 0.125 to 0.175 inches. Remove the old spline and measure it with calipers before ordering, following this spline measurement guide.
Standard window channels often use spline around 0.125 to 0.140 inches, while patio doors may require 0.160 inches or more (screen replacement workflow and spline guidance). A spline that is too small can pull out under tension. One that is too large may distort the frame or refuse to seat completely.
Practical rule: If the old spline remains intact, measure it rather than guessing by appearance. If the channel, frame, or mesh condition is unclear, stop before buying materials and have a local screen professional, such as Cultivate House Detailing, assess the repair.
Rescreening a Frame With Your Kit
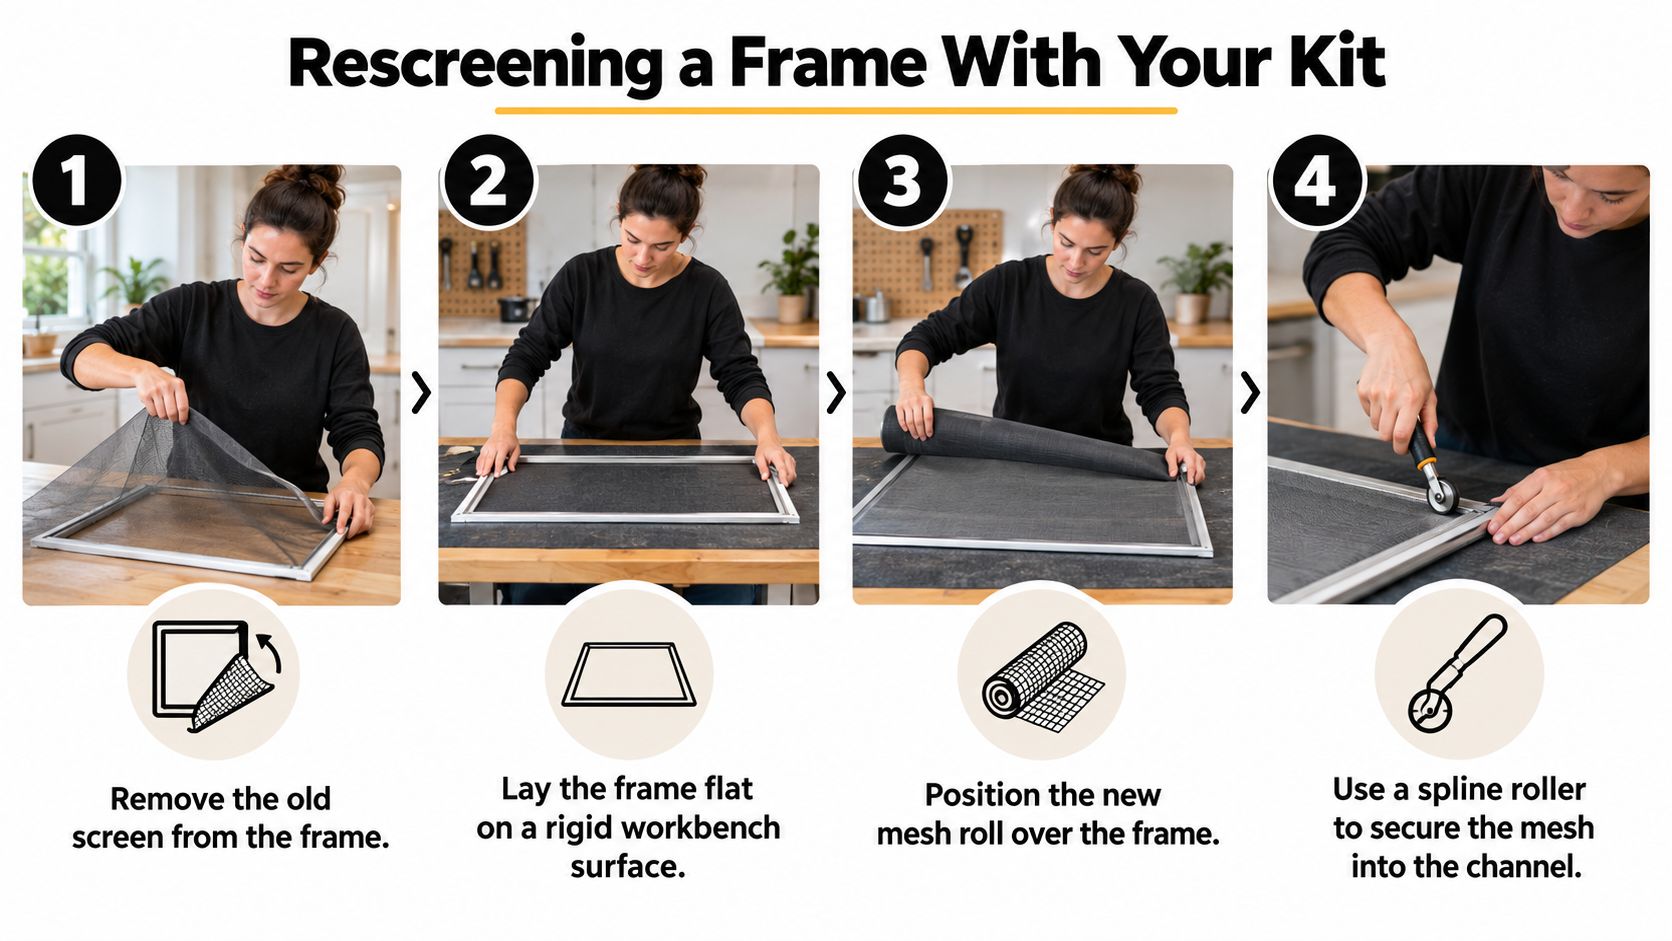
A workbench or kitchen table can handle a full re-screen, but the surface must be rigid, level, and large enough to support all four sides. Carpet and uneven counters let the frame flex as you press in the spline, which can create wrinkles or bow the rails.
Prepare the frame
- Remove the screen carefully. Put tabs, clips, and other hardware in a container so they do not get lost.
- Lay the frame flat. Support every side on a firm work surface.
- Pull out the old spline. Lift one end with a small screwdriver or pick, taking care not to gouge the channel.
- Inspect the corners and rails. Straighten a bent corner or twisted frame before adding mesh. A damaged frame will not hold a clean installation.
- Clean the channel. Remove dirt, pollen, and old rubber so the replacement spline can seat evenly.
Unroll the replacement mesh over the frame, leaving about 1 to 2 inches of overlap on every side. This margin keeps the material aligned while you secure the perimeter and leaves room for final trimming.
Install the mesh without over-tensioning
Use the convex wheel on the spline roller to press the mesh and cord into the channel. Start along one long side, then work across the opposite long side with steady pressure. Secure the short sides after the mesh is positioned correctly.
The mesh should be flat, not drum-tight. Pulling too hard can bow a lightweight aluminum frame and create permanent ripples. Apply enough tension to remove slack while keeping the rails straight.
Keep the overlap in place until the spline has been rolled around the entire frame and is fully seated. Trimming early is a common way to create gaps. Once the spline is secure, run a sharp utility knife along the outside of the channel and remove the excess mesh.
Colorado Springs wind can expose a loose section quickly, while dust and pollen make a channel that was not cleaned properly easier to spot. Press lightly along the perimeter before reinstalling the screen. The spline should stay down, the corners should remain clean, and the mesh should show consistent tension without visible waves.
For a visual walkthrough, this video demonstrates the general process:
Fixing Small Tears With a Patch Kit
A patch is the sensible first move when the hole is small, the frame is square, and the surrounding mesh still feels flexible. In practical terms, a puncture around 2 inches or less can often be handled without removing the entire screen. A low-cost patch is useful when it matches the existing mesh and the damage hasn't weakened the surrounding area.
Start by cleaning the area. Dust, pollen, and loose fibers keep adhesive from bonding and make a mechanical patch harder to position. Don't patch over mesh that is already fraying around the hole, because the repair will be attached to material that is failing.
For fiberglass or plastic screens, a dependable approach is to cut the damaged area into a neat square. Bend the cut mesh edges outward so the replacement can interlock with the surrounding weave, then cut the patch about 1/2 inch larger on every side and place it over the opening. This method is described in Home Depot's guide to repairing or replacing window screens.
Keep the patch aligned with the existing grid. A square patch that follows the weave is less noticeable than one placed at an angle, especially when viewed from inside the room. Press the edges firmly and remove excess adhesive if the product requires it.
A $5 patch works when the hole is small and the surrounding mesh is healthy. It becomes a false economy when sun-baked fabric tears beside the patch or crumbles during installation.
That distinction matters in Colorado Springs. If the mesh feels brittle and powdery, replacing the entire panel gives the new repair a sound perimeter. If the frame is also bent, patching won't restore a proper fit and may only postpone the actual repair.
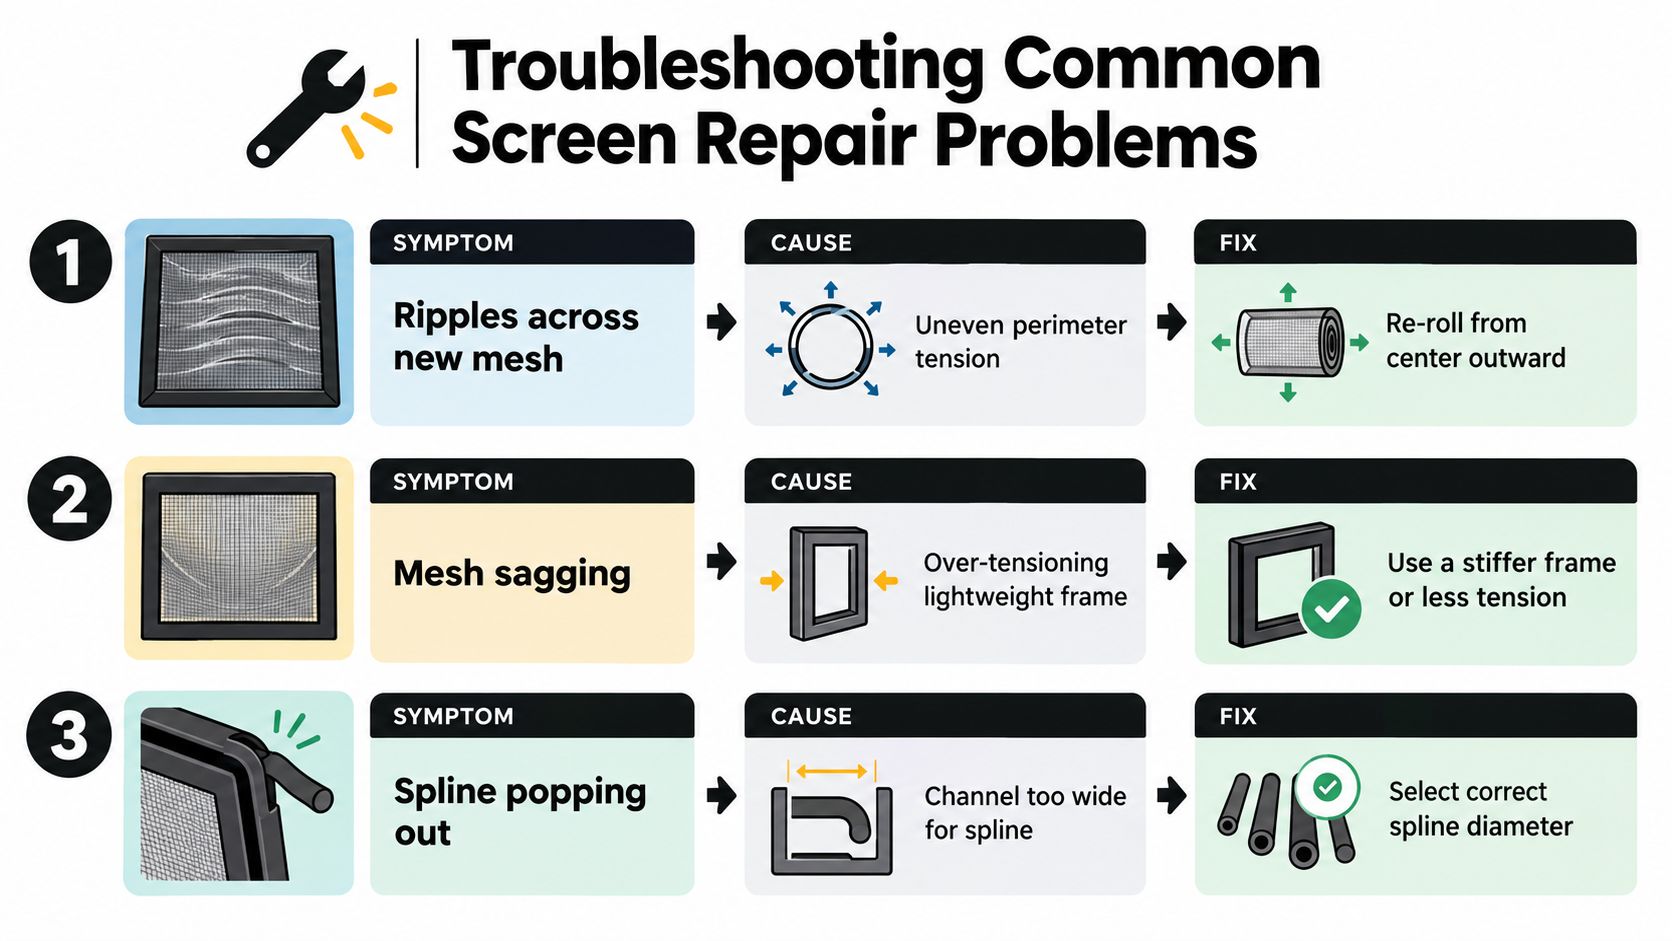
Troubleshooting Common Screen Repair Problems
Most failed screen repairs show a recognizable symptom. Use the symptom to decide whether you need a small adjustment or a complete restart.
Ripples across the new mesh
Ripples usually come from uneven perimeter tension. If one side was pulled harder than the other, lift the spline from the affected area and re-roll that section gradually. Trying to flatten the mesh by pulling harder often makes the frame bow.
Mesh slipping during rolling
Mesh can slip when you trim before the spline is fully seated or when you start rolling without establishing a straight reference side. Pulling out the spline and restarting with the mesh aligned is usually faster than chasing a shifting edge.
Spline popping out
A spline that keeps lifting from the channel may be the wrong diameter for the groove. Measure the old spline, check the channel, and select a size that grips securely without forcing the frame outward.
Sagging or bowed frames
Over-tensioning can bow lightweight aluminum frames and leave long-term waves. Release the spline, relax the mesh, and reinstall with even pressure. If the frame has already taken a permanent bend, a new mesh panel won't correct the underlying shape.
South- and west-facing screens deserve extra attention after installation. UV-weak material and incorrect mesh selection can shorten service life in intense sun, so a specialized UV-resistant option may be more appropriate than standard fabric for those openings.
When to Call Cultivate House Detailing Instead
DIY kits are a good fit for one or two ground-level screens with straightforward damage. The calculation changes when frames are bent, windows sit on a second through fourth story, or a whole home needs attention before a listing. Managing screens, glass, tracks, pollen, and hard-water buildup at the same time can quickly become more work than the repair itself.
Cultivate House Detailing is a locally owned Colorado Springs company founded in 2022. The team handles window screen repair in Colorado Springs along with streak-free residential and commercial window cleaning up to the fourth story, so one visit can address glass, screens, and tracks.
Customers can expect clear communication from estimate through follow-up, safety-first practices, and service for homeowners, property managers, and businesses in Colorado Springs and nearby communities, including Black Forest, Monument, Manitou Springs, and Woodland Park. For difficult access, multiple screens, bent frames, or a busy seasonal cleanup, professional help can protect the frame and save the weekend.
Cultivate House Detailing provides window screen repair, screen replacement, interior and exterior window cleaning, screen cleaning, and track cleaning for Colorado Springs homes and businesses. Visit Cultivate House Detailing to request a quote and enjoy clearer Colorado views without turning a screen repair into a full DIY weekend.