You pull into the driveway after a rough Colorado Springs winter, and the surface tells the story fast. Oil shadows sit where the truck parks, the concrete looks tired, and the edges have that dusty, chalky look that means weather's been working on it for a while. If that sounds familiar, you don't need a random DIY experiment, you need a clear plan for driveway cleaning and sealing that fits the way Front Range weather beats up hard surfaces.
The right plan starts with one question, not a bucket of sealer. Is this driveway just dirty, or is it ready for protection before moisture, UV, and freeze-thaw cycles do more damage? A good homeowner decision here saves money, avoids repeat work, and keeps the surface looking sharper for longer.
Why Your Colorado Springs Driveway Needs Attention
Colorado Springs is hard on driveways because the climate never lets the surface coast. Sun exposure at altitude, cold nights, winter moisture, and freeze-thaw swings all work on cracks, joints, and the top layer of concrete or asphalt. Add de-icers and tracked-in grit, and even a decent-looking driveway can age faster than the rest of the property.
A stained driveway is more than an eyesore. Once water gets into weak spots, the surface starts to wear unevenly, and the damage gets harder to ignore each season. That's why driveway care here isn't just about looks, it's about keeping the slab or asphalt mat from moving into avoidable repair work.
Practical rule: If the driveway still has solid structure and the problem is mostly dirt, oxidation, and stains, cleaning can be enough for now. If you're seeing fading, surface wear, or signs that water keeps getting into the top layer, sealing starts to make sense.
For a quick visual on worn concrete, spruce up your worn concrete driveway is a useful reference point because it shows the kind of surface decline homeowners usually notice first. In local terms, that means don't wait until the driveway looks broken before you act.
The smartest move is to treat driveway care like a maintenance cycle, not a one-time rescue. Clean it properly, judge the surface thoroughly, then seal only when the driveway is ready for protection. That's the part many homeowners skip, and it's usually the mistake that costs them later.
Deciding Between Cleaning Only and Full Sealing
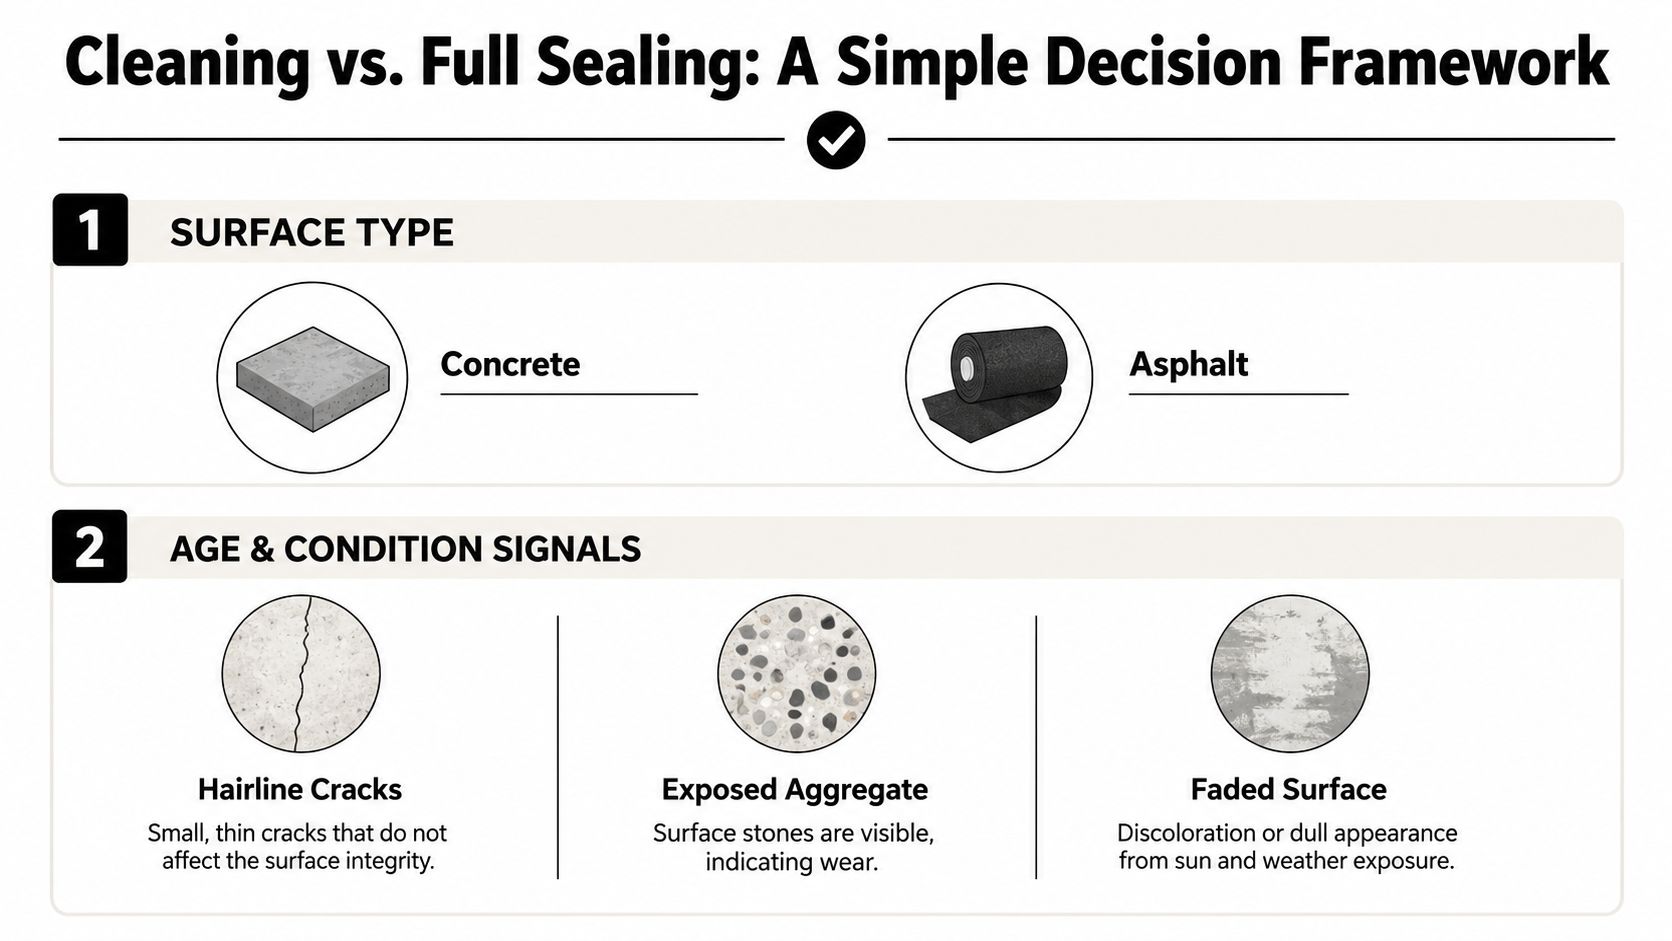
Start with the surface, because asphalt and concrete don't age the same way. Asphalt usually benefits from sealing when the goal is slowing oxidation and water intrusion. Concrete is more about managing pores, stains, and surface wear, so a penetrating or film-forming product only helps when the slab is sound enough to accept it.
Use the condition of the driveway as the real filter
Here's the simple rule I use: clean-only if the driveway is structurally fine and the issue is mostly grime, stains, or dull color. Seal when the surface is stable but you want to slow further wear and keep moisture out. Replace or repair first when you can see real structural damage, active breakup, or areas that won't hold a finish.
Watch for signs that matter, not just cosmetic roughness. Hairline cracking, exposed aggregate, oxidation on asphalt, and small areas of spalling all point to a driveway that needs a closer look before anything gets rolled on top. Sealing over a surface that's already failing is a fast way to trap problems instead of fixing them.
The cleaner the surface, the easier the decision. If a driveway looks ugly but still behaves like a solid slab or mat underfoot, cleaning can buy you time and improve curb appeal without forcing a coating decision. If the driveway is still sound but you want a longer maintenance cycle, sealing is the smarter spend.
Sealing is a protection move, not a cosmetic bandage.
That's why I'd rather see a homeowner clean first, inspect carefully, and then decide on sealer with a clear head. It beats buying product early and hoping it solves everything. If the surface is only dirty, stop there. If the surface is tired but intact, sealing earns its keep.
How to Clean Your Driveway the Right Way
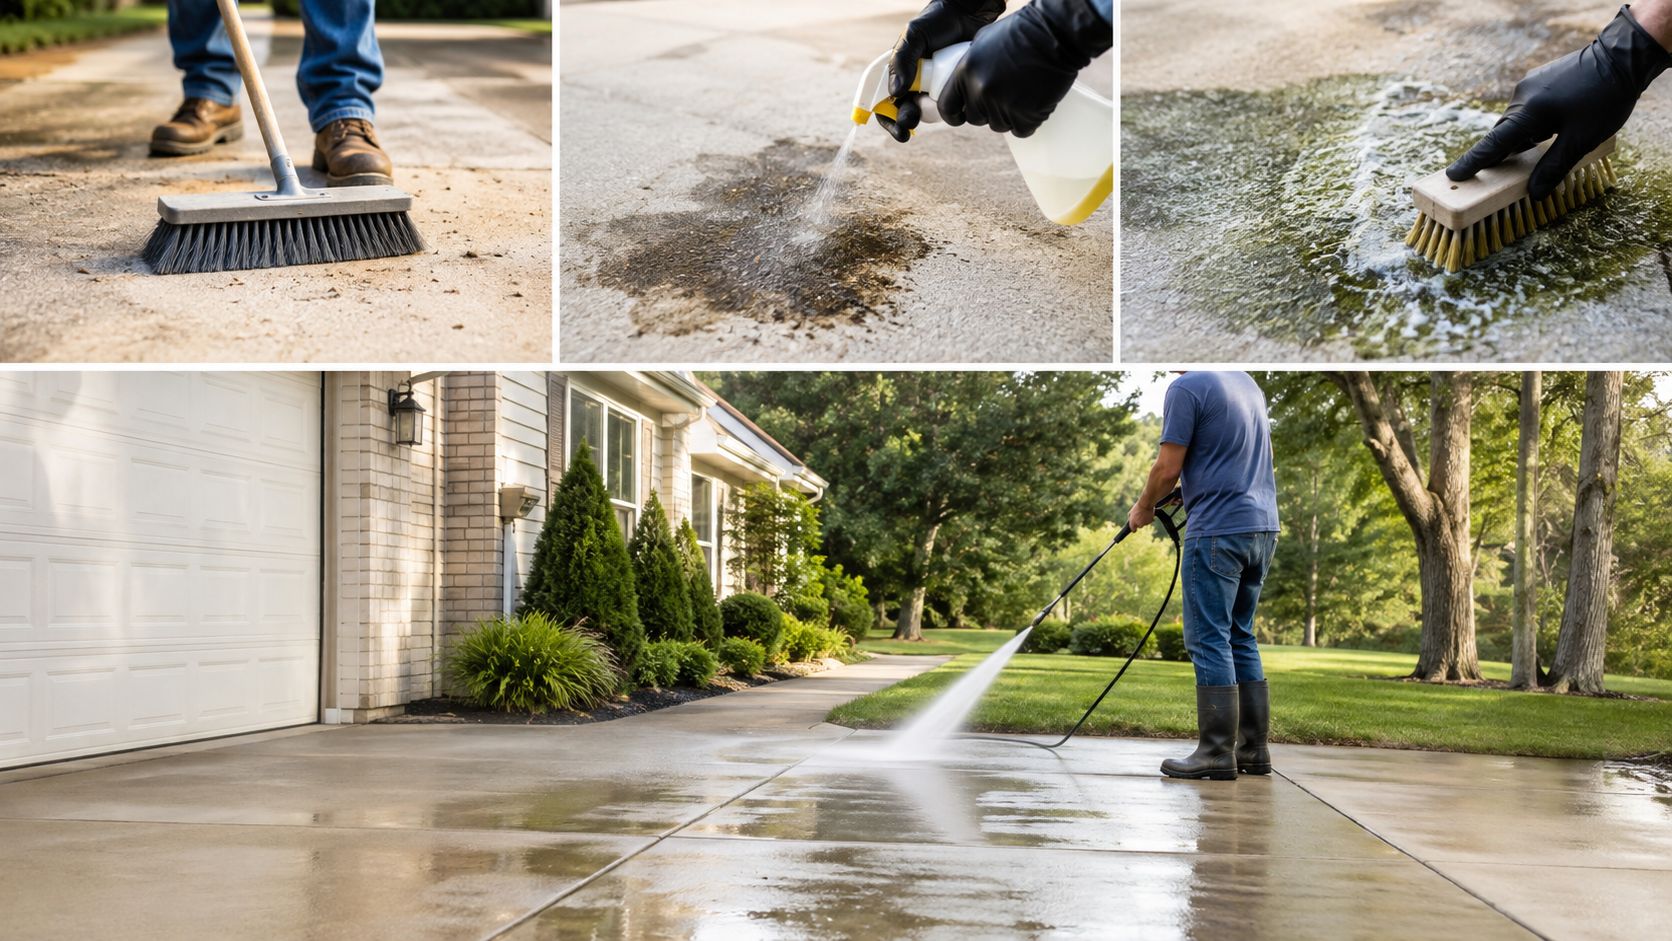
Start dry. Sweep or blow off loose grit, leaves, and debris before you touch water, because blasting dirt around just makes the job messier. Then pre-treat the trouble spots, oil, rust, and algae need targeted cleaners, not wishful thinking and a pressure wand.
A lot of people rush straight to the washer and call it good. That's a mistake. The cleaner the stain work before pressure washing, the less likely you are to scar the surface or leave shadows behind.
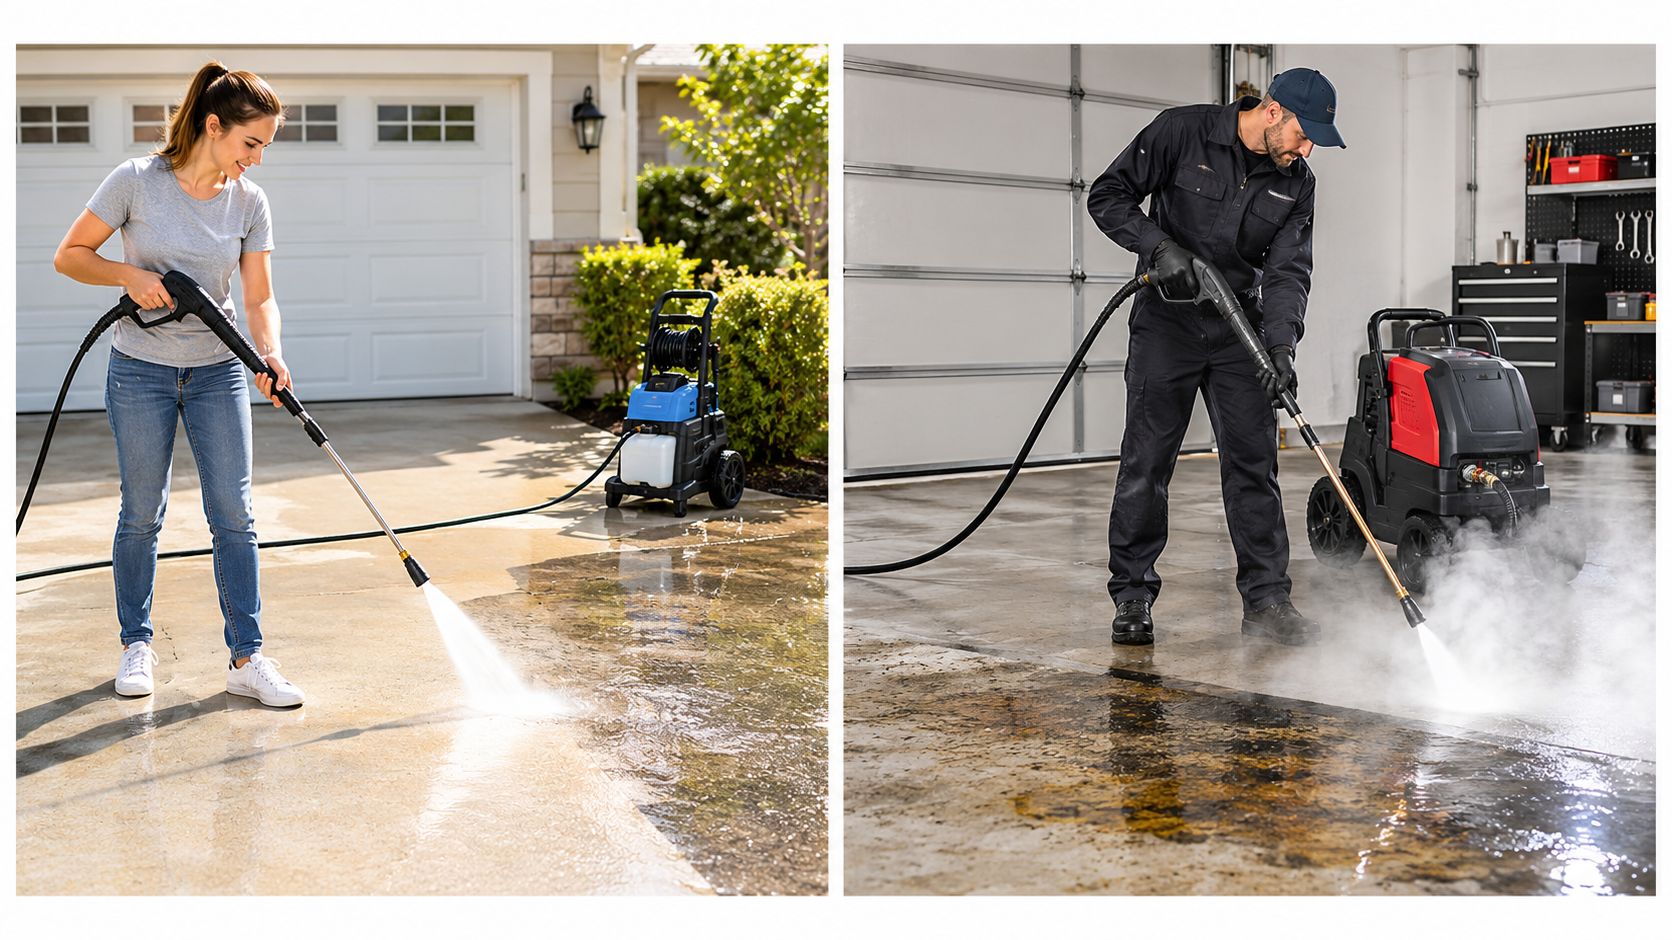
Use a pressure washer with control, not aggression. Keep the nozzle moving, hold a sensible stand-off distance, and overlap your passes so you don't stripe the driveway. Work from the house outward or from the highest point toward the lower edge so dirty water doesn't run back over areas you already cleaned.
Drying matters more than most homeowners admit
Once the driveway is washed, let it dry completely before sealing. If the surface still holds moisture, sealer can bond poorly, haze, or leave visible defects. The drying window is part of the job, not an optional pause.
If you want a practical visual on the washing side of the process, the workflow shown in this pressure washing concrete driveway guide matches the kind of methodical approach that protects the surface instead of chewing it up. That's the mindset you want.
For a homeowner, the key question is whether you've got the time, tools, and patience to do this cleanly. If the driveway is small and the staining is light, DIY can work. If the surface is large, heavily stained, or already fragile, hire it out before you turn a cleaning job into a repair bill.
Sealing Techniques That Actually Protect the Surface
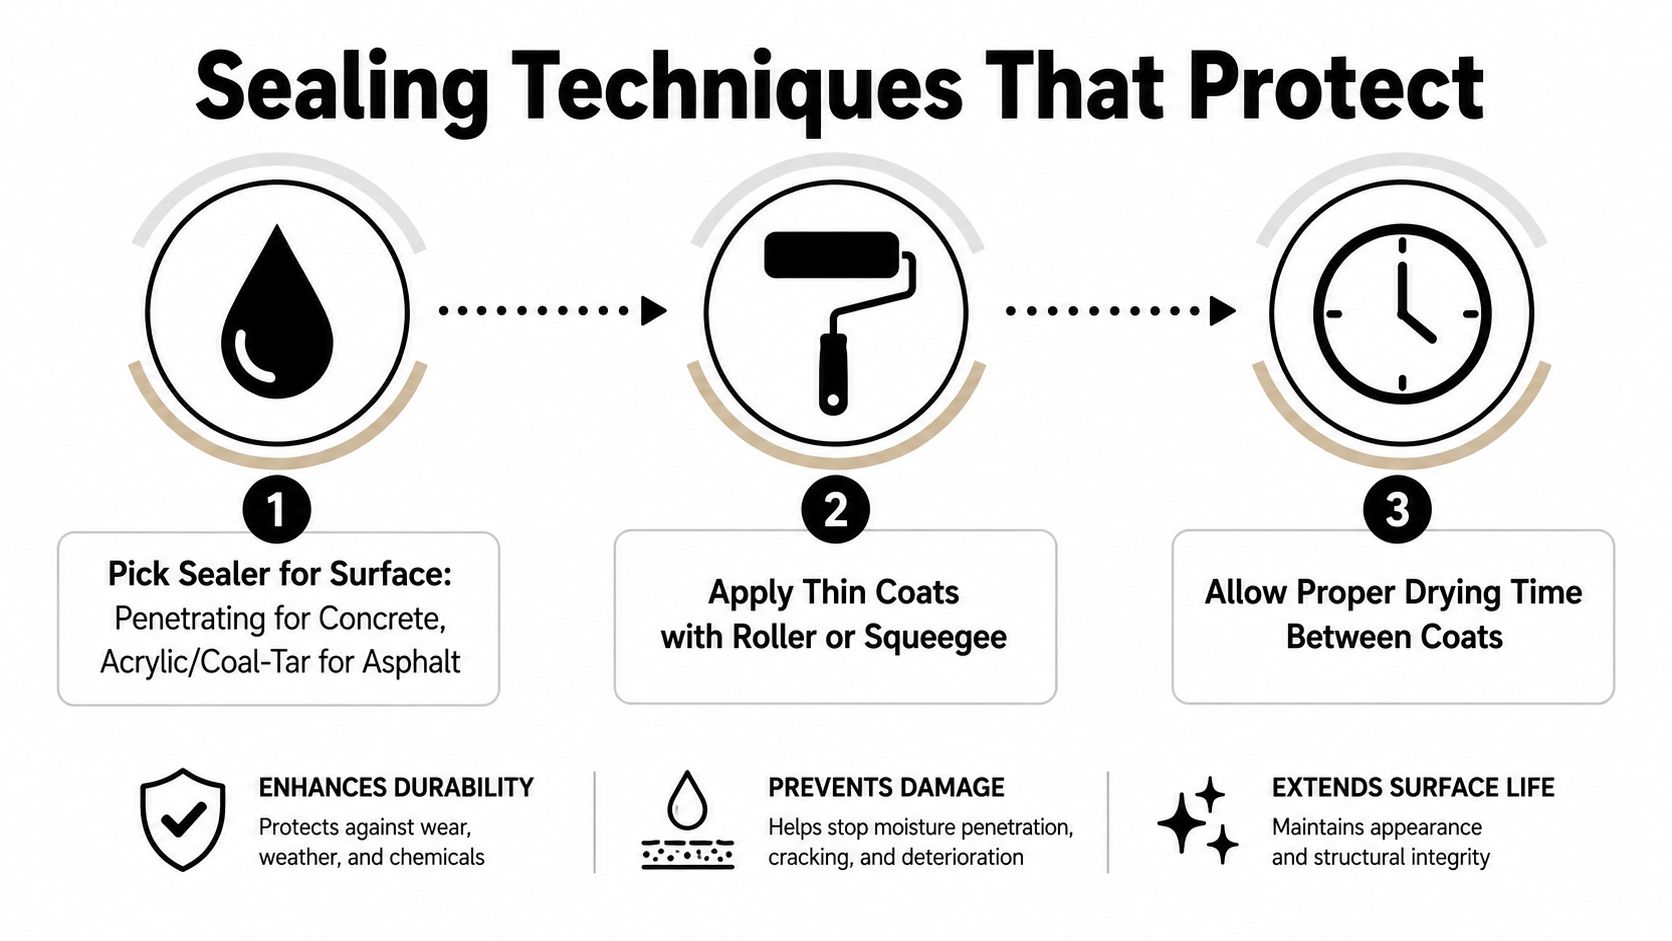
Choose the product for the surface, not for the label hype. For concrete, a penetrating sealer makes sense when you want protection without building a heavy film. For asphalt, acrylic or coal-tar style sealers are commonly used to restore color and help shield the surface. Epoxy or polyaspartic systems sit in a different price and performance tier, so those are more of a specialty move than a casual weekend buy.
Thin coats win, thick coats fail
Most bad jobs start here. Apply the sealer in thin, even passes with a roller or squeegee, and work in 3 to 4 foot sections so you can keep the edge wet and controlled. Start at the highest point and move downhill, because runoff and tracked debris will ruin fresh sections if you work uphill into your own path.
A heavy coat looks impressive for about five minutes, then it starts causing problems. Puddling, lap marks, and uneven drying are exactly what happen when somebody tries to force extra product onto the surface. Two thin coats beat one thick coat every time.
If you're looking at other sealing workflows for comparison, paver sealing in Arizona is a good reminder that careful surface prep and controlled application matter across different hardscapes, not just driveways. The technique principle is the same, keep the material even and the surface ready.
Practical rule: Test your spread rate on a taped-off 10×10 foot area first. If the coverage looks off there, it'll look worse across the whole driveway.
Drying between coats matters too. Don't rush the second pass, and don't assume a surface that looks dry is ready. A good sealing job is built by patience, not by dumping more material onto a surface that isn't ready to take it.
Timing the Job for Colorado Springs Weather
Colorado Springs weather can turn a simple sealing job into a mess if you guess wrong on timing. The driveway has to be dry, and you need a real weather window, not a wishful morning. If rain is in the forecast, wait. If the surface still holds moisture, wait again.
A good seal job depends on the cure window, not on how fast you want the project done. Many products need at least 24 hours before light foot traffic and 24 to 72 hours before vehicle traffic, depending on the formulation and the weather. Many sources also warn against sealing if rain is expected within 24 to 48 hours. That is the schedule to follow. Sealant curing guidance
Colorado Springs adds one more problem, high-altitude sun. The surface can dry fast on top while moisture still hangs around in the base, which is why a driveway that looks ready can still fail under fresh sealer. surface-prep cautions spell out the same practical rule, keep water out of the prep and out of the cure.
Seasonal Sealing Window for Colorado Springs
| Season | Go / No-Go | Key Conditions |
|---|---|---|
| Late spring | Go | Dry stretch, mild daytime temperatures, low chance of surprise rain |
| Early summer | Go, if forecast is stable | Good drying conditions, but watch afternoon storms |
| Mid summer | Caution | Hot surface, fast flash-drying, and sudden storms can complicate timing |
| Early fall | Go | Usually the best balance of dry air and manageable temperatures |
| Late fall and winter | No-go for most homeowners | Cold nights, moisture risk, and poor cure conditions |
Late spring and early fall usually give homeowners the cleanest shot. The air is drier, the temperatures are easier on the product, and you have a better chance of getting the whole driveway sealed before the weather turns. Mid summer can work, but you need to watch for hot pavement and pop-up storms that shorten your working time. Late fall and winter are bad bets for most DIY jobs in this area.
A surprise thunderstorm over fresh sealer can whiten the finish, weaken the film, or force a redo. If the driveway gets damp before it cures, do not try to save it by driving on it or piling on more product. Let it fail, then fix it properly after the surface is fully dry.
The morning test is simple. If the forecast is steady, the driveway is bone dry, and you can keep cars off it for the full cure window, go ahead. If any one of those pieces is missing, wait.
DIY vs Hiring a Professional
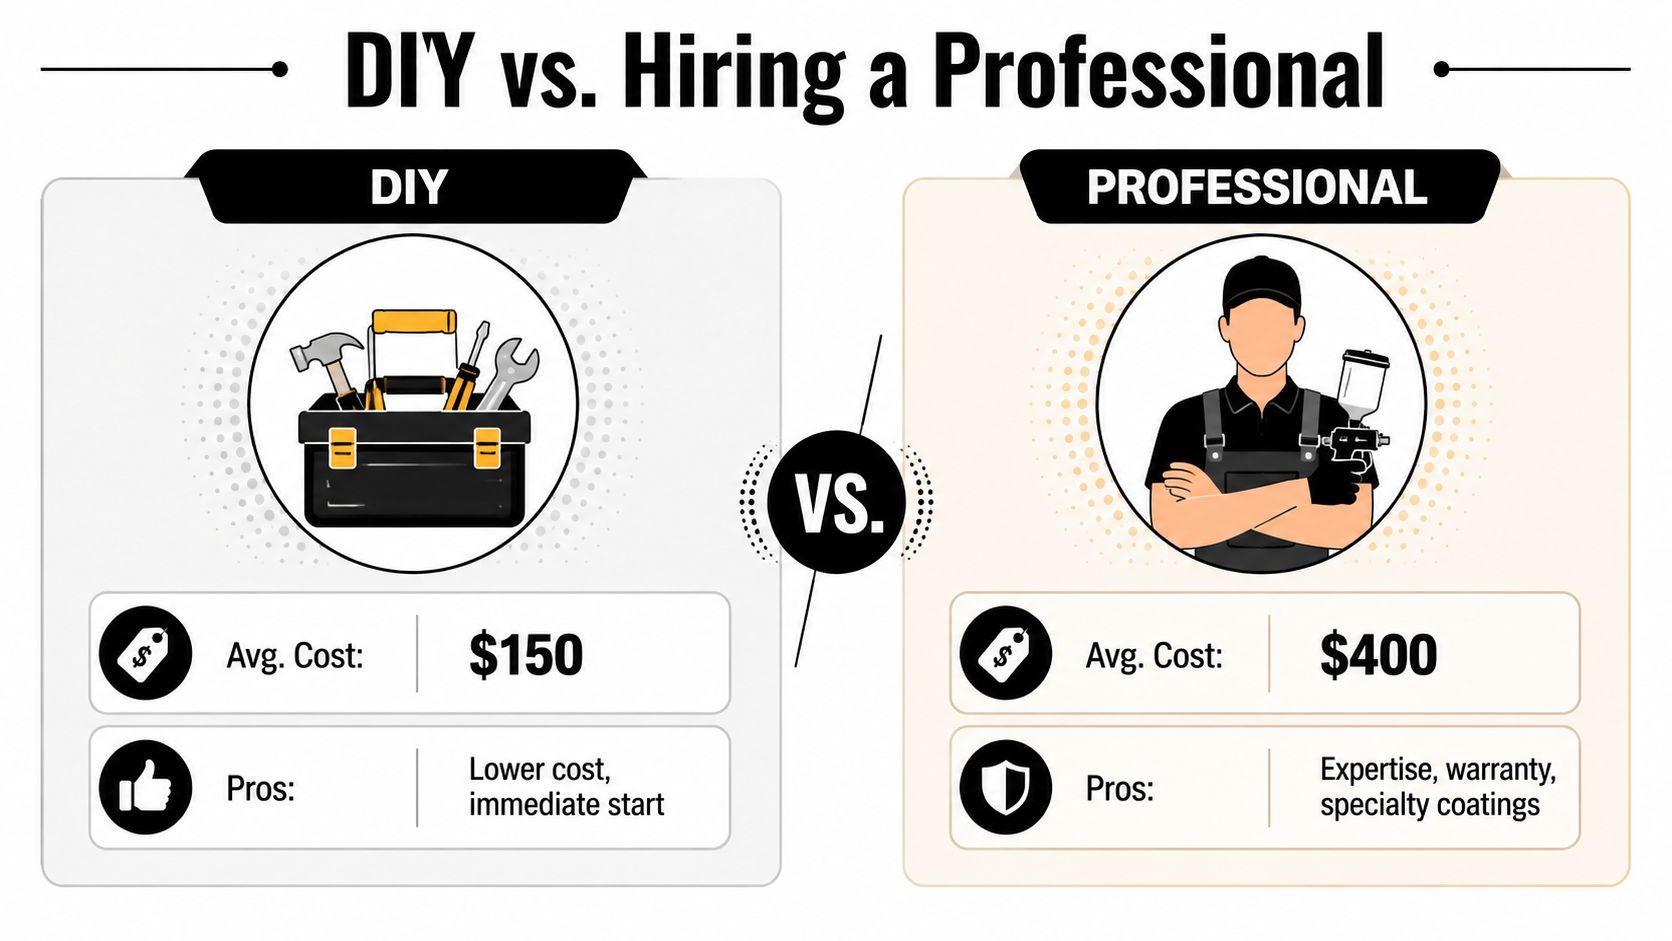
A driveway job looks cheap until you count all the costs. Material, rental equipment, cleanup, and your time add up fast. The verified market data puts average residential spending around $150 for DIY approaches and about $400 for professional contractor services in the driveway sealer market, which is one reason the service stays durable at household scale.
Cleaning can swing just as hard. Pressure washing alone can run around $100 to $500, depending on driveway size and condition, so a homeowner who buys the wrong gear or has to redo part of the prep can spend more than expected on a job that still looks uneven.
What you're really paying for
DIY gives you control and a lower cash outlay. You buy the materials, rent or own the equipment, and set the schedule yourself. That works when the driveway is small, the surface is in good shape, and you already know how to avoid striping, missed spots, and heavy application.
Professional work costs more, but it buys consistency. You get experienced surface prep, better judgment on whether sealing is even appropriate, and a cleaner finish on driveways that are awkward, large, or already weathered. Specialty systems can push prices much higher, and a 2-car concrete driveway can reach $575 to $1,700 with sealing, or $5,200 for epoxy or polyaspartic systems.
If you are comparing service providers, hiring an asphalt seal coat pro is a useful benchmark for the kind of judgment and equipment access that make pro work worth it on tougher surfaces. That matters in Colorado Springs, where freeze-thaw cycles and strong sun punish weak prep and cheap materials.
For a homeowner with a sound driveway and one weekend to spare, DIY can be fine. For anyone dealing with stains that keep coming back, a surface that will not dry evenly, or a driveway that needs specialty coating, call a pro. One bad seal coat costs more than the labor you tried to save.
If you want a practical look at the wash side of the job, pressure washing driveway cost shows why many homeowners stop trying to piece the work together themselves. The equipment, time, and risk stack up fast.
Common Mistakes That Ruin a Sealing Job
The mistakes that ruin a sealing job are usually small and predictable. They show up later as peeling, whitening, tire marks, or a blotchy sheen. Skip those errors and the finish looks better, holds up longer, and does not turn into a second round of work.
Sealing too early is one of the fastest ways to waste money. If the surface still holds moisture, the coating will not bond correctly, and cloudy areas or early failure can show up soon after. The drying window matters as much as the sealer you choose.
Putting on too much product causes trouble fast. Heavy coats puddle, trap moisture, and leave lap lines that stand out as soon as the sun hits the surface. Thin, even passes are the job.
Skipping stain pre-treatment also weakens the result. Oil and rust do not vanish because sealer goes over them, they show through the finish and keep the driveway looking dirty. Clean first, treat problem spots directly, and then seal.
What to avoid on sealing day
- Don't trust a damp surface: Moisture under the sealer leads to poor adhesion and visible failure.
- Don't work against the weather: Rain in the forecast can ruin the finish before it cures.
- Don't rush vehicle access: Tires can leave marks if the surface isn't fully cured.
- Don't use one thick coat: Heavy application causes puddling and lap marks.
- Don't skip prep on stains: Oil and rust need targeted treatment before coating.
Routine maintenance still keeps the job cheaper and easier. Light cleaning every season, a deeper clean once a year, and resealing on a 2-year cycle for asphalt or about a 5-year cycle for concrete is a practical rhythm for many driveways, based on common industry guidance and the maintenance intervals noted in the earlier maintenance guide.
When the driveway is bigger than a weekend project, or the surface has real damage, do not force a DIY fix. Cultivate House Detailing handles exterior cleaning in Colorado Springs, including driveway pressure washing. If you want a clean, sealed driveway without guessing at weather windows or coating mistakes, request a quote and get it handled by a local team that works this kind of surface every season.
Looking for a professional to take care of it? Cultivate House Detailing offers residential window cleaning in Colorado Springs. Get a free quote.