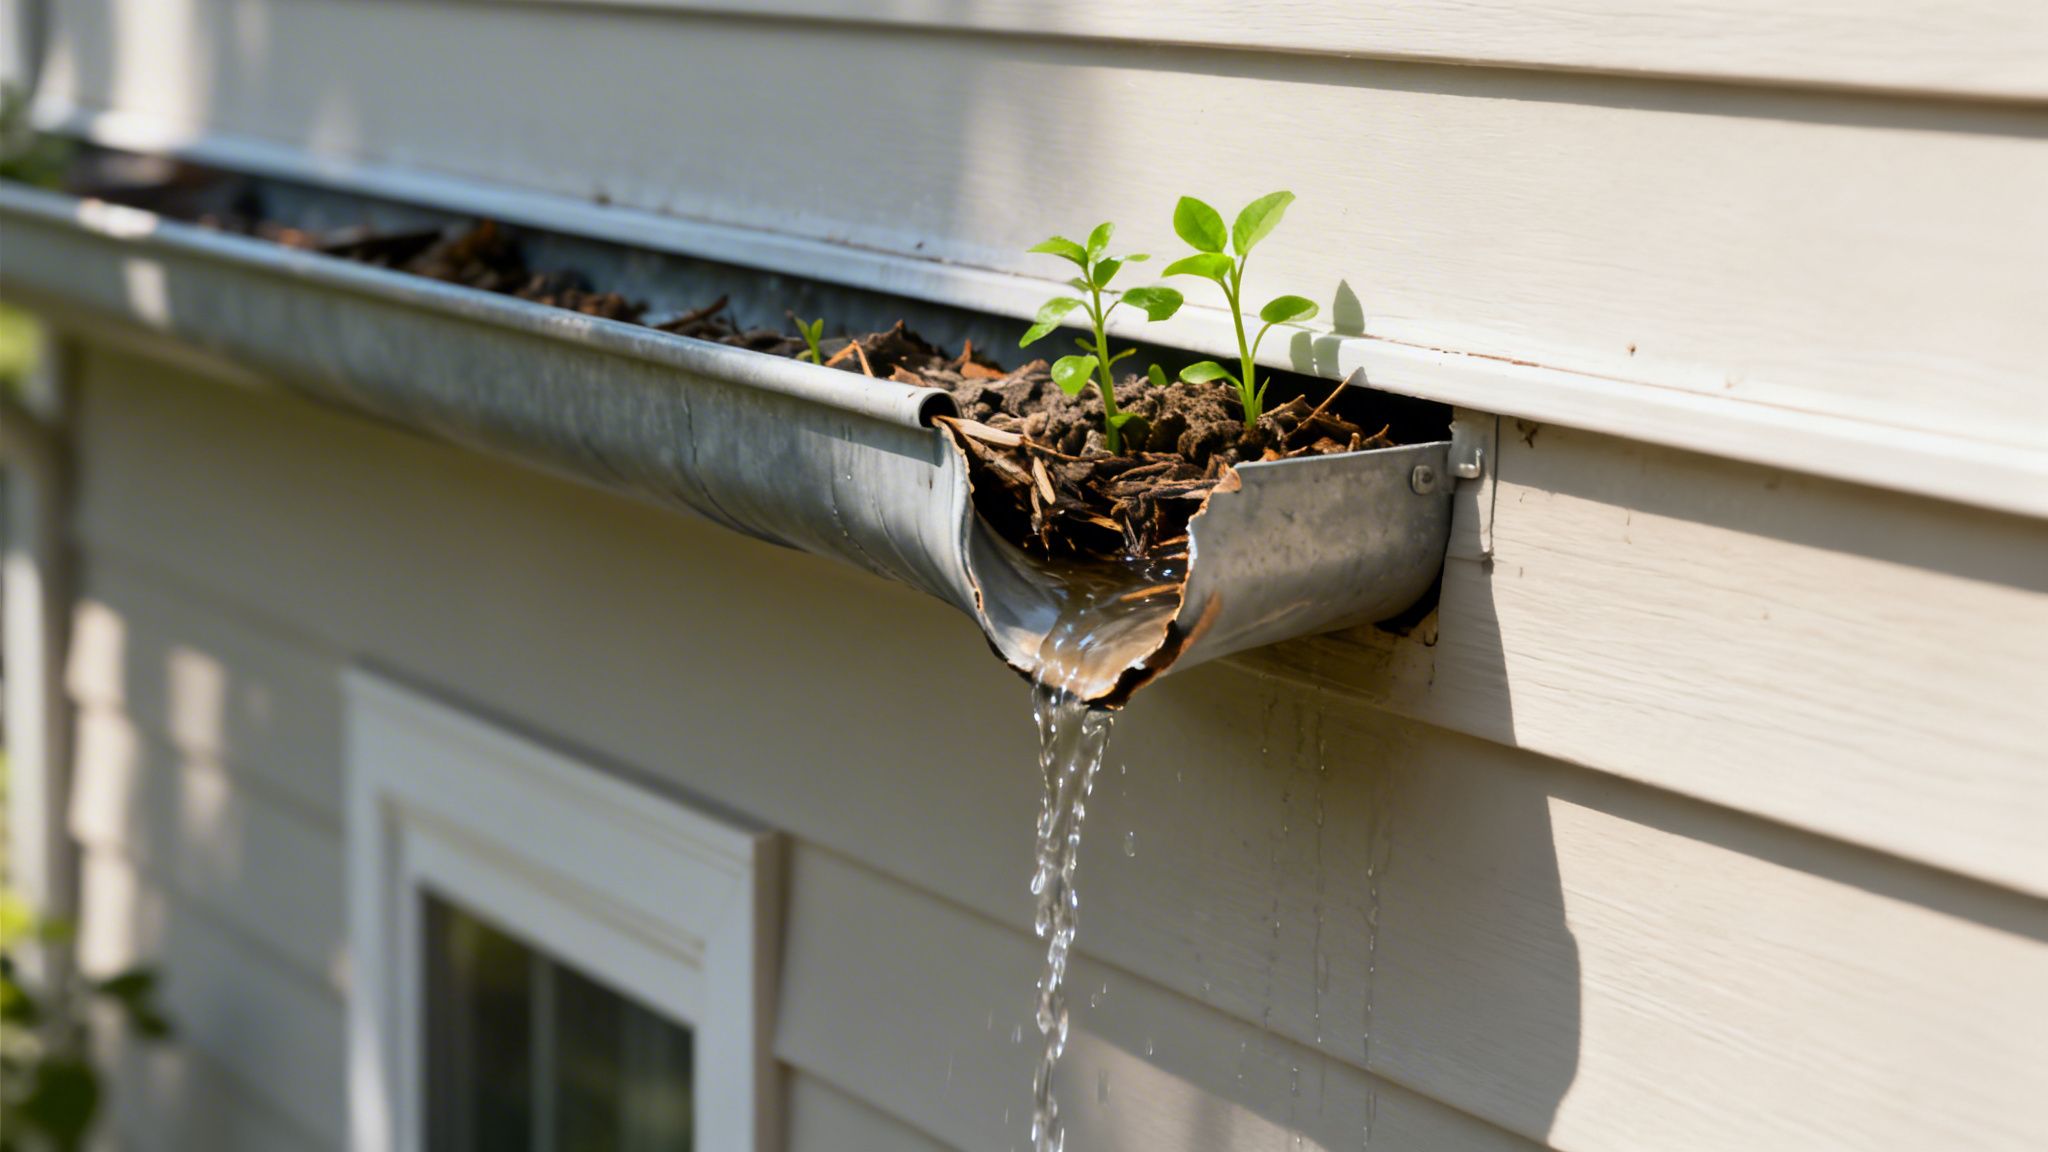
You step onto the patio after a Colorado Springs winter and find a familiar mix of gray dust, leaf debris, dark organic growth, loose joint sand, and stains that a garden hose won't touch. Add hard-to-reach edges, pavers that have shifted, or concrete that looks dull after months of snow and sun, and a quick rinse can leave you with a cleaner-looking problem rather than a protected surface.
Effective patio cleaning and sealing takes more judgment than just turning up a pressure washer. The right approach depends on whether you're working with concrete, pavers, stamped concrete, or natural stone, as well as the condition of joints, cracks, drainage, and any old sealer. This guide lays out a practical process for Colorado Springs homeowners, including when a careful DIY project makes sense and when a local exterior cleaning professional is the safer choice.
Why Patios in Colorado Springs Need More Than a Quick Rinse
A patio in Colorado Springs can look fine when snow covers it, then reveal a very different condition once winter passes. Melting snow carries dust into pores and joints, wind deposits grit along edges, and shaded areas may hold moisture long enough for mildew, algae, or moss to establish. Repeated freeze-thaw movement adds another concern because water trapped in cracks or gaps expands as it freezes and can contribute to widening joints and surface deterioration.
The elevation also exposes outdoor surfaces to strong sunlight. Intense UV can fade decorative finishes and accelerate the weathering of exposed sealers, especially on south-facing patios and walkways. Wind-blown sand and debris act as abrasion under foot traffic, while poor drainage keeps certain sections damp longer than the rest.
Practical rule: Cleaning restores the surface you can see. Sealing is useful only when the surface underneath is sound, clean, and dry enough to accept it.
A Canadian laboratory review documented why sealing is used as a preservation step, not just a cosmetic treatment. Properly applied penetrating concrete sealers reduced water absorption by up to 85% and 93% on flat surfaces, with application rates of roughly 0.005 to 0.008 ounces per square inch, or 0.020 to 0.036 grams per square centimeter. A separate field-testing result in the same review reported treated concrete absorption of 0.09% to 0.56%, compared with 1.01% to 1.67% for control samples. The National Research Council Canada review shows why reducing moisture uptake matters when a patio faces wet weather and repeated temperature changes.
Identify the surface before choosing the method
Concrete usually has a continuous slab appearance, while pavers have visible joints and individual units. Stamped concrete may resemble brick, slate, or stone but remains one connected slab, often with a decorative texture and color layer. Natural stone varies considerably. Flagstone, sandstone, limestone, and travertine can be porous or relatively soft, so they shouldn't all receive the same pressure or cleaner.
Look closely before moving equipment onto the patio:
- Concrete condition: Note cracks, flaking, exposed aggregate, and areas that sound hollow or look unusually porous.
- Paver condition: Check for loose units, washed-out joints, weeds, and low spots where water collects.
- Stone condition: Look for soft edges, surface scaling, discoloration, and mineral deposits.
- Existing finish: Identify glossy areas, uneven color, peeling, haze, or darkened patches that may indicate an old topical sealer.
If you're planning a remodel after cleaning, an AI patio design generator can help you explore layout and finish ideas before committing to a new surface or furniture arrangement. It won't replace a material inspection, but it can make design decisions easier once you understand what the existing patio can support.
Test for old sealer and hidden problems
Pour a small amount of water onto several representative areas. If the water darkens the surface and absorbs fairly quickly, the patio may have little active topical protection in that spot. If it beads or remains visibly pooled, an old sealer may still be present. Test shaded and sunny areas separately because exposure can wear a finish unevenly.
Don't seal over peeling film, trapped haze, active efflorescence, or damp concrete. First determine whether the surface needs ordinary cleaning, stain treatment, joint repair, removal of failed sealer, or a full professional assessment. That short diagnosis prevents the most expensive mistake in patio maintenance, applying a good product to a surface that isn't ready.
Choosing the Right Cleaner for the Stain You Have
A cleaner works best when it matches the stain. Organic growth, cooking grease, tire-like grime, and mineral deposits respond to different product classes, so buying the strongest bottle on the shelf isn't a reliable strategy.
Start with a dry inspection. Sweep or blow away loose material, identify the dominant stain, and test the chosen product in an inconspicuous area. Natural stone deserves special caution because an aggressive cleaner can dull or etch a surface that pressure alone wouldn't have damaged.
| Stain or issue | Best cleaner class | Safe on natural stone | Typical dwell time |
|---|---|---|---|
| Algae, mildew, moss, and leaf growth | Oxygenated cleaner or compatible biological treatment | Depends on the stone and label | Allow the product to remain wet for the label-directed period |
| Grease, food residue, and ground-in grime | Alkaline degreaser | Usually not without a material test | Give the degreaser time to emulsify the soil |
| White mineral deposits or efflorescence | Acidic cleaner formulated for masonry | Often unsuitable for limestone or other acid-sensitive stone | Use only for the product's specified contact period |
| Light dust on a durable surface | Mild detergent or pH-neutral cleaner | Generally the safest starting point | Short dwell, followed by thorough rinsing |
| Routine cleaning on porous natural stone | pH-neutral stone cleaner | Yes, when labeled for that stone | Follow the label and don't let it dry in place |
A mild dish soap can handle a lightly dusty concrete patio, but it usually underperforms against established mildew, grease, and mineral deposits. Oxygenated cleaners are a better fit for many organic stains, while an alkaline degreaser can break down oily residue that detergent only spreads around.
Acidic products require the most restraint. Efflorescence may respond to an appropriate masonry treatment, but acid can react with limestone, travertine, and other sensitive stone. If you're unsure, use a pH-neutral stone cleaner and get material-specific advice rather than guessing.
After treatment, rinse thoroughly and remove dirty water from adjacent walls, planting beds, and drains. If the product requires neutralization, complete that step before the final rinse. Cleaner residue can interfere with sealer penetration and leave a cloudy or uneven finish.
Pressure Washing Without Leaving Stripes or Etching
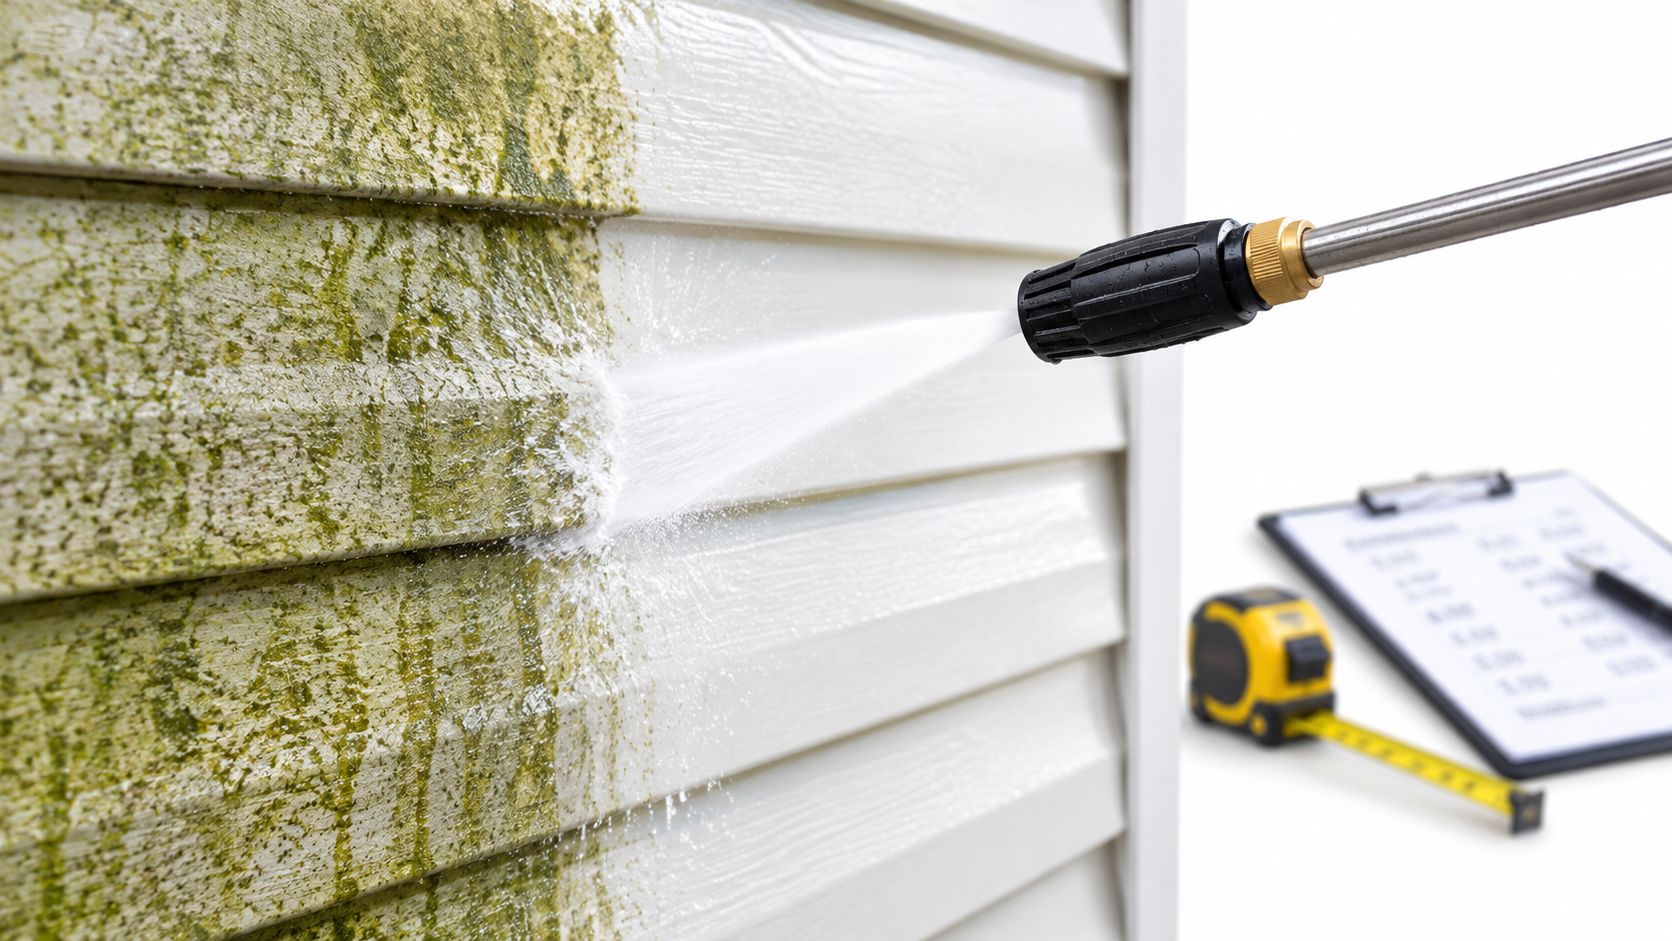
A pressure washer becomes predictable when you control pressure, distance, nozzle width, angle, and movement together. It becomes destructive when someone holds the wand too close, uses a narrow tip, or pauses over a single mark until the surface changes color.
Start with the least aggressive setup
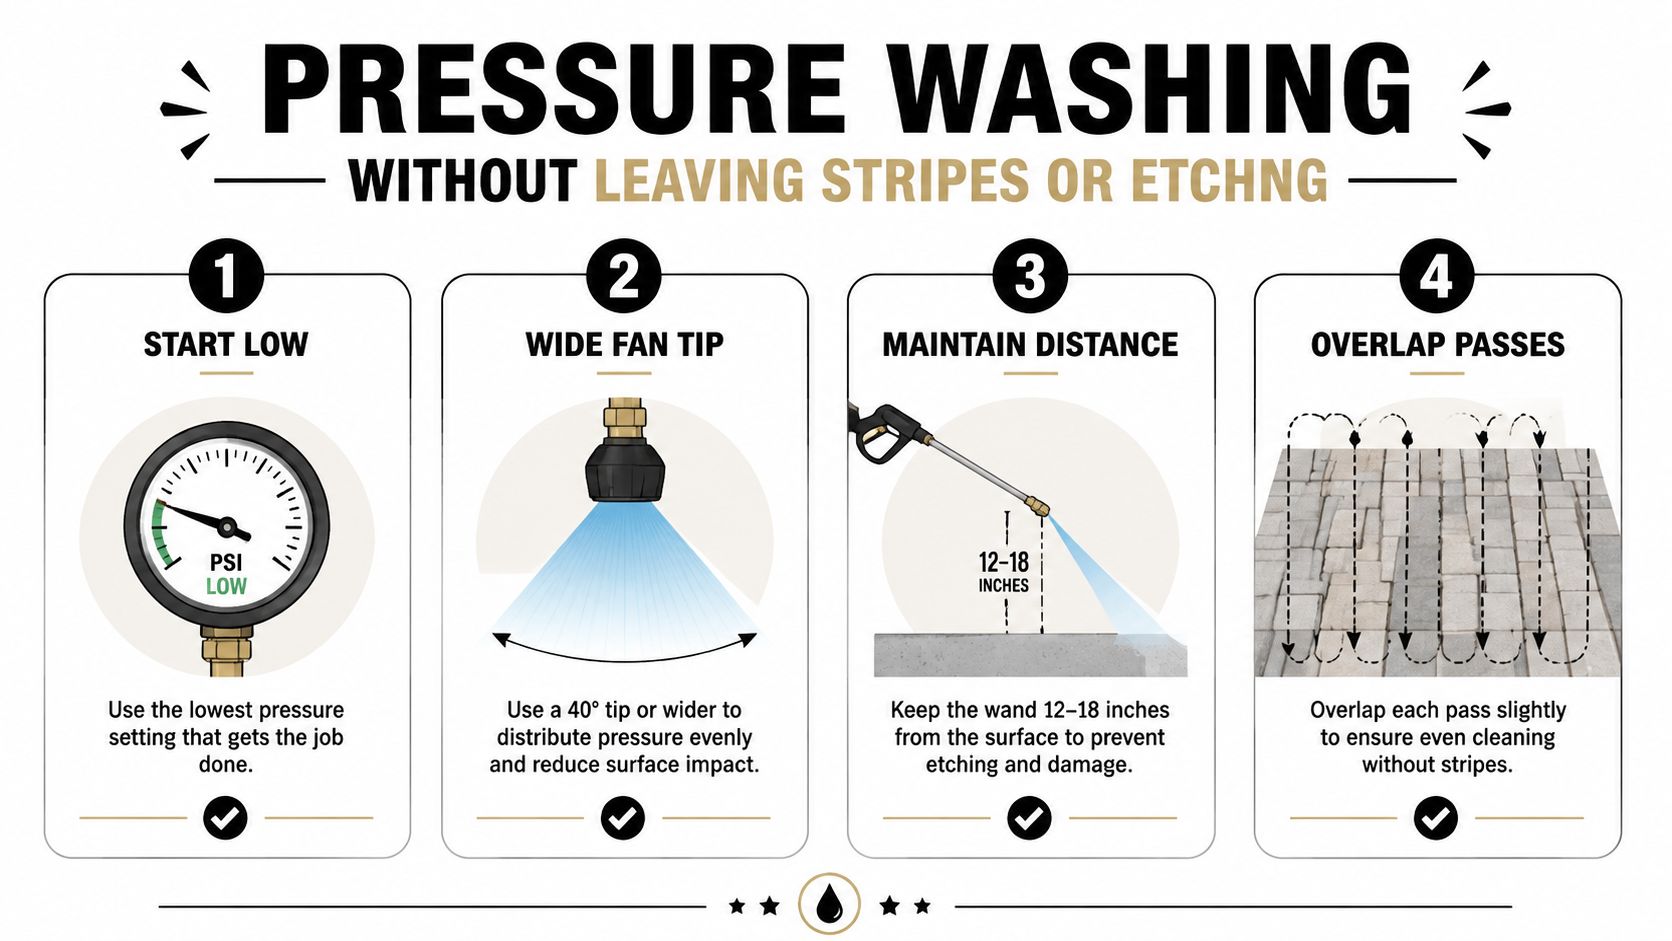
Begin on the lowest useful pressure setting and a wide fan pattern. Keep the wand approximately 12 to 18 inches from the surface, as recommended in practical patio-cleaning guidance from Homes & Gardens. Hold the spray at a diagonal or roughly 45-degree angle instead of driving water directly into joints, grout lines, or softer stone.
Move in overlapping passes at a consistent pace. Zebra striping develops when adjacent cleaning lanes don't overlap evenly, while etching often appears when the nozzle stops in one place. Work in manageable sections and keep the spray moving before you adjust pressure.
The broad working range for many concrete or paver patios is approximately 1,300 to 3,000 PSI, while concrete and brick are often cleaned around 2,500 to 3,000 PSI when their condition allows it. Lapis Patios' pressure-washing guidance also warns that higher pressure can pit or etch the surface. Aged pavers, limestone, travertine, and worn stamped concrete may need a gentler setting, wider fan, chemical pretreatment, or low-pressure rinsing instead.
For pavers, cleaning can remove joint sand. A paver maintenance guide recommends annual cleaning, a 1,000 to 3,000 PSI range depending on material, and a 25- to 40-degree nozzle, followed by re-sanding where needed. Acme Pressure Washing's paver guide provides that range, but the lowest effective setting remains the safer starting point.
For a more detailed concrete sequence, use this guide to pressure washing a concrete patio. It complements the basic rule that pressure should remove soil, not reshape the surface.
Repairing Joints and Edges Before You Seal
A clean patio isn't automatically a sealable patio. Pressure washing can empty sand from paver joints, expose movement at edges, and reveal cracks that dirt had been hiding. If you apply sealer before correcting those conditions, the finish may highlight the problem while doing little to stabilize the surface.
Restore stability where the surface has moved
After the patio dries, sweep loose material from the joints and inspect the gaps. Stable pavers with missing or shallow joints may benefit from compatible polymeric sand. Sweep it into the gaps, remove excess from the faces of the pavers, and activate it according to the product directions. Polymeric sand isn't necessary for every joint, especially where ordinary joint sand is appropriate or where the base itself has failed.
Check edges near steps, retaining borders, garden beds, and drainage paths. These areas often lose support first because water can wash soil or sand away. Correct the underlying issue before applying a surface product.
Small cracks in concrete may be candidates for a flexible urethane repair material, or a paver-specific caulk where the joint design calls for it. Wider openings, vertical displacement, sinking slabs, recurring separation, or signs of structural movement deserve assessment from a qualified repair professional rather than a cosmetic filler.
Water that enters a weak joint has more opportunity to move, freeze, and enlarge the failure during Colorado Springs weather.
A simple pre-sealing checklist keeps the work focused:
- Confirm pavers are stable and replace or reset loose units.
- Refill washed-out joints with compatible sand.
- Repair suitable hairline cracks after the surface is clean.
- Correct drainage or edge washout before coating.
- Remove dust and excess sand, then allow the patio to dry completely.
Sealing can slow moisture penetration, but it can't rebuild a failing base or hold together a patio that shifts underfoot.
Penetrating vs Film-Forming Sealers
The central sealer choice is whether you want protection inside the pores or a visible layer on top. Penetrating sealers soak into the material and generally preserve a more natural appearance while allowing vapor movement. Film-forming sealers create a topical layer that can deepen color, add sheen, and make the surface feel more finished.
For many Colorado Springs patios, a penetrating product is the sensible starting point. Silane and siloxane formulas are commonly selected for water repellency on compatible concrete and masonry because they don't depend on a thick surface film. That can be useful where freeze-thaw exposure and trapped moisture are concerns.
Film-forming acrylic or urethane products may suit stamped concrete, decorative pavers, or a patio where color enhancement is a deliberate design goal. They require more attention to application thickness, surface dryness, wear patterns, and future recoating. If moisture rises from below or the coating fails unevenly, the result can include haze, peeling, or patchy gloss.
| Sealer type | Strength | Main concern | Common fit |
|---|---|---|---|
| Penetrating silane or siloxane | Breathable water repellency with little surface film | Limited color enhancement | Porous concrete and compatible masonry |
| Acrylic film former | Color enrichment and visible finish | Can wear unevenly or become slick if overapplied | Decorative concrete and appearance-focused surfaces |
| Urethane film former | Durable topical protection | Requires careful preparation and compatibility testing | Selected high-wear or decorative applications |
Slip resistance should influence the decision. A wet-look finish may feel slick after rain, particularly on smooth stone or near a pool, while a textured or additive-supported system may provide a safer result. Don't assume a shinier patio is a better-protected patio.
For a useful product comparison, review this guide to compare acrylic vs penetrating sealers. For related exterior preservation work, Cultivate House Detailing also discusses driveway cleaning and sealing, where the same surface-matching principle applies.
Application, Dry Times, and Colorado Springs Timing
Sealer performance is decided before the first pass. The patio needs to be clean, free of residue, and completely dry. Moisture left in pores can trap haze or prevent a penetrating sealer from entering evenly, which is why sealing immediately after washing is a common failure.
Choose a real weather window
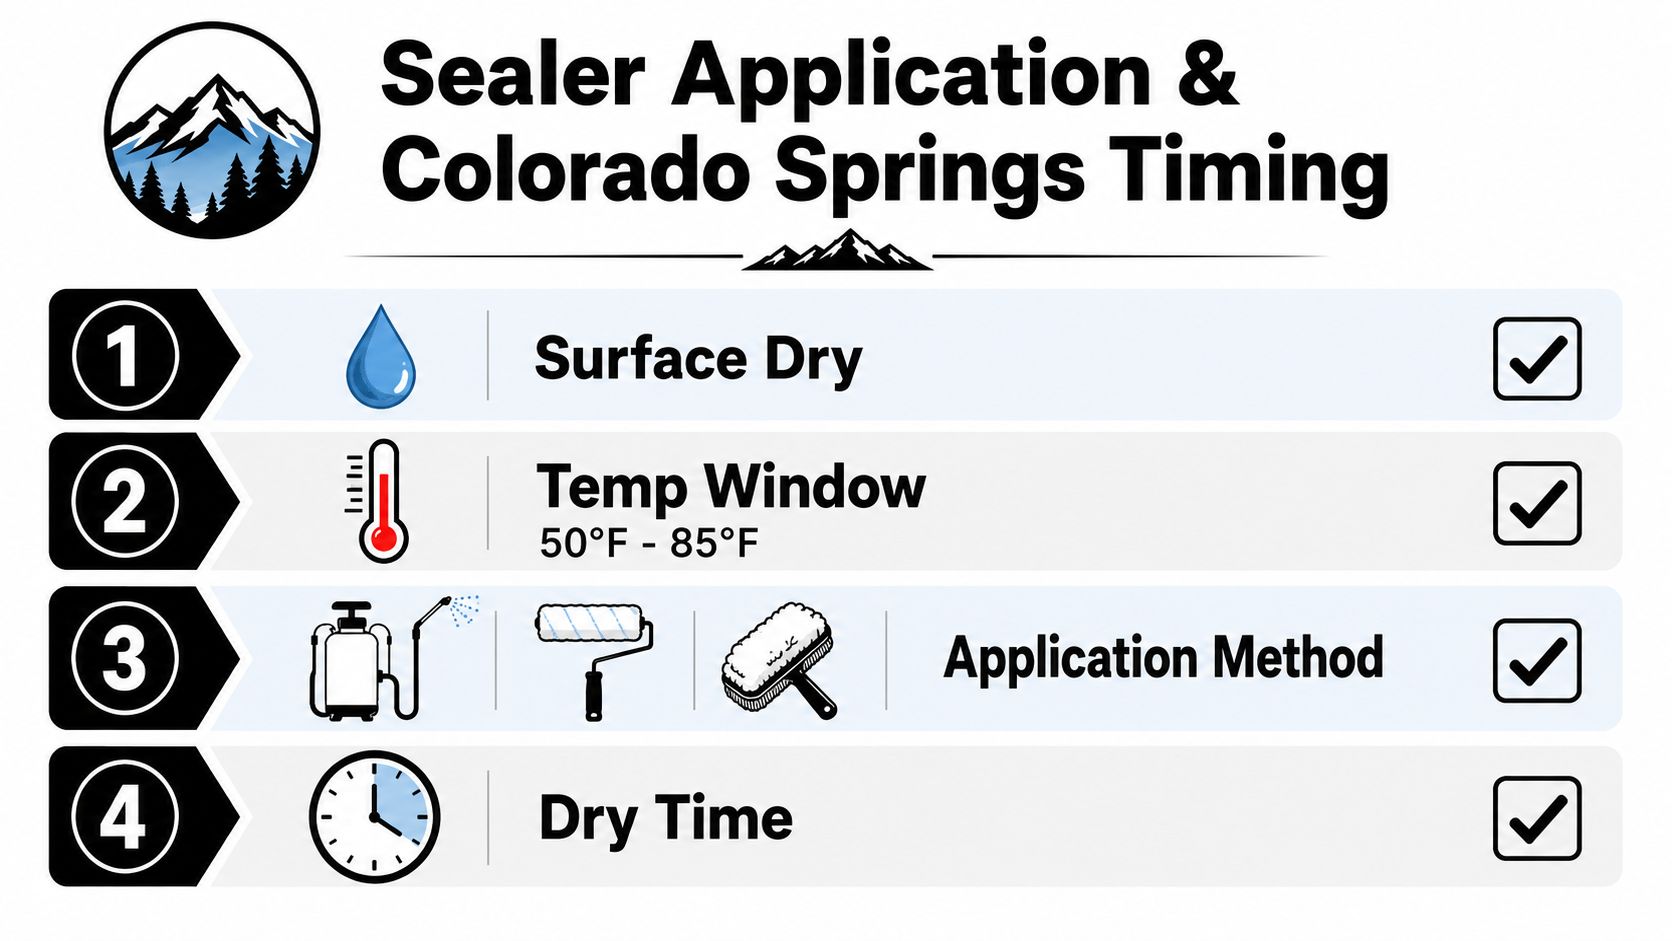
Plan around a stable, dry period rather than a convenient hour on the calendar. Field guidance consistently emphasizes allowing 24 to 48 hours or much longer in damp weather for drying before sealing, and a sealer needs additional cure time afterward. Same Day Jet Wash's patio FAQ highlights why climate, material, and surface condition make fixed resealing intervals unreliable.
Colorado Springs timing adds local complications:
- Spring: Snowmelt, shaded moisture, and spring dust can keep a patio damp longer than it appears. Wait until the slab or pavers have dried through, not merely until the top looks dry.
- Summer: Warm, dry weather can provide a good application window, but intense sun may make a section flash off faster than the adjacent area. Work in controlled sections and avoid letting the product dry along a wet edge.
- Fall: Clear leaves and organic debris before they create new stains. Don't seal late in the day if evening temperatures and dew will return before the product has set.
- Winter: Freezing conditions and limited drying make most exterior sealing projects poor candidates. Protect the surface through sweeping and drainage control until a suitable window returns.
The infographic calls out a 50°F to 85°F temperature window. Treat that as a product-specific guide rather than a universal guarantee. Always follow the label, account for the actual surface temperature, and avoid application before rain or when overnight conditions could compromise curing.
Match the tool to the sealer
A pump sprayer can distribute a thin penetrating sealer across a broad, textured area. A roller can help control a film-forming product on a smoother surface, while a lamb's wool applicator can spread certain coatings evenly without leaving heavy texture. The right choice depends on the product label and the patio profile.
Apply in small, manageable sections. Keep a wet edge, avoid puddling, and don't chase a drying line with fresh material after the surface has started to set. A second coat may be appropriate for some products, but applying more isn't automatically better. Over-application can create haze, excess gloss, slipperiness, or maintenance problems.
A useful workflow is to finish repairs, remove residue, confirm dryness, apply the product at the labeled coverage, and inspect from several angles before moving on. Keep furniture and foot traffic off the patio for the full cure period stated by the manufacturer.
This video provides a visual reference for the application sequence:
Reseal by condition, not habit
Patio sealing is recurring maintenance because protection doesn't last indefinitely. Independent industry guidance commonly places resealing around every 2 to 3 years, while some low-traffic or shaded surfaces may last 3 to 5 years before recoating is needed. A Florida paver example describes light-traffic patios and walkways lasting about 2.5 to 3 or more years, demonstrating how sun, moisture, drainage, and traffic affect service life. The Florida-specific sealing reference isn't a Colorado forecast, but it illustrates why exposure matters more than a universal date.
Use three observations before scheduling another coat:
- Water-bead test: Place water in several areas. If it still beads consistently, active repellency may remain.
- Fingertip sheen test: On a film-forming finish, check whether the surface still has an even sheen rather than worn lanes or bare patches.
- Visible staining check: If water marks, organic growth, and staining are returning quickly despite proper cleaning, protection may be failing.
A covered porch and an exposed south-facing walkway won't age at the same pace. Skip unnecessary resealing when the finish remains uniform and the surface is behaving well. Act sooner when beading has disappeared, staining is increasing, or the coating is wearing unevenly.
When to Hire a Pro in Colorado Springs
A small, stable concrete patio with light dirt can be a manageable weekend project. The risk rises when the surface is old, porous, heavily stained, badly jointed, sloped toward the house, or made from a material that reacts poorly to common cleaners. Travertine, limestone, decorative stamped concrete, and mixed-material patios require more than a generic pressure-washing setting.
Professional help makes sense when:
- The surface is uncertain: A contractor can distinguish pavers, stamped concrete, and natural stone before choosing pressure or chemistry.
- The finish is failing: Peeling, haze, uneven gloss, or suspected sealer buildup may require testing and removal rather than another coat.
- The joints are unstable: Widespread sand loss, shifting units, or edge washout can signal a base or drainage issue.
- The area is extensive: Large patios are harder to clean evenly and keep wet during chemical dwell time.
- Safety is a concern: Slopes, steps, slick growth, and runoff near walls or planting beds deserve controlled handling.
Cultivate House Detailing provides pressure washing for patios and related exterior surfaces in Colorado Springs and surrounding communities. A practical service visit should begin with an assessment of material, stain type, joints, drainage, and existing finish. From there, the technician can match cleaning chemistry and pressure to the surface, allow for complete drying, and recommend a penetrating or film-forming sealer only when it fits the patio's exposure and use.
The trade-off is straightforward. DIY work can save the cost of labor when the patio is small and forgiving, but one overly aggressive pass can leave stripes, etched stone, damaged joints, or a finish that needs removal. A professional process is most valuable when it prevents those irreversible errors, not when it only sprays faster.

Colorado Springs patios need care that accounts for freeze-thaw movement, strong UV exposure, wind-blown debris, drainage, material porosity, and slip risk. Clean first, repair what cleaning reveals, confirm complete dryness, and choose the sealer based on surface condition rather than a calendar reminder.
If your patio needs more than a rinse, Cultivate House Detailing can assess the surface, pressure wash it with a material-appropriate method, and help determine whether sealing is suitable after the patio has dried. Request a quote or arrange an on-site assessment in Colorado Springs and nearby communities so this season's cleaning supports a patio that holds up.
Need it done properly the first time? Cultivate House Detailing offers pressure washing in Colorado Springs. Get a free quote.