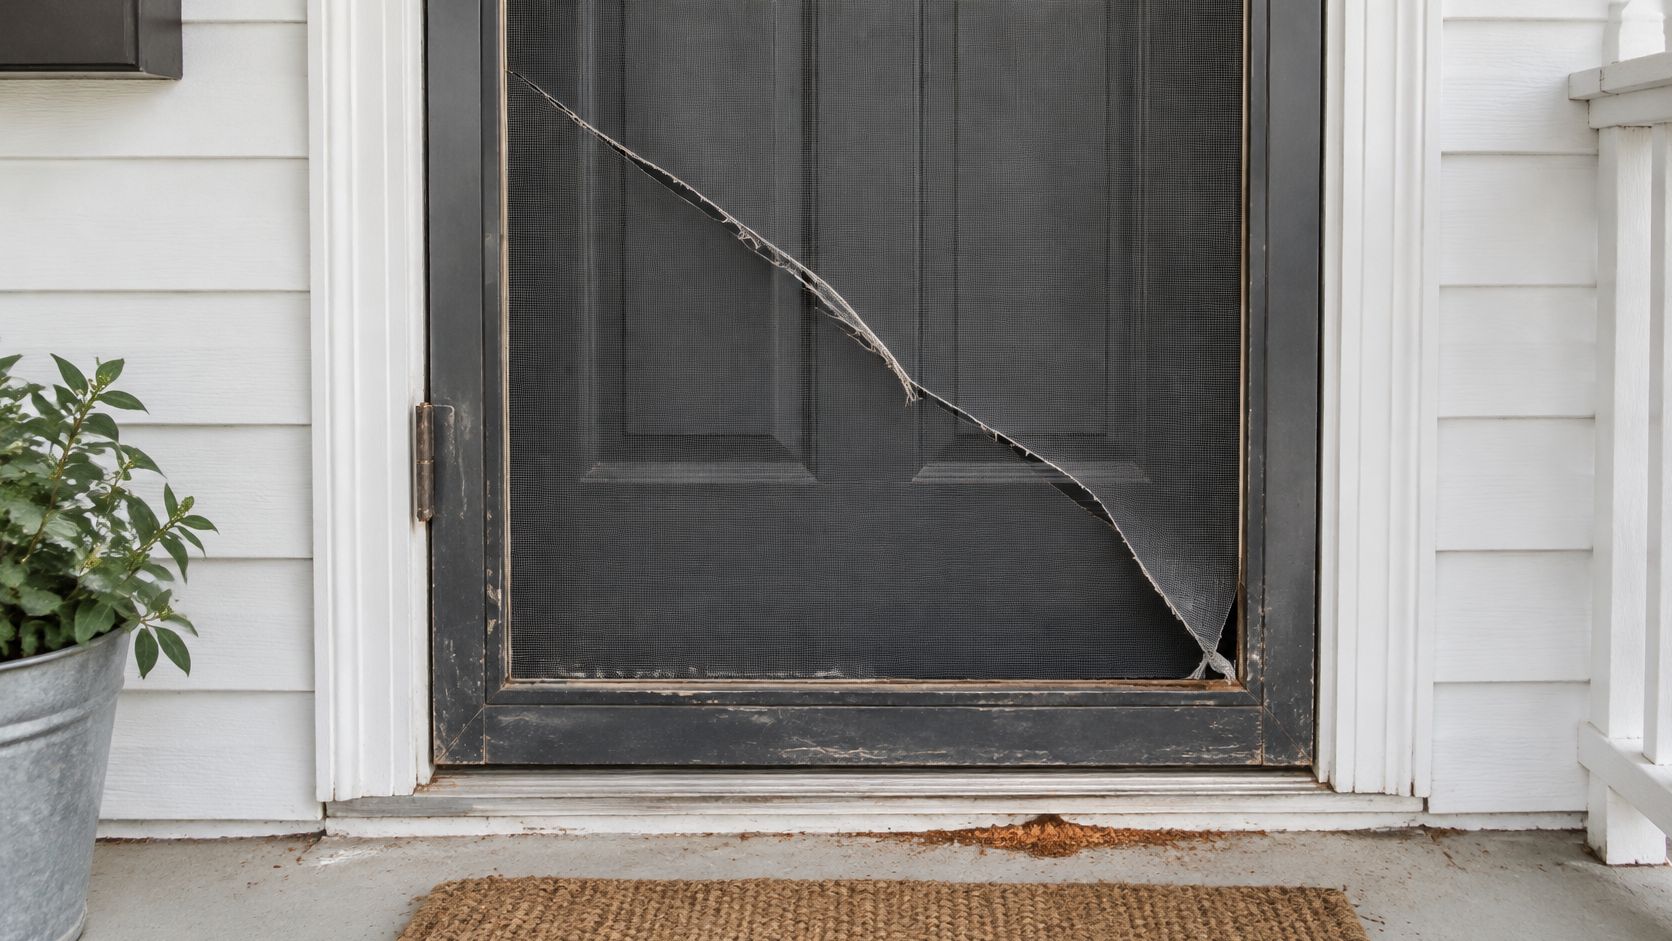
You're carrying groceries in from the garage, your dog hits the bottom of the patio screen again, and the tear you meant to patch last spring is now a flap. Bugs get in. The breeze doesn't feel worth it anymore. For most Colorado Springs homes, Door Screen Replacement isn't a big remodel. It's a frame, mesh, and spline job, done right or done twice.
Get the diagnosis right first. A torn panel on a straight frame is a manageable weekend fix. A bowed frame, a track that's out of level, or spline that keeps popping out will defeat new mesh every time, no matter how carefully you roll it in.
Measure the Opening Before You Order Mesh
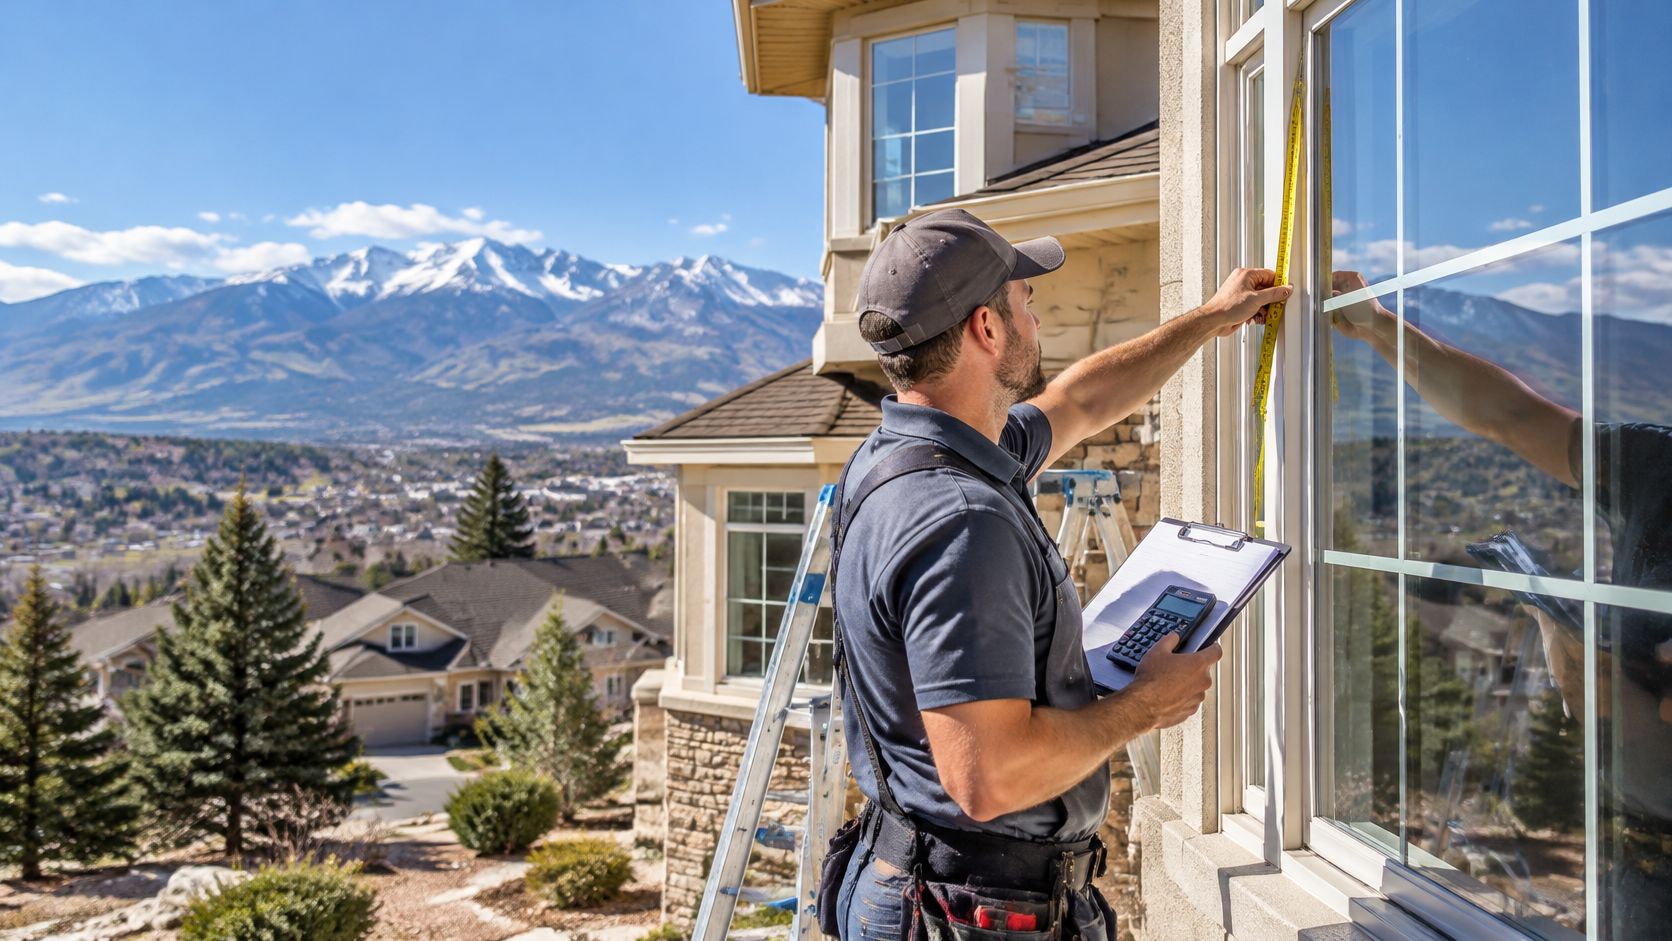
A replacement panel can be cut correctly and still fail to fit if the frame is bowed or out of square. Measure the frame opening, not just the torn mesh. Check the corners and rails as you work, since the new screen will follow the frame's shape.
Measure the opening width at the top, middle, and bottom, then record the smallest measurement. Measure the height at the left, center, and right and use the smallest figure. This gives you the tightest dimensions to compare with the door or frame manufacturer's fitting allowance.
Get the Spline Size Right
The frame and spline work as a system: the spline must hold the mesh firmly in the channel without stretching the frame or sitting loose. Pull a short sample of the old spline from a corner and measure its diameter with calipers. If you do not have calipers, bring a 50 to 60 mm sample to the supplier and match it against the replacement options. Confirm the size with the frame manufacturer or supplier rather than relying on a general size chart. The Missouri Extension guidance on screen repair materials and spline sizing also covers choosing screen repair materials.
For sliding doors, measure both vertical track heights. The tracks may not be level with each other. Using only one measurement can leave the door binding at one end or dropping out of the track at the other.
Practical rule: Record each measurement before ordering. A written list makes it easier to check the mesh, spline, and frame dimensions against the supplier's specifications.
Door screen measurements to record before ordering
| Measurement | How to take it | Typical reference |
|---|---|---|
| Opening width | Measure the top, middle, and bottom; record the smallest figure | Check the manufacturer's frame allowance |
| Opening height | Measure the left, center, and right; record the smallest figure | Recheck if the frame looks out of square |
| Track height for sliding doors | Measure both vertical track heights | Different heights can cause binding |
| Spline diameter | Use calipers on the old spline, or bring a sample to compare | Verify the match with the supplier or manufacturer |
| Mesh count | Read the old label or count openings per inch | 16 × 18 is a standard insect-screen count |
| Extra mesh on each side | Leave material beyond the frame edge | 25 to 50 mm before trimming |
Check the bottom sweep for brittleness and inspect the frame corners for looseness or gaps. These parts affect how the door closes and how well the screen stays seated. Keep your tape and calipers nearby when fitting the replacement panel.
Choosing Mesh, Spline and Tools for Your Door
Pick mesh by the job it has to do, not by color. Standard fiberglass suits a quiet door that only needs insect control. It's easy to cut, it handles well, and airflow stays good. A back door used by dogs and kids all day is a different case.
Heavier pet-resistant mesh takes more room in the channel. That can change the spline you need. Solar and privacy mesh cut glare and view, but they also reduce airflow and can add drag on a sliding door. Test the feel before you commit to a whole panel.
The Colorado Ember Trade-Off
Fire risk changes the choice around Colorado Springs. Embers can pass through common 1/4-inch screening, while 1/16-inch mesh blocks more embers but clogs with wind-blown debris, and 1/8-inch screening is suggested as a practical compromise in Colorado wildfire preparation guidance for homeowners. Corrosion-resistant metal is the better fit where ember resistance matters.
Tighter isn't automatically better. Fine mesh needs more cleaning and lets less air through. A new screen alone also won't make a doorway wildfire-resistant. Gaps around the door, nearby combustibles, and the main door assembly still count. Check local code and your insurer if that's your goal.
Mesh types compared for residential door screens
| Mesh type | Best for | Trade-off | Spline note |
|---|---|---|---|
| Standard fiberglass 16 × 18 | Quiet doors needing insect control | Easy to cut, good airflow, tears under claws | Standard spline for the groove |
| Pet-resistant or heavy-duty | Dogs, cats, or children | Heavier, less visibility, more channel volume | Check groove first, may need different spline |
| Solar or privacy | Glare or view control | Reduced visibility and airflow, more drag | Test fit on sliding doors first |
| Common 1/4-inch screening | Insect control where fire risk is low | Embers can pass through | Standard spline for the groove |
| 1/16-inch metal mesh | Maximum ember blocking | Clogs with debris, limits airflow | Confirm spline fit, tension carefully |
| 1/8-inch corrosion-resistant metal | Wildfire-prone areas | Balance of airflow and protection | Confirm code or insurer requirements |
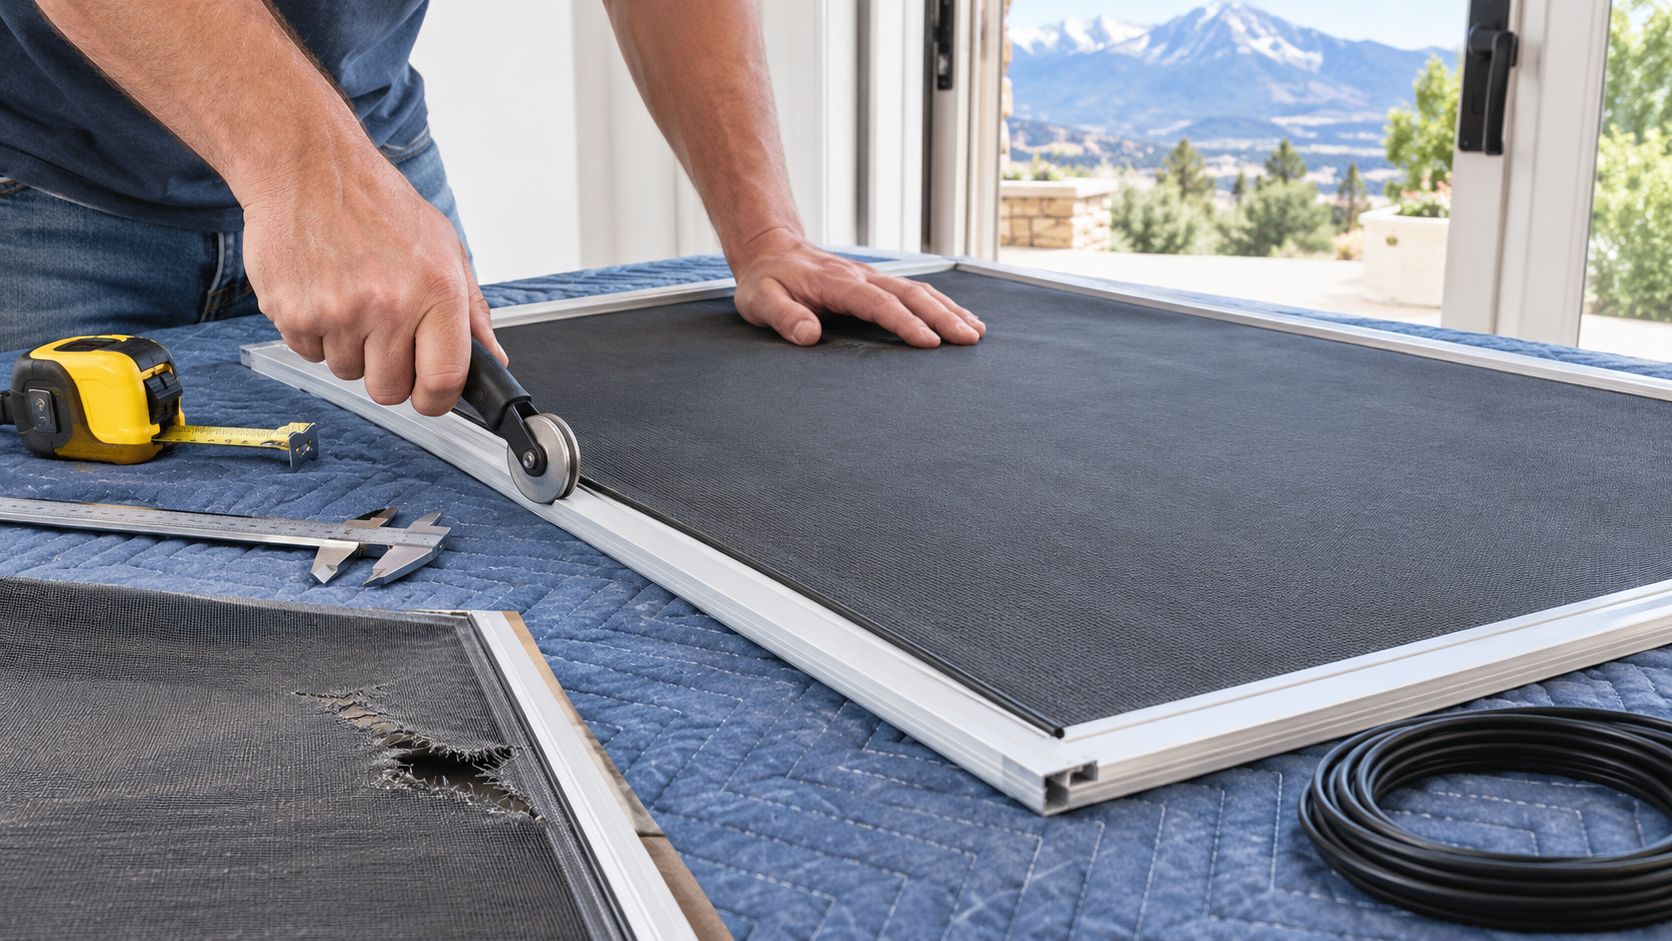
Gather your tools before the door comes off. You'll want a tape and calipers, a utility knife with fresh blades, a pick or small flat screwdriver, a spline roller with a convex wheel, sharp scissors or tin snips for metal, and a padded work surface. If you're comparing materials, review the replacement screening material options for door and window screens before you buy, and ask Cultivate House Detailing whether its window screen repair covers your door screen.
How to Replace a Door Screen Step by Step
Work flat and work calm. Most wavy screens come from rushing the tension or trying to rescreen a door while it's still hanging and flexing. The first two steps set up everything that follows.
Remove, Clean, and Lay Out the Mesh
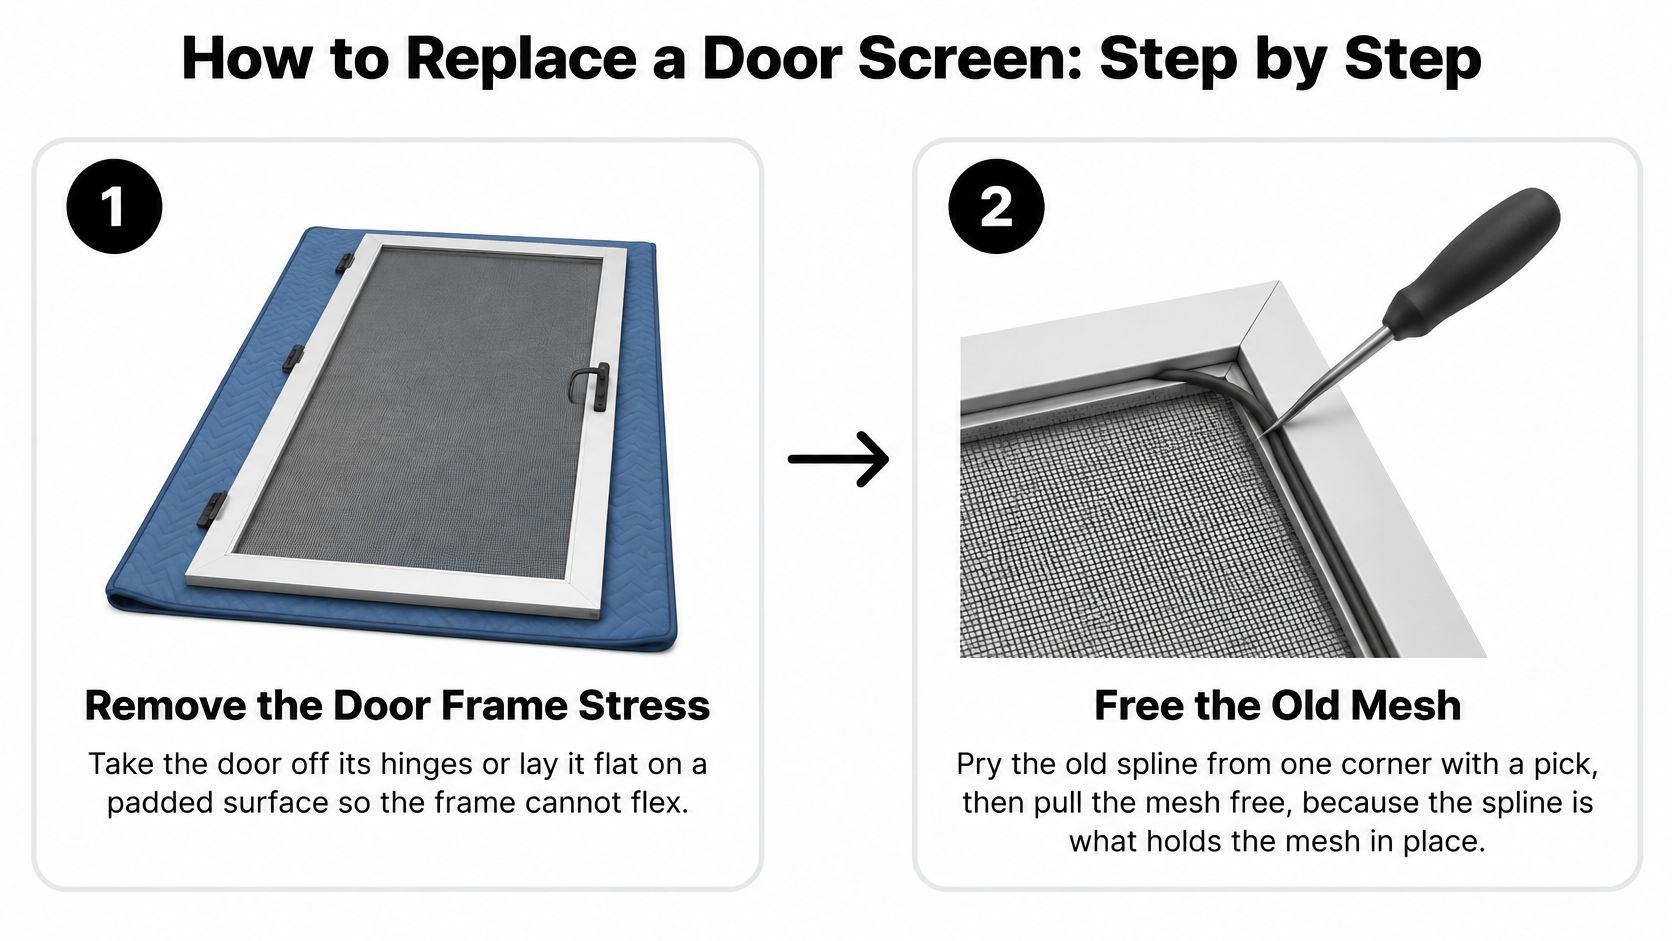
- Take the door off or lay it flat: Put it on a padded surface so the frame can't flex. A frame that twists while you work will never hold even tension.
- Pry out the old spline: Start at one corner with a pick or small screwdriver. Once the spline lifts, the old mesh pulls free, because that cord is what locks everything in the groove.
- Clean the channel: Brush out grit, old spline bits, and mesh fragments. Debris under new spline creates high spots and weak seating.
- Lay the new mesh square: Align the weave with the frame edges and leave overlap on every side. Crooked grain looks bad and pulls unevenly when you roll it.
Don't trim anything yet. That extra material is your correction room. If the weave drifts, you can lift a section and reset it without starting over with a short piece.
Roll the Spline and Trim Last
- Seat the spline in order: Use the roller's convex wheel. Do one long side, then the opposite long side, then the ends. This sequence keeps tension balanced across the panel.
- Check for ripples as you go: If the mesh looks wavy, pull that spline run and reseat it with less pull. Excess tension bows lightweight frames inward and leaves gaps at the sides.
- Trim after all spline is seated: Hold a utility knife at a shallow angle, blade angled away from the new screen. A steep blade nicks mesh and cuts spline, and you'll see that mistake unravel.
- Reinstall and test: Hang or slide the door back in. Open and close it several times. Check the latch, the sweep seal, and the track action on sliding doors.
Go lighter than you think on tension. A screen that looks drum tight on the table is often the one that bows the frame once it's back in the opening.
A good result looks flat without looking forced. The weave runs straight, the corners sit fully in the groove, and the door moves without new drag. If you have to push harder after rescreening, something changed. Stop and check roller height, track debris, and frame squareness before you force it.
One more habit saves repeat work. Save a short piece of the spline you used and note the mesh type with your house records. Next time, you won't have to guess sizes or pull a corner apart just to shop.
Common Fit Problems and How to Fix Them
Don't blame new mesh first. Run a short diagnostic and you'll usually find the actual cause in the frame, track, or spline choice. That order matters, because mesh is the cheapest part and the least likely root problem.
Start by comparing the two diagonals to check squareness. Then remeasure the opening and both track heights, test roller adjustment, and flex the bottom sweep to see if it's brittle. Confirm groove size before you reseat anything.
Match the Symptom to the Cause
Door screen symptoms, causes and fixes
| Symptom | Likely cause | Fix |
|---|---|---|
| Spline pops out within weeks | Spline too small, or tension too high | Match diameter, reseat with less tension |
| Screen looks wavy or bowed | Mesh over-tightened, or frame already bowed | Redo with lighter pull, replace a bowed frame |
| Door binds or drops off track | One measurement used, or track out of level | Measure both heights, adjust or replace rollers |
| Screen will not sit flush | Frame out of square | Compare diagonals, correct or replace frame |
| Mesh tears at spline line | Mesh cut flush before rolling | Leave overlap on the next attempt |
| Heavy mesh will not seat | Mesh takes more channel volume than spline allows | Match spline to mesh and channel together |
| Gaps and drafts at bottom | Bottom sweep brittle or worn | Replace the sweep strip |
Thicker mesh deserves a warning here. Pet-resistant and solar products can need a different spline and more seating force. On a light frame, that combination raises the risk of distortion and poor sliding. Heavier isn't always more durable if the frame can't support it.
Watch the repeat cases closely. Spline that keeps popping, a door that jumps its track, or a frame that stays bowed after a careful redo usually means frame or hardware replacement, not another roll of mesh. Paying for a second rescreen on a bad frame is wasted money.
Once it works, keep it simple. Clean mesh with a soft brush and mild soap, clear the track, and check the sweep at the same time. Catching a loose corner early is a five-minute reseat. Ignoring it turns into a torn panel.
Repair or Replace and When to Call a Pro
A small tear in a straight, stable frame may be a good DIY rescreen. If the frame is bent, the track is failing, or the mesh keeps pulling free, replacing mesh alone will not solve the problem. Treat the door as a system: frame, spline, mesh, track, rollers, and sweep all affect the result.
Start the inspection at the lower panel, threshold, and sweep. Look for repeated tears, a loose frame corner, worn hardware, or a brittle sweep. A clean tear in otherwise sound mesh points toward rescreening. A bowed frame or damage around the spline channel calls for repair or replacement of the frame.
Make the Call by Frame Condition
When to DIY and when to call a repair service
| Situation | Usually DIY | Usually call a pro |
|---|---|---|
| One torn panel, frame straight | Rescreen with spline that fits the channel | If the spline keeps slipping |
| Wear at the lower panel | Only if the frame is sound and easy to reach | If repeated impact or pet damage has weakened the frame |
| Bowed or cracked frame | No | Yes, for frame repair or replacement |
| Sliding door binds or jumps the track | Check for obvious roller issues | If the track or rollers need adjustment |
| Heavy door or work above ground level | Rarely | Yes, for safe handling |
| Metal ember-resistant mesh | Only on a simple door with a sound frame | If fit, sealing, or local requirements are uncertain |
In Colorado, metal ember mesh can add protection, but it is stiffer and can be harder to fit neatly than standard screen. The door frame and spline channel need to hold it without bending or leaving gaps. If you are unsure whether the existing system can support that mesh, ask a repair professional to assess it before ordering.
Use a lookup table to match mesh type, spline diameter, and channel size. If the frame is sound and those parts are compatible, rescreening may be practical. For repeated failures or frame and hardware problems, compare the likely repair with window screen repair cost factors before you request an estimate. A service provider can confirm its service area and whether it handles your door type before you book.
The video below shows how handling and fit affect the finished screen.
The simple rule: Rescreen a sound frame. Repair or replace the system when the frame, track, or rollers are the problem.
Confirm Your Next Step in Colorado Springs
A screen door can look like a mesh problem and still need frame or track work. Before requesting a quote, send the measurements you recorded and photos that show the full door, the damaged area, a corner, and the bottom edge. Those details help the repair crew assess the screen system rather than quote mesh alone.
Include the door type, floor level, and mesh you are considering. Standard, pet-resistant, solar, and metal mesh have different trade-offs. Metal ember mesh can help address wildfire exposure, but its stiffness makes a snug fit and sound frame more important. A poor fit can leave gaps or put extra strain on the spline.
A repair estimate should account for the frame and track as well as the screen. Rescreening a door with a bent frame or faulty hardware may not solve the problem.

If the screen is torn, sagging, or slipping out, request a quote for door screen repair or replacement through Cultivate House Detailing. Send your recorded measurements and clear photos, and ask the crew to assess whether the frame, track, and mesh can be repaired or need replacement.