A windy afternoon in Colorado Springs sends a screen tumbling onto the patio. You pick it up, push the bent corner back, and notice the glass needs cleaning too. Before you buy mesh or force the screen into its opening, check whether the frame can still hold its shape.
That's a useful starting point for both a weekend repair and professional window cleaning in Colorado Springs, CO. Clean glass won't fix a screen that rattles, bows, or leaves an insect gap. A sound frame, clean tracks, and streak-free windows work together, whether you're maintaining your home or getting a storefront ready for customers.
Diagnose the Frame Before You Buy Mesh
The frame decides whether a repair will last. A mesh-only fix makes sense when the frame sits square, the joints stay tight, and the retaining groove is intact. If the structure moves under light pressure, deal with that before installing fabric.
Check squareness, joints, and spring-back
Start with these checks on a flat bench, not while the screen is wedged into the window.
- Compare the diagonals. Measure between opposite outside corners, then measure the other diagonal using the same reference points. Unequal measurements indicate that the rectangular frame has shifted out of square.
- Press each corner gently. Watch for wobble, separation, or movement between the rail and its corner connector. A joint can look closed while still moving enough to release screen tension.
- Try gentle realignment. Ease the frame toward square by hand, release it, and measure again. Notice whether it holds its position or springs back.
Identify the material before applying force. Aluminum often tolerates careful realignment and replacement corner keys. Cracked vinyl or composite rails generally need replacement rather than bending; learn how to distinguish them in this guide to screen window frame materials.
Frame damage and repair route by material
| Frame damage | What it looks like | Aluminum frame | Vinyl or composite frame |
|---|---|---|---|
| Bent or racked corner | Diagonals differ, frame won't sit square | Often fixable with realignment and a corner brace | Usually replace the corner section |
| Loose or separated corner joint | Wobble or a visible gap at the corner | Brace or re-key the joint if the metal is sound | Replace the corner or section |
| Distorted spline channel | Spline won't seat evenly, mesh ripples | Straighten gently; replace the section if it springs back out | Replace the rail section |
| Cracked or split rail | Hairline crack or split along the length | Replace the rail section | Replace the rail or full frame; vinyl won't straighten |
| Sharp or corroded edges | Scrapes, flaking finish, rough metal | Smooth and protect superficial damage; reuse only if structurally sound | Check for crumbling; replace if brittle |
Set a realistic repair boundary
Don't mistake a damaged corner key for a ruined rail. If the aluminum remains straight and the connector is available, replacing that connector can preserve the assembly. But a crease through the spline groove is a stronger reason to replace the section.
Practical rule: Save a frame that can hold its geometry, not merely one you can push into the opening.
Your decision should be clear before shopping: keep and straighten it, reinforce a sound joint, or replace the damaged structure.
Parts and Spline Sizes to Buy Before You Start
Buy mesh only after the frame can hold its shape and you have identified the channel and spline size. The groove and mesh thickness determine the spline size, not the frame's outside width. Spline is the flexible cord that holds mesh in the channel. A poor fit can loosen the screen or distort the groove.
Remove a sample without stretching it. Measure its diameter with calipers or a spline gauge, then inspect the channel. Before buying enough for the panel, test a short length of replacement spline with your chosen mesh.
Match the cord to the channel
Phifer's spline-sizing guidance lists common diameters, but the correct choice depends on the channel and fabric. Use the table as a starting point, then test the fit.
Spline diameters and when each fits
| Spline diameter | Metric | Typical use | Test-fit note |
|---|---|---|---|
| 0.125 inch (1/8 inch) | 3.175 mm | Thick pet-resistant, solar, or extra-strength fabric when the groove requires a smaller option | Smallest listed option; check that it stays seated at the corners |
| 0.140 inch (9/64 inch) | 3.556 mm | Standard mesh in a matching channel | Middle listed size; compare with the old spline |
| 0.160 inch | 4.064 mm | Standard mesh in a deeper or wider matching groove | Largest listed option; too large can wrinkle mesh or deform the groove |
Thicker fabric takes up more channel space, so it may need a smaller spline. Don't pair heavy-duty mesh with a thicker cord automatically. A test fit helps catch a poor match before you install the full screen.
Old spline can serve as a size sample even when it is no longer usable. If it feels hard, flattened, or brittle, check whether you can reuse screen spline before deciding to put it back in.
Assemble a compatible repair kit
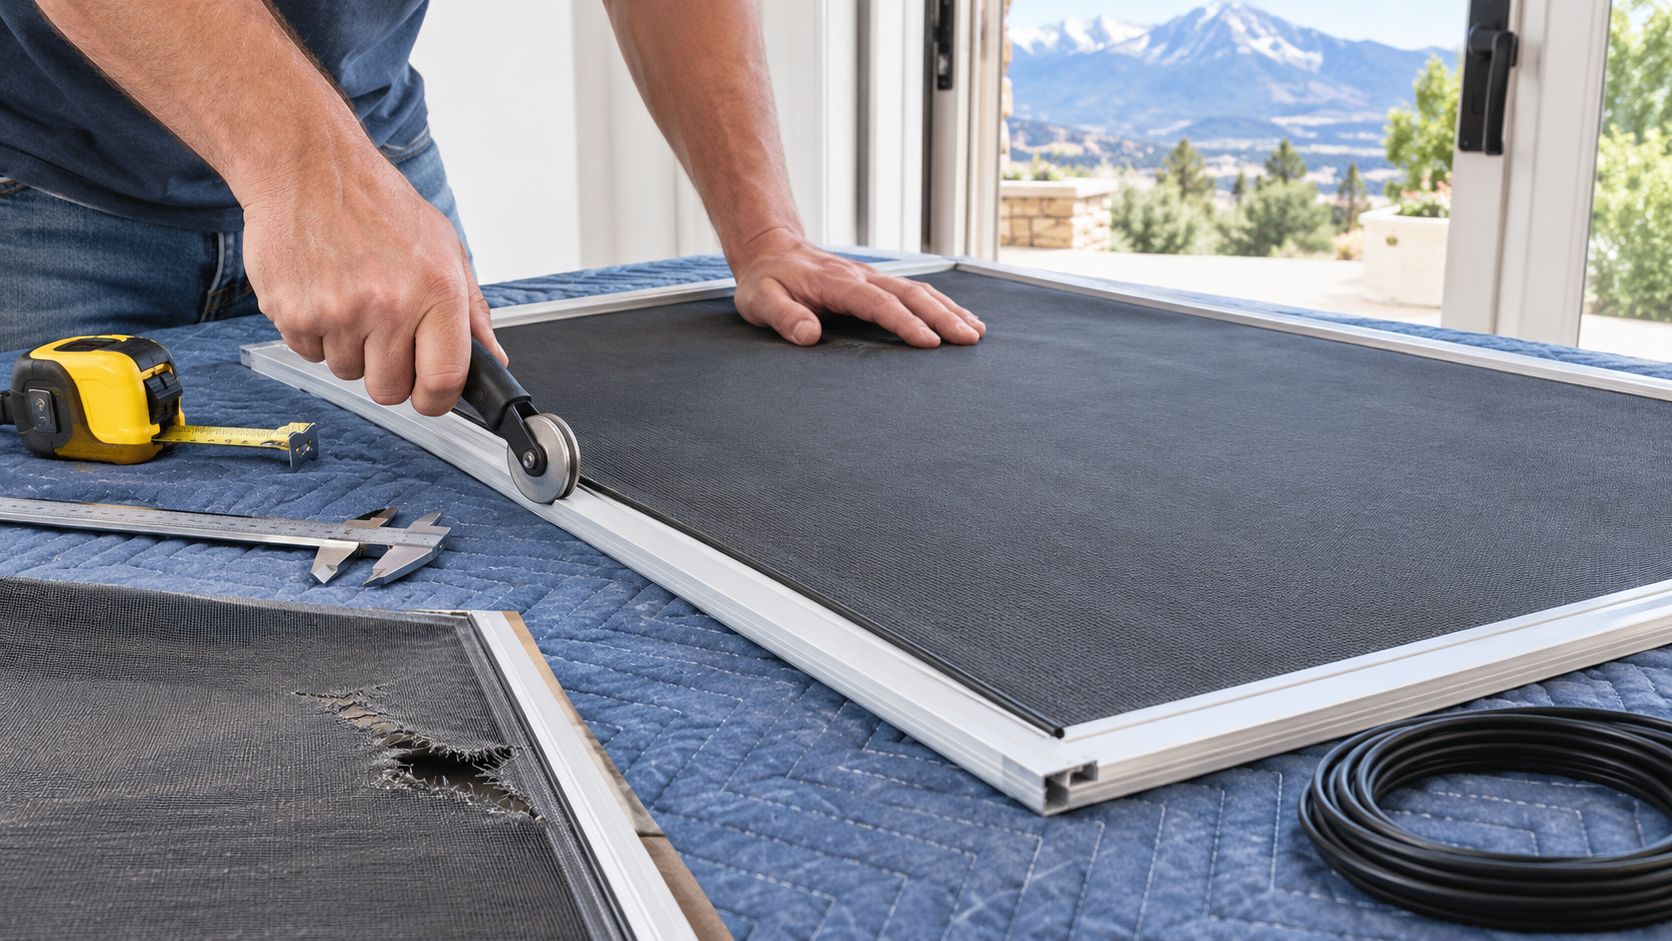
Set out a spline roller, replacement spline, mesh with enough margin to trim, a sharp utility knife, and a tape measure. If the frame needs reinforcement, choose suitable L- or T-shaped braces. Replace damaged corner keys, matching their shape to the rail profile.
For a material-cost reference, Prime-Line's frame listing priced a 20-pack of 72-inch aluminum pieces at $130.77 in 2026, approximately $6.54 per piece before shipping or other costs. A rail replacement may be economical, but a bulk-pack unit price does not guarantee that single pieces are available at the same rate.
Before ordering, record:
- Overall size: Outside frame width and height, plus both diagonals.
- Rail profile: Frame depth, face width, and corner-key shape.
- Retaining parts: Spline diameter, groove condition, clips, springs, and pull tabs.
What Screen Frame Repair Costs in Colorado Springs
For budgeting, Angi's window screen repair guide reported a 2026 average of $310, with prices ranging from $100 to $480, considering screen size, accessibility, and frame replacement. That's a general reference, not a Colorado Springs quote or a per-screen promise.
The useful comparison is between equivalent scopes. A loose joint on a removable panel isn't the same job as rebuilding an insert, matching unavailable hardware, or accessing exterior screens above ground level.
Compare the work, not just the headline price
| Job type | What the estimate should clarify |
|---|---|
| Corner or connector repair | Whether the rail is reusable and which hardware is included |
| Re-screening | Mesh type, new spline, and frame inspection |
| Rail replacement | Material, connectors, cutting, assembly, and mesh |
| Full replacement insert | Finished dimensions, retaining hardware, and fitting |
| Multi-window service | Removal, labeling, cleaning, repair, and reinstallation |
As a published service-price reference, Mr. Window Screen's repair page listed frame repair or replacement starting at $55 in 2026. That starting price doesn't establish what a particular bent corner will cost locally.
A different pricing model appears on The Bucket and I's screen-repair page, which listed a frame charge of $3 per linear foot in 2026, excluding screen material. Check whether any perimeter-based estimate also includes connectors, assembly, and installation.
A cheaper repair isn't a saving if the remaining rails can't hold the finished screen square.
These references and the comparison table aren't quotes. Access height, the number of windows, parts availability, and the amount of fitting work change the final price.
Ask for the repair total and a replacement-insert alternative before committing. For residential window cleaning or a commercial maintenance visit, also clarify whether screen removal and reinstallation belong in the cleaning estimate or the repair estimate.
Straighten, Brace and Re-Mesh the Frame
Work on the bare frame before adding tension. The University of Missouri Extension's screen-repair guidance recommends inspecting joints, reinforcing weak connections, and aligning replacement screening; its metal-frame method retains the material with spline seated in the groove.
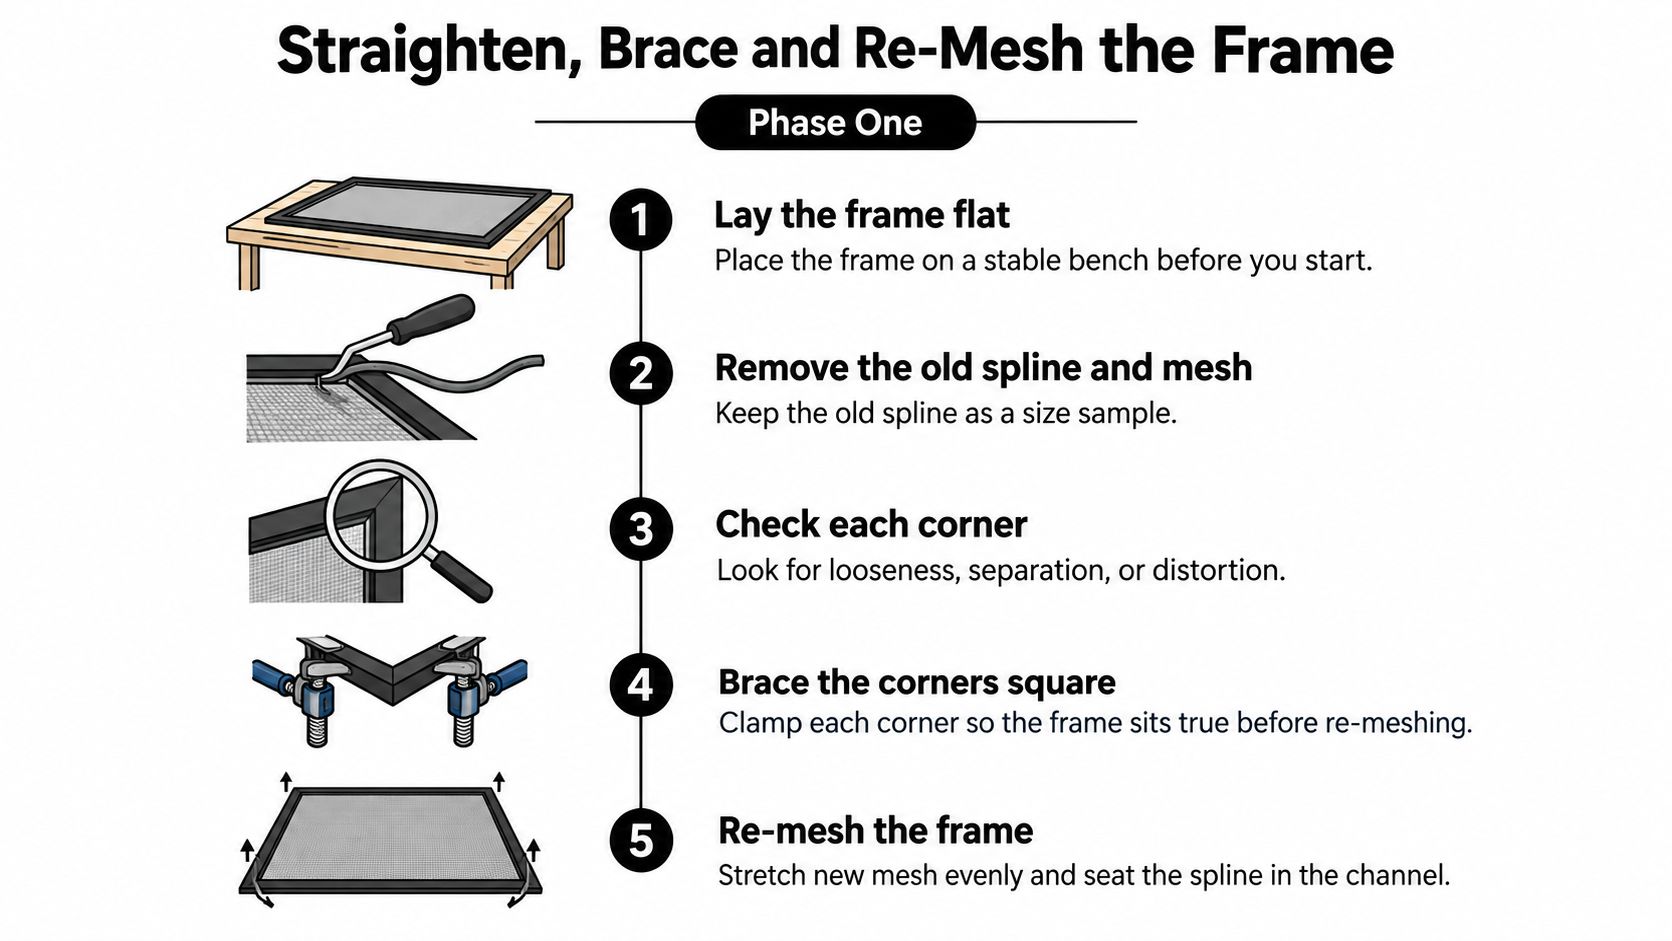
The process illustration provides a quick bench-side reference.
Phase one restores the structure
Lay the frame flat on a stable bench. Support the rails rather than balancing the assembly across a gap, which can introduce a bend while you work.
Remove the old spline and mesh. Lift an end with a pick, pull gently, and retain a spline sample so you can confirm the replacement fit.
Check every corner with the fabric removed. Look for separated joints, broken corner keys, and distorted channels that the old mesh may have hidden.
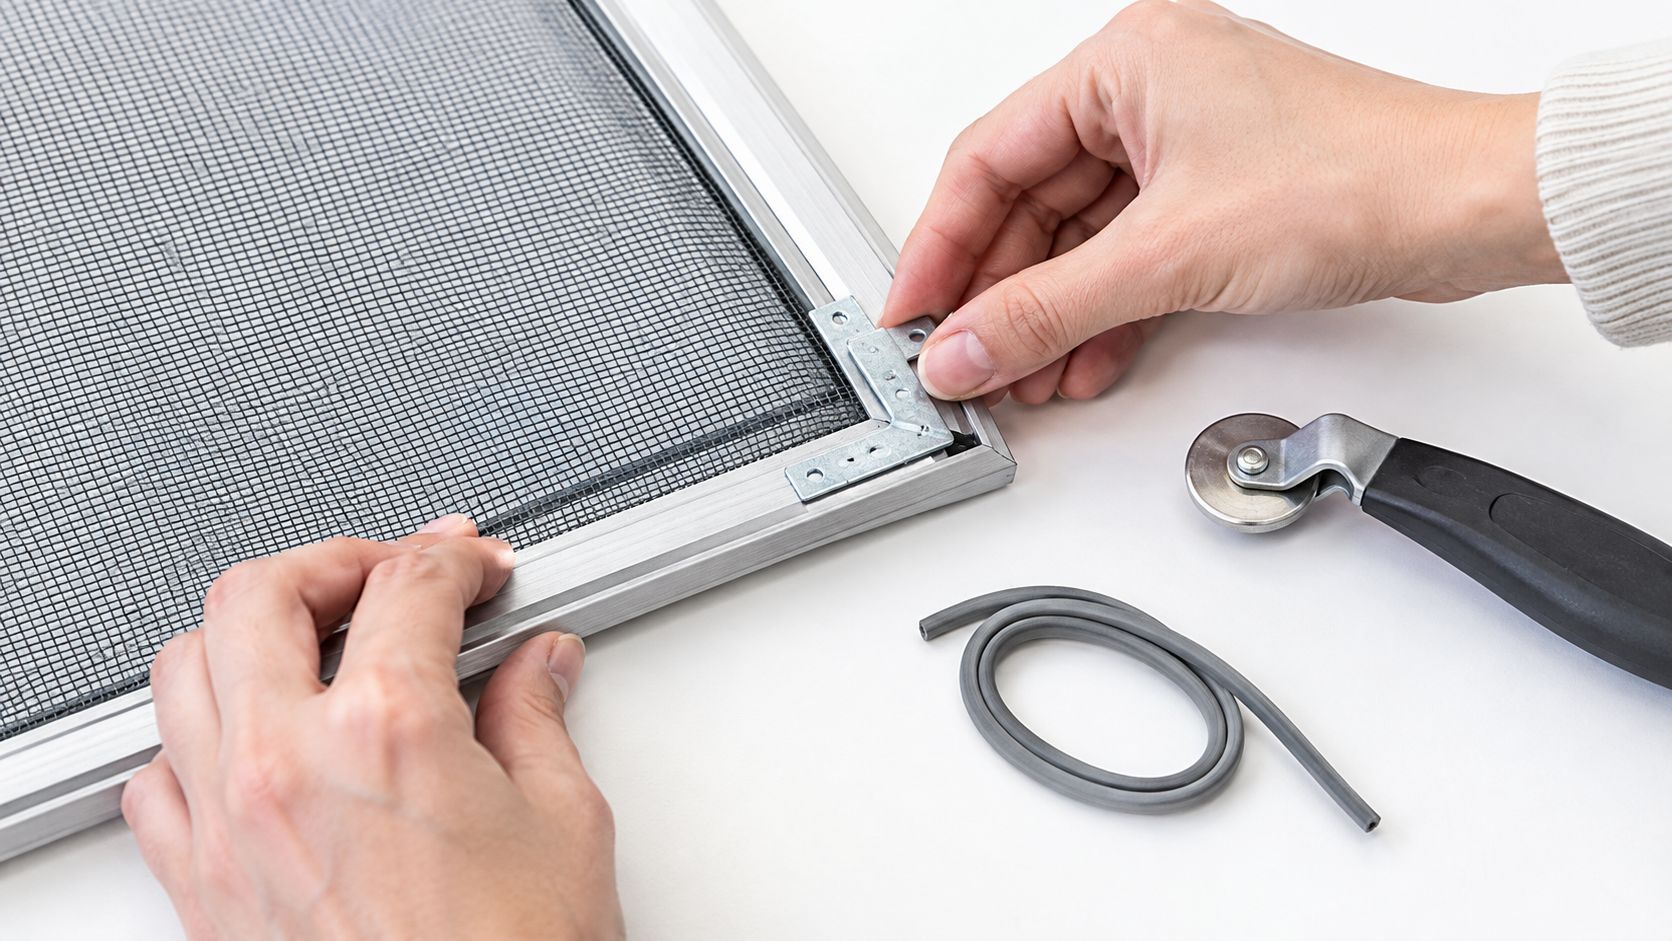
Fit appropriate reinforcement at weak joints. Use an L- or T-shaped brace compatible with the frame, keeping fasteners clear of the spline groove and window retaining hardware. Loose-fit the brace until alignment is correct.
Realign the frame gradually by hand. Bring each corner toward square, compare the diagonals, then secure the reinforcement. Don't pry against the thin groove wall or force a sharply creased rail back into service.
Clamps can hold an aligned frame while you fit hardware, but they aren't permanent reinforcement. Use padded contact points and only enough pressure to stop movement.
Phase two secures the mesh
Cut mesh with a generous margin beyond every rail. The extra material gives you something to control while rolling and prevents the cut edge from disappearing into the groove.
Lay the fabric evenly and anchor the spline near the top center. Keep the weave aligned with the rails so you don't build a diagonal pull into the finished panel.
Roll progressively with light, even tension. Use the spline roller rather than a screwdriver, and guide the fabric instead of stretching it drum-tight. Check that the long rails remain straight as you work.
Continue around the corners in a continuous run where the design allows. Ease the cord into each turn without stretching it lengthwise, and leave the final end untrimmed until everything is seated.
Trim outside the seated spline with a sharp blade. Keep the cutting path away from the cord and frame finish, then trim the spline ends neatly without leaving an open gap.
Aim for flat mesh and straight rails. Extra tension isn't evidence of a stronger repair.
Check the finished assembly
Before reinstalling it, perform this acceptance check:
- Shape: The frame lies flat and remains square after light handling.
- Retention: A fingertip pass finds no raised spline or loose corners.
- Coverage: No daylight appears between the mesh edge and channel.
- Movement: Gentle flexing produces no spline lift, mesh migration, or joint movement.
- Fit: The installed screen sits securely without obstructing normal window operation.
Any failed check means rework before the screen goes back into use. Screens are insect barriers, not fall protection or security barriers.
Repair Mistakes That Make Screens Fail Again
Fresh mesh can look finished while hiding a weak repair. I would spend more attention on a moving corner than on a cosmetic wrinkle, because the joint has to support every adjustment you make afterward.
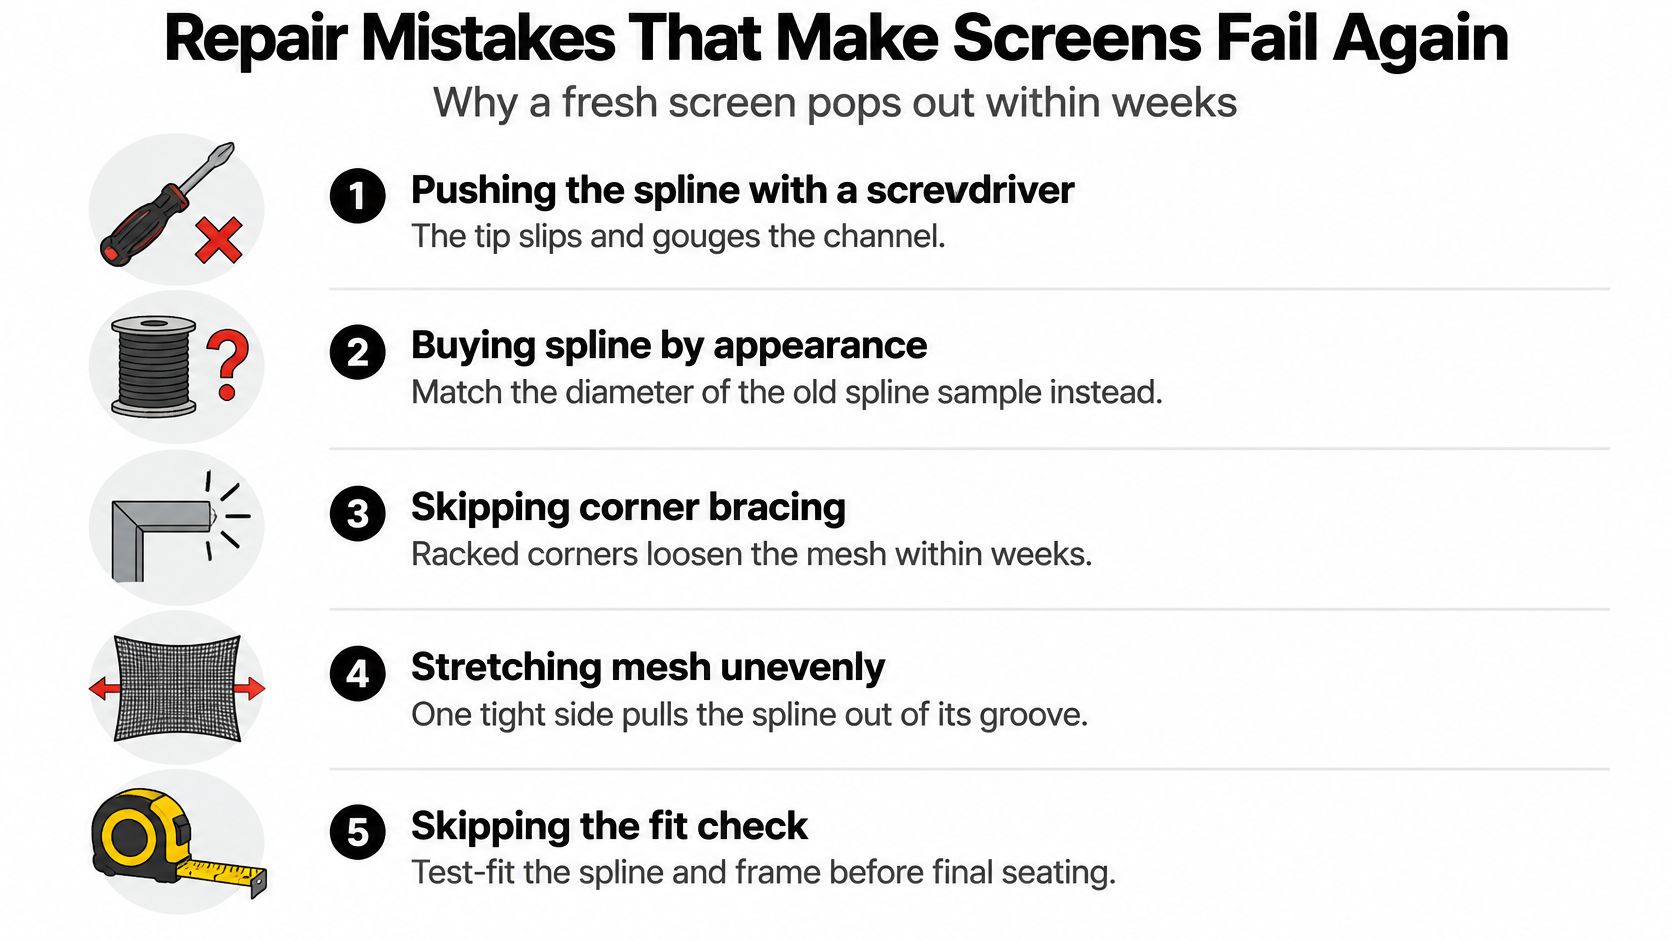
Use this visual as a quick reminder of the common failure points.
Avoid shortcuts that damage the fit
- Using a screwdriver as a roller: The narrow tip can slip and gouge the groove. Use a rolling tool sized for the channel.
- Choosing spline by appearance: Similar-looking cords can seat very differently. Confirm the fit with the actual mesh.
- Pulling away every trace of slack: Excessive tension draws the rails inward. Relax the fabric rather than forcing the frame outward afterward.
- Covering an unstable joint: New mesh doesn't reinforce a racked corner. Resolve the structural movement before finishing.
- Cutting fabric too close: A short edge can slip beneath the cord. Keep trimming allowance until installation is complete.
- Slicing into the spline: A nick weakens retention. Replace damaged cord instead of hiding the cut.
Keep a labeled spare length of the spline you used. Photograph the frame corners and retain the dimensions so a future parts order doesn't start with guesswork.
For a motion-based view of handling the mesh and tools, this repair video offers another reference.
After a substantial wind or hail event, check seating and corner condition before opening the window for ventilation. Lift panels by their frames, not their mesh, and don't force a sticking insert past damaged clips.
Repair, Replace or Hire a Professional
Repair, replace or hire a pro by situation
| Situation | Best route | Why |
|---|---|---|
| Small mesh tear, frame square and tight | DIY re-mesh | The frame still holds tension |
| Loose spline, straight frame | DIY re-spline | A straightforward fix with the correct size |
| Bent corner that springs back after realignment | DIY brace and re-mesh if the rail is sound and reinforcement holds it square | A reinforced joint supports the new mesh |
| Racked frame that won't stay square | Replace the section or insert | New mesh can't correct unstable geometry |
| Cracked vinyl or composite rail | Replace the rail or full frame | Cracked material won't recover through straightening |
| Screen on a second story or higher | Professional service | Trained access avoids improvised ladder work |
| Multiple screens across a home or building | Professional service | Organized removal and fitting help maintain consistency |
Height changes the decision
A removable screen you can safely bring indoors is a different proposition from one that requires exterior access. Don't lean out of an open window or carry an awkward panel while trying to climb.
OSHA's portable-ladder guidance calls for three-point contact while climbing, a stable and level base unless the ladder is secured against displacement, and rails extending at least 3 feet above the landing when an extension ladder provides access to an raised surface. That last requirement applies to landing access, not every ladder placement against a window.
Trained technicians select secured ladders, extension poles, or other appropriate access methods instead of makeshift bases. If you're comparing providers after searching for window cleaning near me, ask how they'll access the glass and remove the screens.
Get the right repair scope
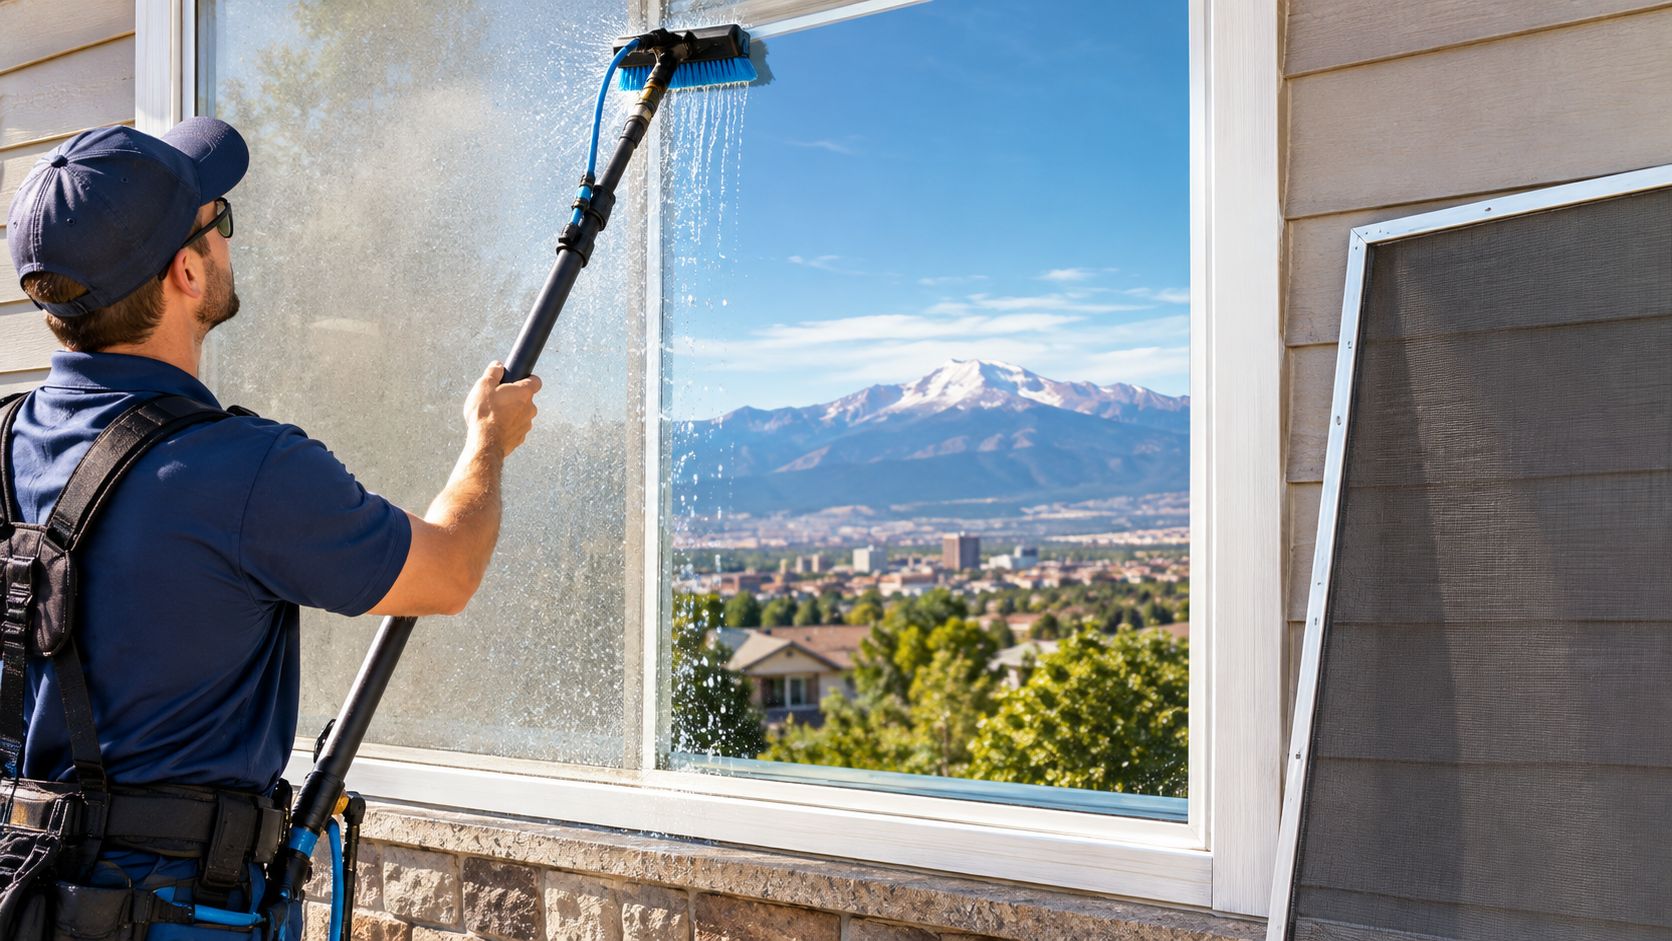
Professional window cleaning addresses different problems from structural repair. Interior window cleaning removes fingerprints and indoor film; exterior window cleaning tackles weather-exposed buildup, while screen cleaning and track cleaning address the surrounding surfaces. Ask separately about hard water stain removal, since mineral deposits may need treatment beyond routine window washing.
For damage involving the window itself rather than its removable screen, SuperiorPRO's window repair services in Atlanta provide a reference for that different service category, not a local booking option.
A salvageable screen deserves a repair recommendation, not an automatic replacement. Discuss screen work and exterior glass cleaning on the same visit, and have the local team confirm the repair falls within its scope before booking.
Book Your Screen Repair Quote in Colorado Springs
Before calling, gather the details that help the team distinguish a simple re-screen from a frame rebuild:
- Window location and height: Identify the room, exterior access, and whether the panel comes out safely from indoors.
- Damage photos: Include the full screen, each damaged corner, and the retaining clips.
- Approximate dimensions: Record the outside frame width and height.
- Existing parts: Keep a spline sample and any broken corner connectors.
Plan cleaning and repair together
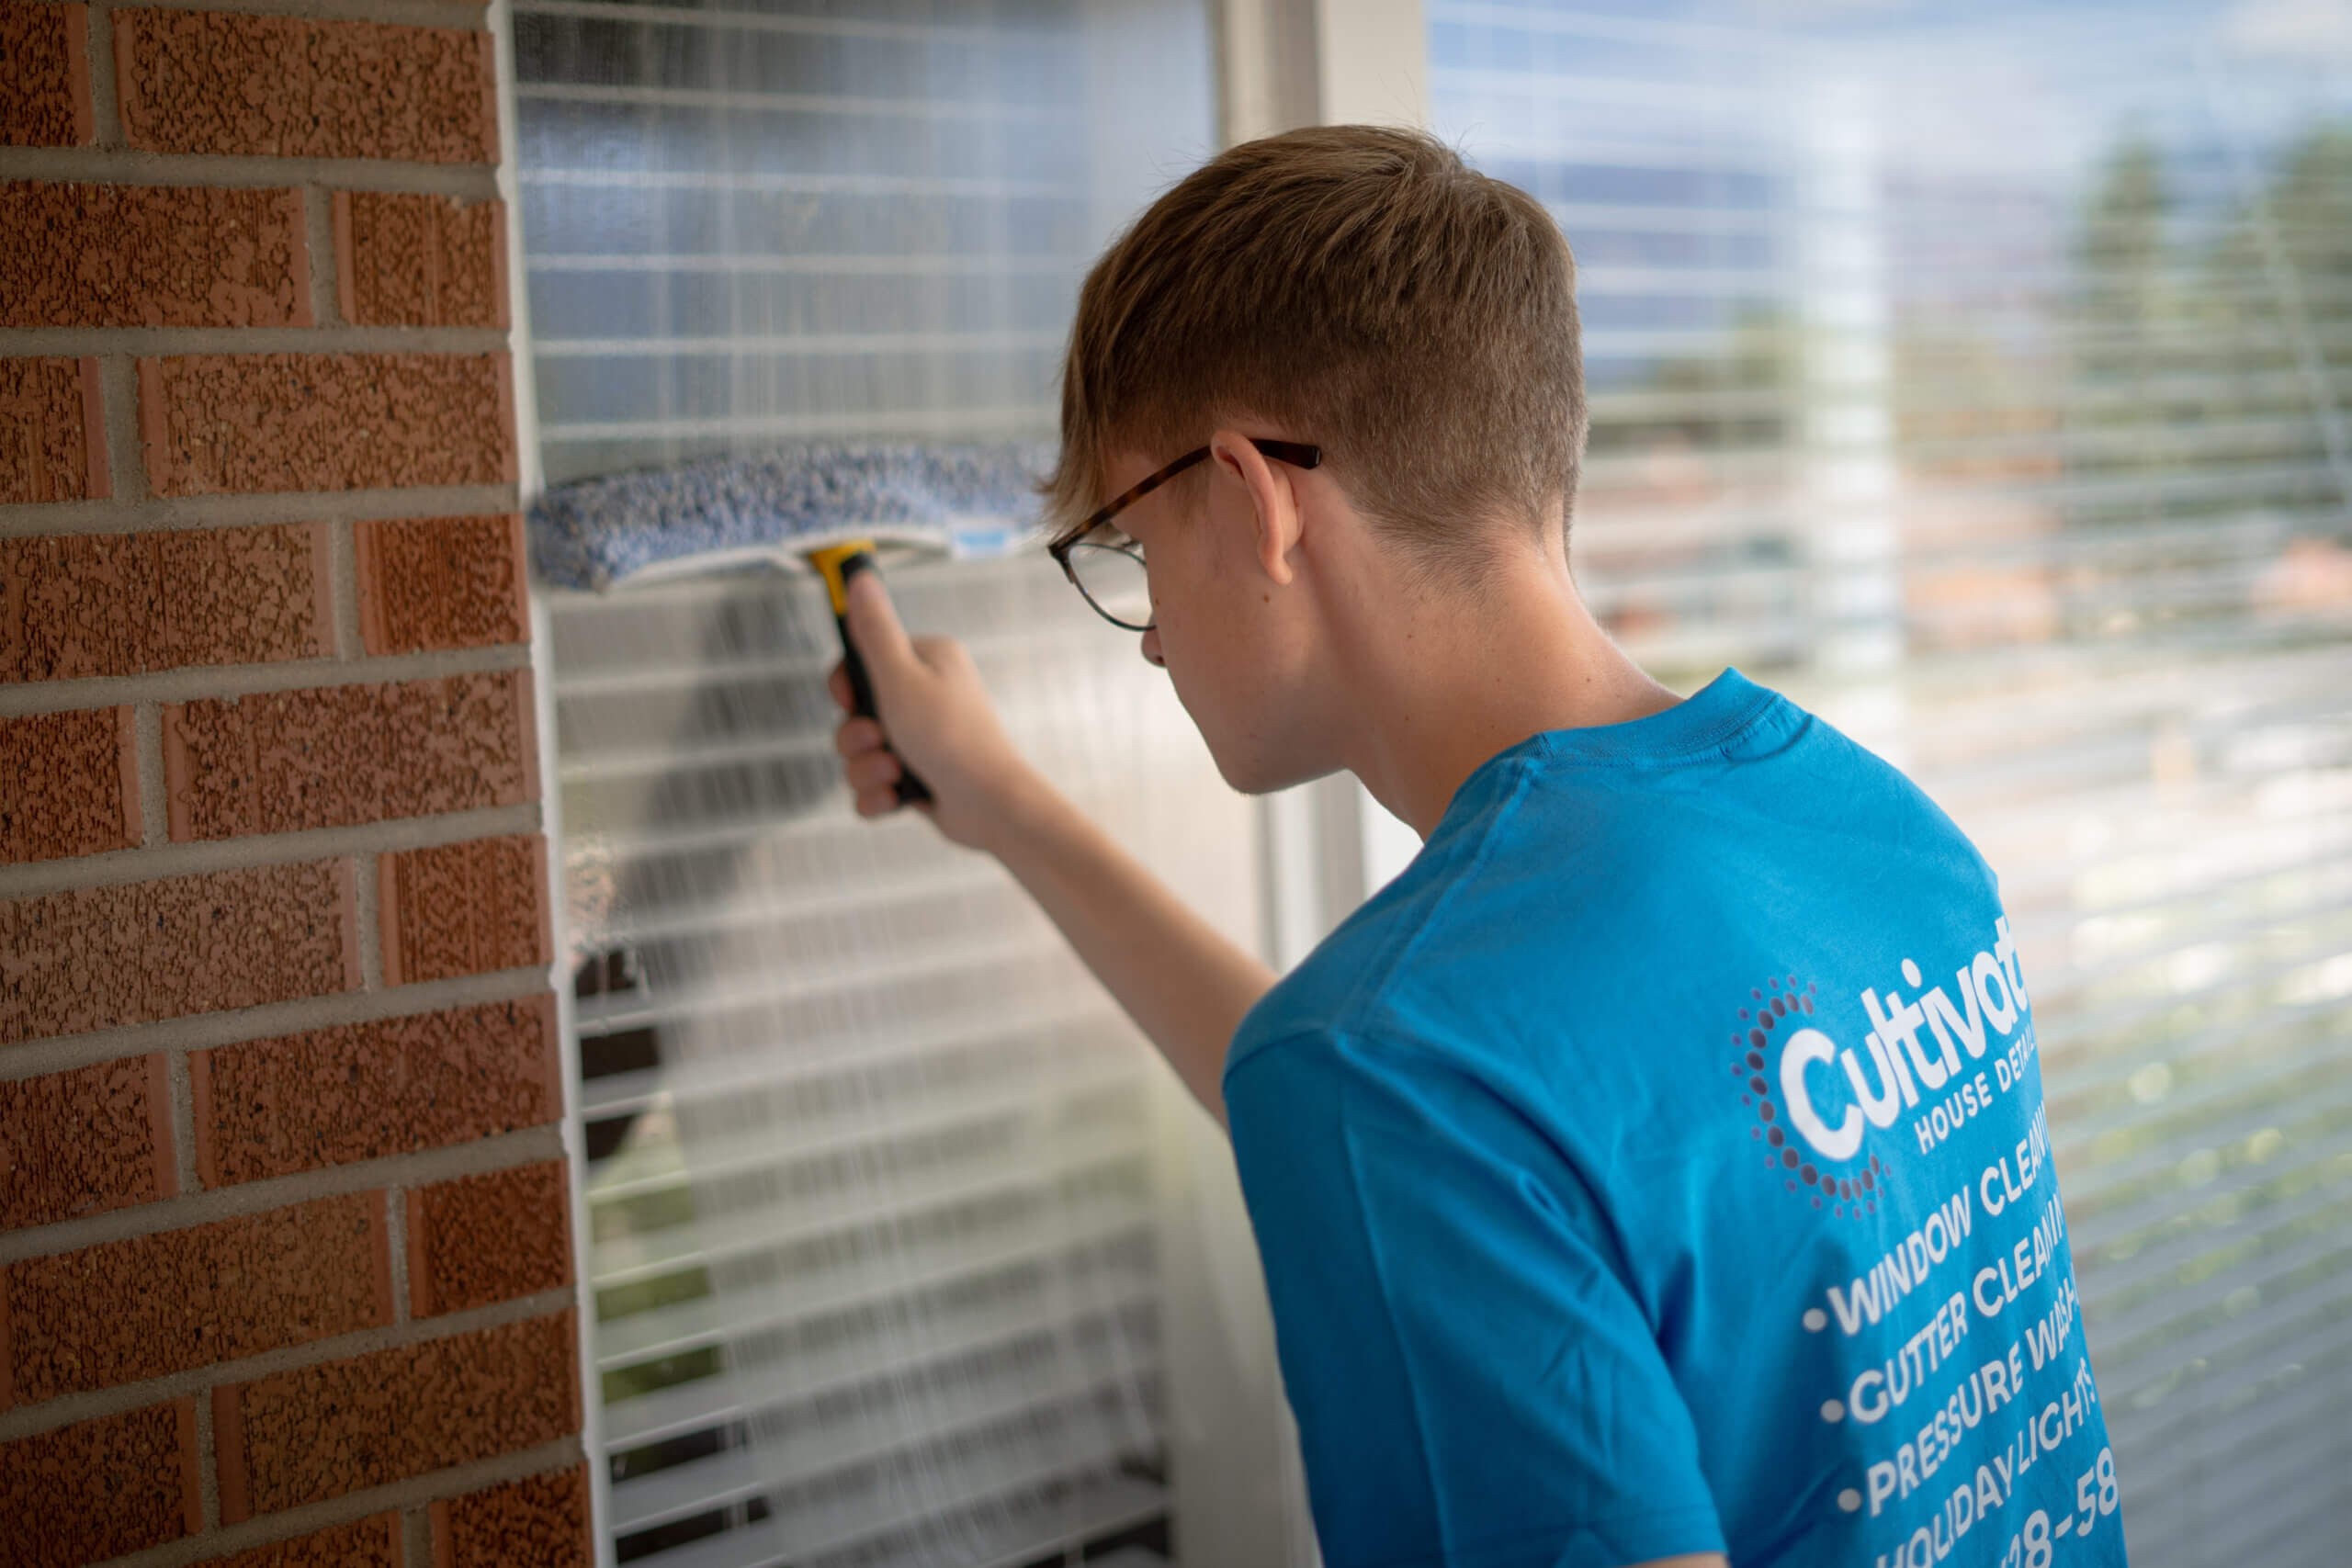
Cultivate House Detailing offers residential and commercial window cleaning and window screen repair in Colorado Springs and nearby communities. The team will confirm whether your screen repair fits its services before work is booked, with a clear estimate and straightforward communication from the initial conversation through follow-up.
Clean glass improves curb appeal and lets you enjoy available natural light without distracting film. Seasonal window cleaning also creates an opportunity to spot worn clips, accumulated track debris, and maintenance needs before they become harder to address.
This website preview helps you recognize the company when arranging service.

Request a quote or schedule window cleaning, and include your screen photos with the inquiry. Then look forward to Colorado views through clean glass and sound screens.
Cultivate House Detailing provides window cleaning and screen repair for homes and businesses in Colorado Springs and surrounding communities. Visit Cultivate House Detailing to request an estimate, describe your damaged frame, and arrange the right cleaning and repair scope for your windows.